A luxury kitchen remodel typically runs $100,000 to $250,000 or more. It takes 4 to 9 months from first design meeting to final punch list. Most of the money goes to custom cabinetry, pro-grade appliances and stone, and most of the result depends on planning the layout, ventilation and electrical before anyone picks a tile.
Quick steps: plan a luxury kitchen remodel
- Set a total budget and hold 10-15% back as contingency.
- Pick a design direction and hire a kitchen designer or architect.
- Lock in appliances first, then design the layout and storage around them.
- Order custom or semi-custom cabinetry (expect 10-16 weeks).
- Hand-select stone slabs and finalize the backsplash, lighting and plumbing fixtures.
- Pull permits, demo and rough in plumbing, electrical and ventilation.
- Install cabinets, template and set counters, then tile, trim and appliances.
- Walk a punch list before final payment.
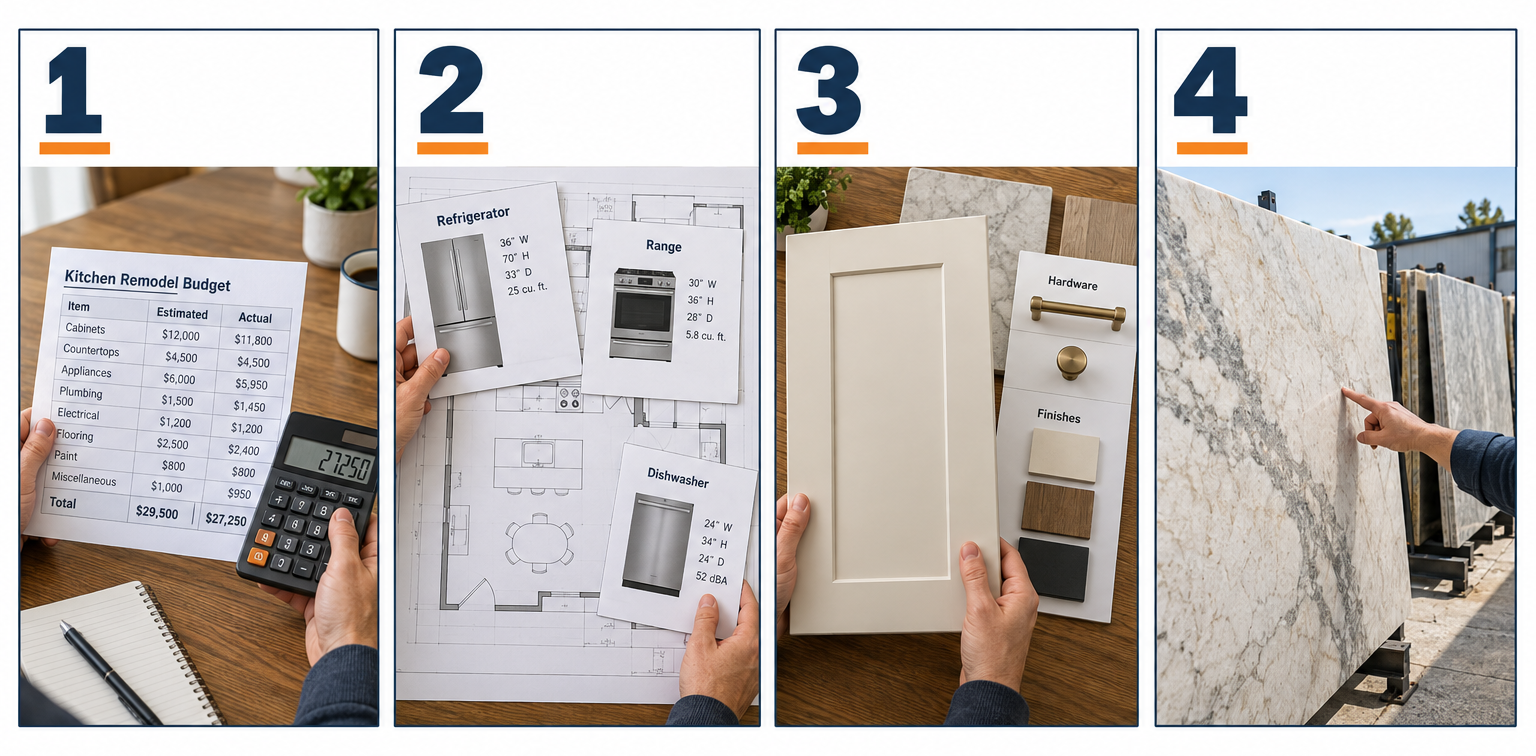
Tools and materials
- 25 ft tape measure and a laser distance measurer
- Graph paper or free kitchen planning software
- Blue painter’s tape (for full-size floor mockups)
- Sample board: cabinet door, hardware, stone remnant, tile, paint chip
- Appliance spec sheets (cutout dimensions, amperage, gas BTU, venting CFM)
- Spreadsheet for budget lines and lead times
- Camera for photographing slabs and rough-in walls before drywall
Calculators for this job
Safety first
Gas lines, panel upgrades, new 240-volt circuits and load-bearing walls require licensed trades and permits. Homes built before 1978 need an EPA RRP-certified contractor for demolition, and old flooring or ceiling texture should be tested for asbestos before anyone tears it out.
What makes a kitchen “high end” in the first place
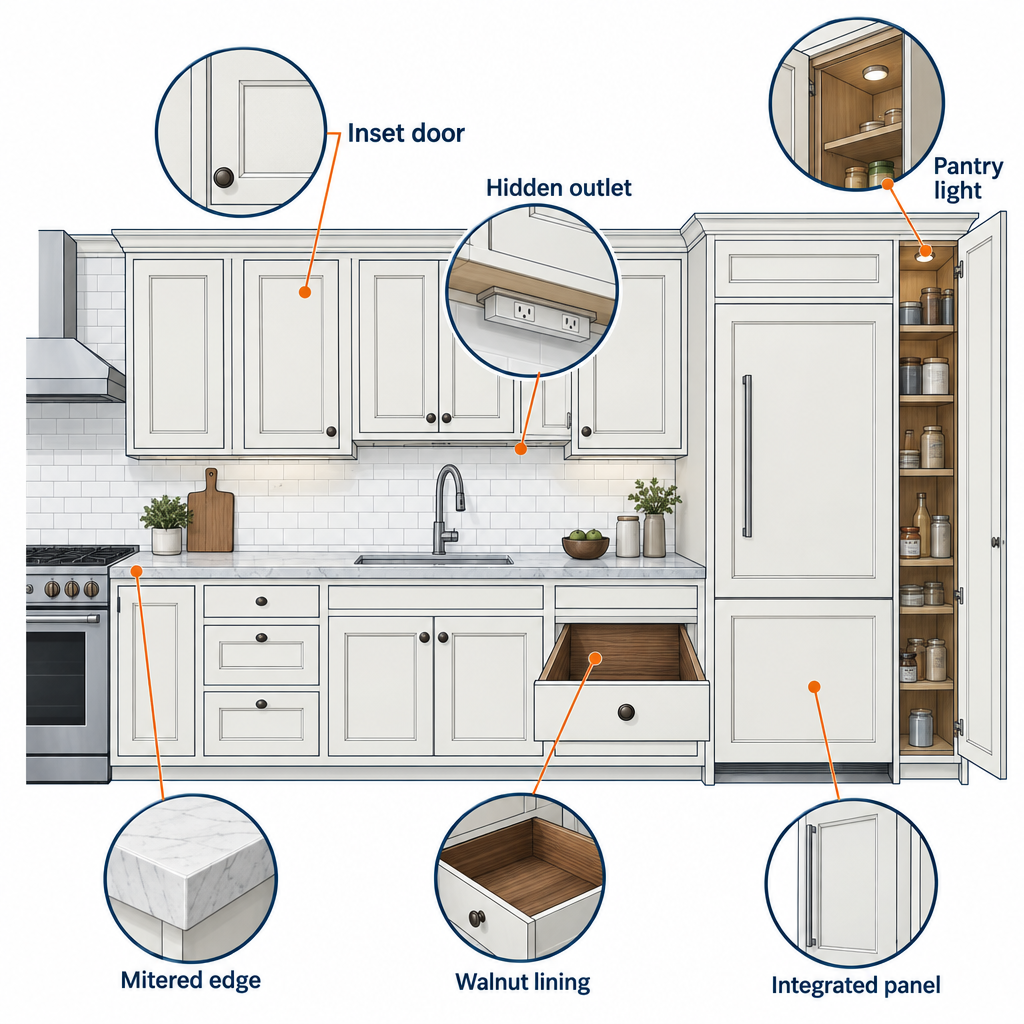
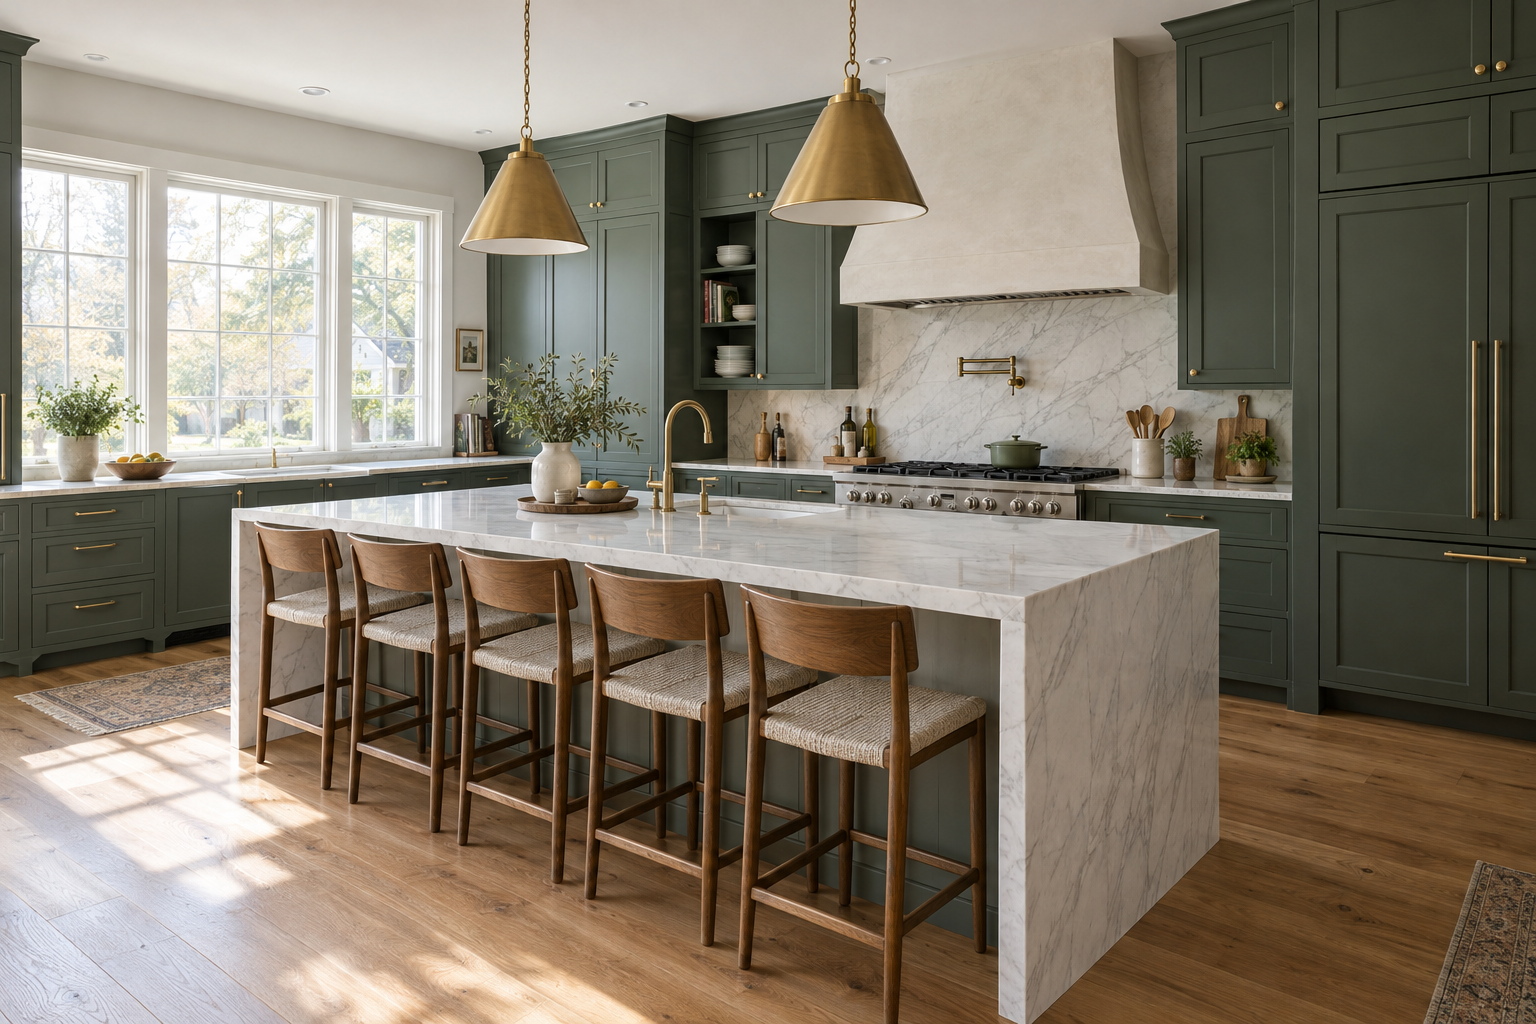
A high end kitchen is defined by three things: storage that fits exactly what you own, appliances that disappear or perform at a commercial level, and materials that show their craft up close. Size has little to do with it. A 12 by 14 foot room with inset cabinets, a honed marble backsplash and a 36-inch induction range can feel more luxurious than a sprawling great room with builder-grade boxes.
The details carry the look. Picture integrated appliance panels, drawer interiors in walnut, mitered stone edges, outlets hidden under the upper cabinets and lighting that turns on when you open a pantry door. None of those show up in photos as a single feature. Together, they’re why one kitchen reads “expensive” and another doesn’t.
Step 1: Set the budget and decide where the money goes
Start with a hard total, then work backward. Remodeling magazine’s Cost vs. Value report has put the national average for an upscale major kitchen remodel above $150,000 in recent editions. Resale typically recovers well under half of that. Treat a luxury kitchen renovation as something you build for the years you’ll live with it, not as an investment you’ll get back at sale.
The split below follows the proportions kitchen designers have used for years, applied to a $150,000 project. Your percentages will shift. Pro appliances can push that line toward 20 to 25 percent, and an all-over marble room pushes counters up.
| Budget line | Typical share | On a $150,000 project |
|---|---|---|
| Cabinetry and hardware | 30% | $45,000 |
| Installation and labor | 17% | $25,500 |
| Appliances and ventilation | 15% | $22,500 |
| Countertops | 10% | $15,000 |
| Flooring | 7% | $10,500 |
| Lighting and electrical | 5% | $7,500 |
| Walls, ceilings, drywall, paint | 5% | $7,500 |
| Design fees | 4% | $6,000 |
| Windows and doors | 4% | $6,000 |
| Faucets and plumbing fixtures | 3% | $4,500 |
Hold a contingency of 10 to 15 percent outside that total. On a $150,000 kitchen, that’s $15,000 to $22,500 you don’t touch until something behind a wall forces you to. Old homes almost always produce one surprise: undersized wiring, a rotted subfloor under the sink or a beam where the island was supposed to go.
Pro tip
Write down your three “non-negotiables” before you meet a designer, such as a 48-inch range, an island that seats five and inset cabinets. When the budget gets tight in month three, you’ll cut from the list of everything else instead of arguing over every line.
Step 2: Choose a design direction
Pick a direction before you pick materials. The design images you save should share a mood, not just a color. Pull 20 to 30 photos, then look for patterns: Are the counters thick or thin? Do cabinets go to the ceiling? Is the hardware warm brass or blackened steel? That pattern is your style.
Here are the looks that keep showing up in luxury kitchens right now, with what each one asks of your budget.
| Look | Signature details | Where the money goes |
|---|---|---|
| Zellige backsplash | Handmade Moroccan clay tile, glossy and irregular, laid wall to ceiling | Tile at roughly $25-50/sq ft plus a setter who knows how to handle the variation |
| Go green | Deep olive, forest or sage cabinetry, often with brass | Custom paint match and a sprayed factory finish |
| Storytelling tile | Hand-painted, patterned or picture tile behind the range | Artisan tile and a careful layout around the hood |
| Pull from the landscape | Stone, wood and colors matched to the view outside | Large windows, local stone, natural finishes |
| Unexpected island | Curved, furniture-style, contrasting wood or a stone monolith | Custom millwork and heavy-slab fabrication |
| Glamorous light fixtures | Oversized pendants or a chandelier as the room’s jewelry | Designer fixtures at $1,500-$8,000 each plus ceiling blocking |
| Sculptural kitchen | Curved hoods, rounded cabinet ends, plaster finishes | Hand-troweled plaster and bent-wood or radius cabinetry |
| Trad with a twist | Shaker or inset doors paired with a modern pendant or bold stone | Inset cabinetry and one statement material |
| City slicker | Dark slab doors, metal accents, compact pro appliances | Panel-ready appliances and precise flat-panel cabinetry |
| Two-tone cabinets | Island or lowers in one color, uppers or perimeter in another | Two finishes and careful coordination with stone |
| Modern luxury | Flat-front cabinets, integrated handles, waterfall stone | Mitered edges and perfect panel alignment |
| All-over marble | Matching marble on counters, backsplash, hood and shelves | Multiple bookmatched slabs and a skilled fabricator |
| Jewel-box kitchen | Small room, saturated color, lacquer or mirror, rich hardware | High-gloss finishes and unlacquered brass |
| Luxurious farmhouse | Apron sink, range alcove, reclaimed beams, warm woods | Fireclay or stone sink, custom hood surround, real timber |
You can combine two of these. Three or more usually turns muddy. A trad-with-a-twist kitchen with a zellige backsplash works. Adding two-tone cabinets, a sculptural hood and a jewel-toned island on top is where rooms start to look like a showroom sampler.
Step 3: Hire the right design and build team
For a luxury kitchen, you want two people: a designer who draws the room and a general contractor who builds it. Sometimes one design-build firm handles both. Either setup works. What doesn’t work is a contractor improvising the design from your Pinterest board.
Look for a designer with NKBA credentials (CKD, Certified Kitchen Designer) or an architect with a residential kitchen portfolio. Expect design fees of roughly 4 to 10 percent of the project cost, or hourly rates in the $100 to $250 range depending on your market. Some cabinet showrooms include design in the cabinet price. That’s fine, but you’ll be designing around one manufacturer’s catalog.
When you interview contractors, ask for three things. First, addresses of kitchens they finished in the last two years that you can visit. Second, how they handle change orders, in writing, with prices. Third, who runs the job day to day. A great owner who never visits your site doesn’t help you.
Step 4: Spec the appliances before you draw the cabinets
This is the step most people get backward. Appliances set the cutouts, the electrical, the gas, the venting and the cabinet layout. Choose them first, download every spec sheet, and give those sheets to your designer before the first full drawing.
Rough current pricing for the appliances that define high end kitchens:
| Appliance | Common luxury brands | Typical price range |
|---|---|---|
| 36″ built-in refrigerator | Sub-Zero, Thermador, Miele, Monogram | $9,000-$15,000 |
| Fridge and freezer column pair (panel-ready) | Sub-Zero, Thermador, Liebherr | $15,000-$25,000 |
| 48″ pro range (gas or dual fuel) | Wolf, Thermador, BlueStar, Miele | $12,000-$25,000 |
| 36″ induction cooktop | Wolf, Gaggenau, Miele, Thermador | $3,500-$7,000 |
| Combi-steam wall oven | Wolf, Miele, Gaggenau | $5,000-$9,000 |
| Panel-ready dishwasher | Miele, Bosch Benchmark, Cove | $1,500-$3,000 |
| Hood insert or liner | Wolf, Best, Vent-A-Hood | $1,500-$5,000 (plus surround) |
| Undercounter wine storage | Sub-Zero, Perlick, Monogram | $3,000-$10,000 |
These are list ranges, and pricing changes with promotions and dealer packages. Bundled rebates from one brand can knock thousands off a full suite, so price the set together.
Panel-ready versus stainless
Stainless reads professional and works best in modern luxury or city slicker kitchens. Panel-ready appliances take a cabinet door on the front, so the fridge and dishwasher disappear into the run of cabinetry. Panels add cost, often $500 to $1,500 per appliance in cabinet work, and the cabinetmaker must have the exact spec sheet before building them.
Ventilation is not optional
A 48-inch gas range can put out over 100,000 BTU across its burners. The common rule of thumb is 100 CFM of exhaust for every 10,000 BTU, which puts that range near 1,000 CFM. The International Residential Code requires makeup air for kitchen exhaust over 400 CFM, so a big hood often means a makeup air system that brings in fresh air when the fan runs. Budget $1,500 to $5,000 or more for that, and ask your local building department how they enforce it.
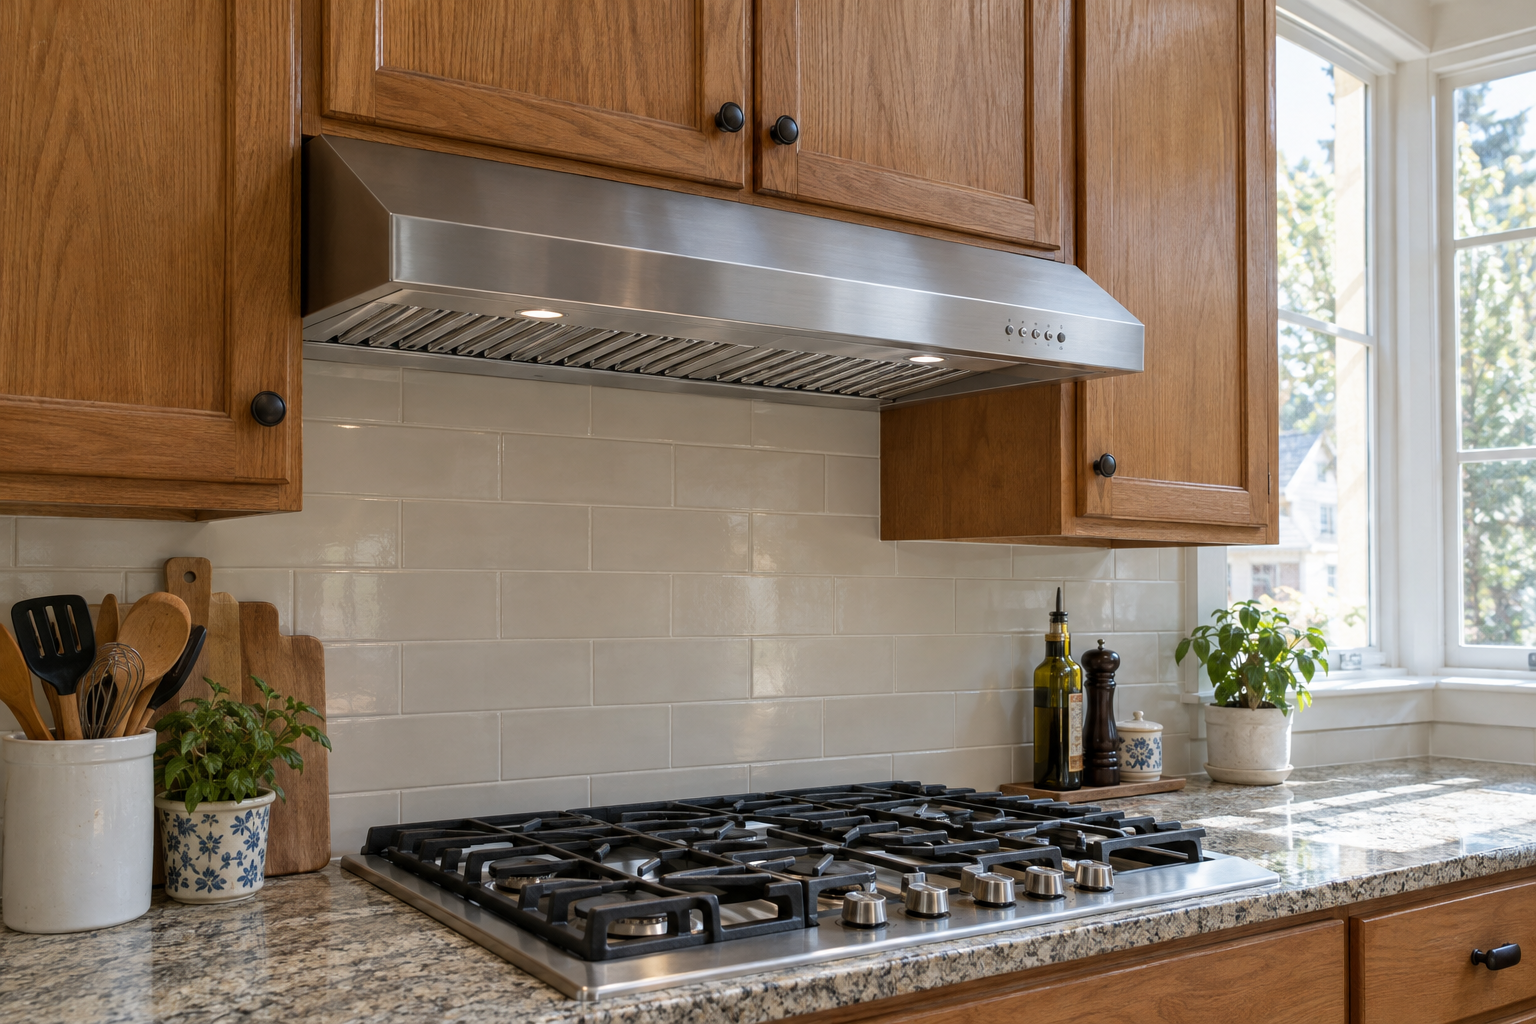
Size the vent hood at least as wide as the cooktop, ideally 3 inches wider on each side. Mount it 30 to 36 inches above the cooking surface, and choose a deep enough hood to cover the front burners. Duct it outside. Recirculating hoods don’t belong in a luxury kitchen with a gas range.
Step 5: Plan the layout and storage
Now draw the room. Use these clearances, which come from NKBA planning guidelines and hold up in real kitchens:
- Work aisles: 42 inches minimum for one cook, 48 inches for two cooks or when an appliance door opens into the aisle.
- Island seating: 24 inches of width per stool, 15 inches of knee space at 36-inch counter height, 12 inches at 42-inch bar height.
- Landing space: at least 15 inches of counter beside the fridge handle and on both sides of the cooktop.
- Dishwasher: within 36 inches of the cleanup sink, with 21 inches of standing room beside it.
- Walkways: 36 inches minimum where nobody is working.
Tape the layout on the floor at full size with painter’s tape before you sign off. Stand at the “sink,” open imaginary dishwasher and fridge doors, and walk the route from fridge to sink to range. Three hours of tape and pacing will save you from an island that’s 4 inches too big.
Storage that earns the price
Luxury storage comes down to drawers and dedicated zones, not more cabinets. Specify deep drawers for pots instead of base cabinets with doors. Add a spice pull-out within arm’s reach of the range, a trash and recycling pull-out by the prep sink and a pantry with full-height pull-out shelving.
Many high end kitchen remodel plans now include a scullery or “back kitchen.” It’s a small room or walk-in pantry with a second sink, a second dishwasher and outlets for the coffee maker, toaster and mixer. The main kitchen stays clean for guests, and the mess lives behind a door. If you have the space, it’s the single upgrade owners mention most once they’ve lived with it.
Appliance garages with pocket doors, charging drawers, built-in knife blocks and full-extension drawers with soft-close slides (Blum and Hettich are the names to ask for) round out the list.
Step 6: Choose the cabinetry
Cabinetry is the largest line in your budget and the one people notice first. Three grades exist:
- Stock: fixed sizes, limited finishes. Not luxury.
- Semi-custom: standard boxes with modified depths, widths and finishes. Roughly $150 to $650 per linear foot installed.
- Custom: built to your exact room. Roughly $500 to $1,500 or more per linear foot installed, and much more for fine inset work in exotic woods.
Inset doors, where the door sits flush inside the face frame, are the classic luxury signal. They cost 15 to 30 percent more than full-overlay doors and require precise installation, because a 1/16-inch misalignment shows.
Look inside the box, too. You want 3/4-inch plywood cases, dovetailed solid-wood drawer boxes, full-extension soft-close slides and a factory-sprayed finish. A catalyzed conversion varnish holds up far better than brushed paint. Ask to see a sample door that has been through the same finish process.
Lead times for custom cabinets usually run 10 to 16 weeks after final drawings are approved. Order early. Demolition should be scheduled so cabinets arrive shortly after drywall and paint, not the other way around.
Pro tip
Have your cabinetmaker run the uppers all the way to the ceiling with a crown or flat scribe. The top foot of storage is only good for holiday platters, but it eliminates the dust shelf and makes an 8-foot ceiling look taller.
Step 7: Hand-pick countertops and backsplash
Never buy a natural stone slab from a photo. Visit the stone yard, walk the slabs, and have the yard tag the ones you want with your name. Two slabs from the same block (bookmatched) let the fabricator mirror the veining across a seam or a waterfall edge.
| Material | Installed cost (per sq ft) | Strengths | Watch for |
|---|---|---|---|
| Quartz | $60-$150 | Consistent pattern, no sealing, stain resistant | Can scorch under hot pans; won’t tolerate outdoor sun |
| Quartzite | $80-$200 | Marble look, very hard, heat resistant | Some “quartzite” is actually soft marble; test with a glass scratch |
| Marble (Calacatta, Carrara) | $80-$250+ | Unmatched veining, classic luxury | Etches from lemon, wine and vinegar; scratches |
| Soapstone | $70-$120 | Warm, matte, never stains permanently | Scratches easily; darkens with oil |
| Porcelain slab | $60-$150 | Thin, heat and UV proof, convincing stone looks | Chips on edges; pattern only on the surface |
| Granite (exotic) | $60-$200 | Durable, unique colors | Can look dated if the pattern is busy |
If you’re torn between natural stone and engineered stone, our guide to quartz countertops covers the tradeoffs in detail. For an all-over marble kitchen, budget for two to four slabs and expect the fabricator to charge more for mitered edges, which can run $50 to $150 per linear foot.
Choose 3 cm (about 1-1/4 inch) slab thickness for the perimeter. Use a mitered edge to make the island read thicker without the weight. For island seating, overhangs much beyond 10 to 12 inches on 3 cm stone need hidden steel supports routed into the cabinet tops, so tell the fabricator early.
Backsplash
The backsplash is where personality comes in: zellige, hand-painted tile, a full slab of the counter stone or a picture-tile mural behind the range. Running slab up the wall behind the range is one of the cleanest high end looks because there are no grout lines to clean.
Zellige needs a tile setter who’s done it before. Each tile varies in thickness and color, so it’s set with tight joints and an intentional irregular plane. Budget extra setting time, often double the labor of standard subway tile. A peel and stick backsplash isn’t a luxury finish, but it’s a fair stopgap if you’re living in the house and waiting months on handmade tile.
Step 8: Plan lighting, electrical and plumbing
Lighting in layers
Every luxury kitchen uses three layers. Ambient light comes from recessed fixtures, typically 4-inch LED cans spaced 4 to 6 feet apart. Task light comes from LED strips under the upper cabinets, mounted toward the front edge so they hit the counter instead of the backsplash. Accent light comes from pendants, a chandelier, in-cabinet lights or toe-kick strips.
Specify LEDs at 2700K to 3000K with a CRI of 90 or higher. That’s the difference between marble that looks white and marble that looks gray-green. Hang island pendants 30 to 36 inches above the counter, and put every layer on its own dimmer.
Heavy chandeliers need solid blocking in the ceiling, not just a fixture box. The same goes for floating stone shelves. Sheetrock anchors aren’t rated for shelves holding 60 pounds of dishes plus the weight of stone, so the framing crew needs to install blocking before drywall.
Electrical
Your electrician will plan:
- Two or more 20-amp small-appliance circuits for countertop receptacles, with GFCI and AFCI protection as your local code requires.
- A dedicated 240-volt circuit for an induction cooktop or electric range, typically 40 to 50 amps.
- Dedicated circuits for the dishwasher, disposal, microwave drawer, wall ovens and refrigerator per manufacturer specs.
- Receptacles placed so no point along the counter is more than 24 inches from an outlet.
A full luxury appliance suite can push an older 100-amp service past its limit. Ask for a load calculation early. A service upgrade to 200 amps commonly costs $2,500 to $6,000, more if the utility has to change the drop. Plugmold strips hidden under the upper cabinets keep outlets off a slab or zellige backsplash.
Plumbing
Common luxury additions include a pot filler over the range, a prep sink in the island, a second dishwasher, an instant hot water tap and under-sink reverse osmosis filtration. A pot filler needs a cold water line run into the wall behind the range during rough-in. Decide on it now, not after tile.
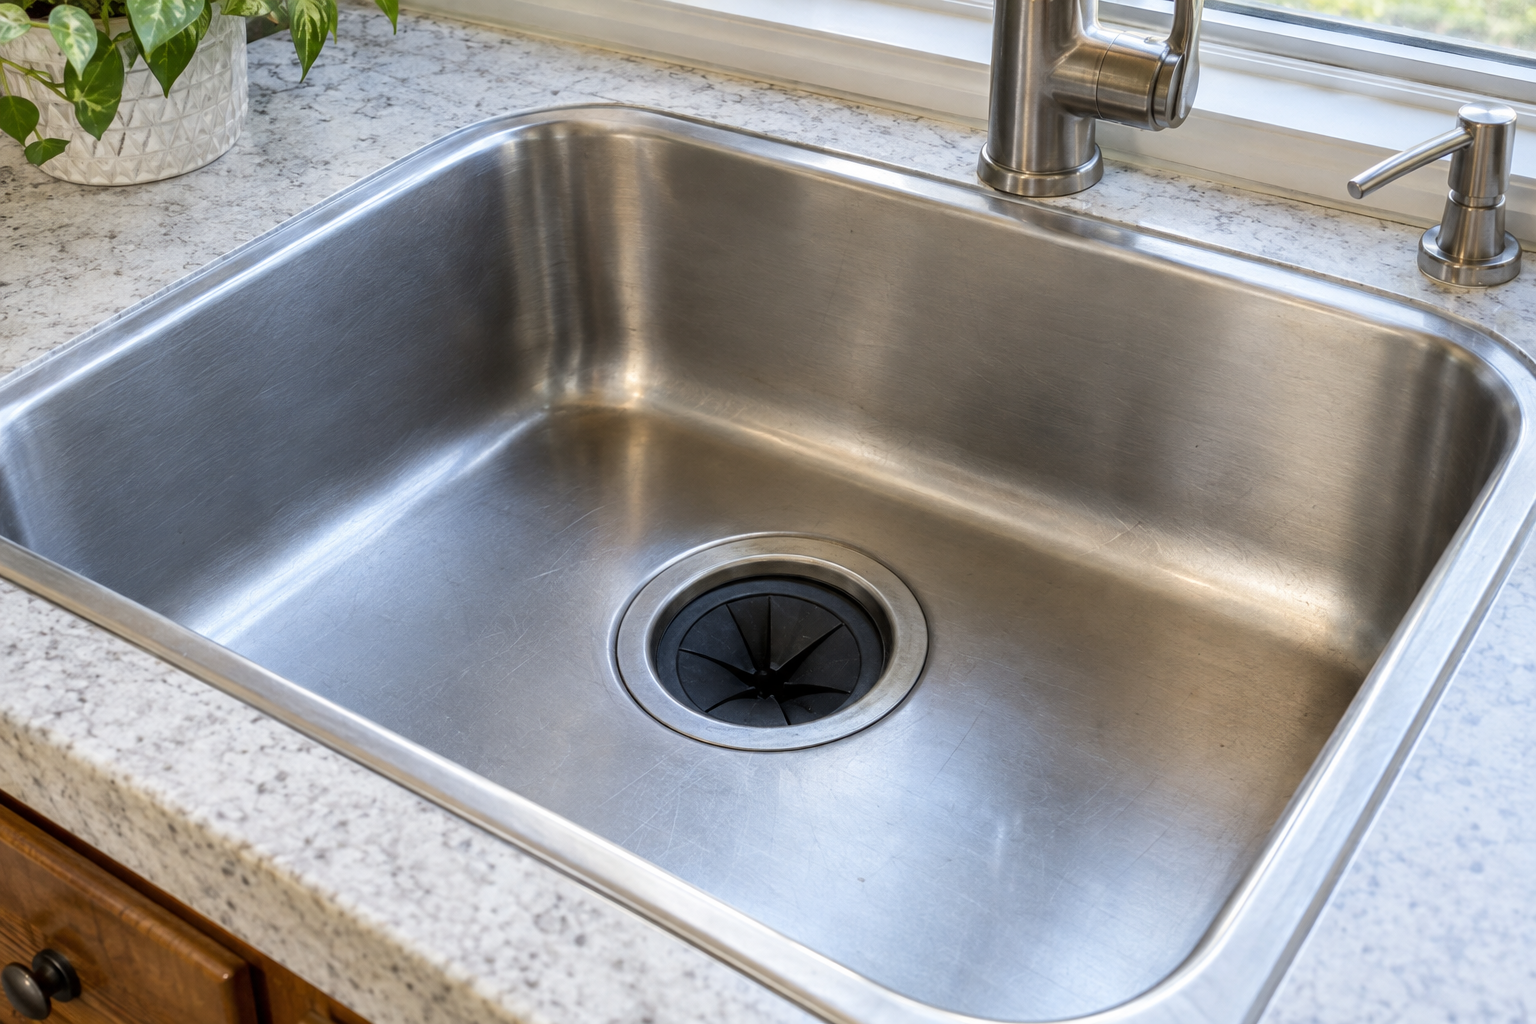
Install a quality sink disposal with sound insulation in the main sink. Use 1/2 to 3/4 horsepower for most households. Pick faucet finishes that match the hardware, or deliberately contrast them. Unlacquered brass will patina, so choose it only if you like that look.
Step 9: Pull permits, demo and rough in
Your contractor pulls the building, electrical, plumbing and mechanical permits. Expect permit fees from a few hundred dollars to a few thousand, depending on your town and project value. Inspections happen at rough-in and again at final.
Demo usually takes 2 to 5 days. After that, framing changes happen, followed by rough plumbing, electrical, gas and ductwork. Then the rough-in inspection. Walk the job before drywall closes and photograph every wall with a tape measure in the frame. Later, you’ll know exactly where pipes and wires sit before anyone hangs a shelf.
Check three things at rough-in. The hood duct should run the shortest path outside with as few elbows as possible. Boxes for pendants should be centered on the island as drawn, not as framed. Blocking should be installed for the hood, floating shelves, grab-bar-style towel rails and heavy fixtures.
Typical timeline
| Phase | Typical duration |
|---|---|
| Design and drawings | 6-12 weeks |
| Cabinet and appliance lead time (overlaps design end) | 10-16 weeks |
| Permits | 2-6 weeks (varies by town) |
| Demo and rough-in | 2-4 weeks |
| Drywall, paint, flooring | 2-3 weeks |
| Cabinet install | 1-2 weeks |
| Countertop template to install | 1-3 weeks |
| Backsplash, appliances, trim, final electrical and plumbing | 2-3 weeks |
| Punch list and final inspection | 1-2 weeks |
Construction alone usually lands between 8 and 16 weeks once demo starts. The whole luxury kitchen remodel from first meeting to final cleaning is typically 4 to 9 months.
Step 10: Install, finish and walk the punch list
Flooring goes in before the cabinets on most luxury jobs. Running wide-plank hardwood or large-format tile under the entire footprint means you can change the layout someday without patching. Wide-plank white oak typically runs $12 to $25 per square foot installed.
Cabinets go in next and must be dead level. The installer shims base cabinets to a laser line, because stone won’t forgive a 1/8-inch dip. The countertop fabricator then templates the actual installed cabinets, usually with a digital template, and installs 1 to 3 weeks later.
After counters, the order is backsplash tile, appliance install, panel fitting, final plumbing and electrical, then hardware and touch-up paint. Hardware goes on last so it doesn’t get scratched during the rest of the work.
Walk the punch list with painter’s tape in hand. Mark every chip, uneven reveal, sticky drawer, missing bumper and paint drip. Run every appliance, every faucet and the hood on high. Open the dishwasher with its panel on and check that it clears the adjacent drawer pulls. Hold the final payment, often 5 to 10 percent, until every item is fixed.
Pro tip
Ask your fabricator to save a sink cutout or a large remnant from your slab. It makes a perfect matching cutting board, a shelf in the scullery or a repair piece if a corner ever chips.
Where luxury budgets get wasted
A few patterns show up again and again in kitchens that cost a fortune and still disappoint.
Buying the look and skipping the function. A 60-inch range you use twice a year costs more than its sticker price. It brings makeup air, gas line upsizing and a giant hood. A 36-inch induction cooktop and a combi-steam oven will cook better for most households.
Expensive stone, cheap cabinets. Stone sits on cabinet boxes. If the boxes are particleboard with stapled drawers, the stone looks great for a year and then the drawer fronts sag. Spend on the boxes and drawers first.
Trendy color on everything. Deep green or navy cabinetry looks fantastic. Put it on the island or lowers and keep the perimeter quieter if you plan to sell in under five years.
Making a flat-pack kitchen pretend. Upgraded IKEA boxes with custom fronts can look sharp in a mid-range remodel. In a $150,000 kitchen, inconsistent box depths, limited inset options and the joints visible inside drawers give it away. Spend the money where your hands touch.
Troubleshooting
| Symptom | Likely cause | Fix |
|---|---|---|
| Smoke escapes the hood when searing | Hood too narrow, mounted too high or undersized CFM | Raise CFM, lower to 30″ above cooktop, or replace with wider hood; check makeup air is working |
| Windows or doors whistle when hood runs | No makeup air; house is depressurized | Add a makeup air unit interlocked with the hood |
| Breaker trips running oven and cooktop together | Shared or undersized circuit, or panel at capacity | Have an electrician run dedicated circuits; get a load calculation and possible service upgrade |
| Drawer and door gaps uneven | Cabinets not shimmed level, or hinges not adjusted | Adjust hinges (most have 3-way adjustment); if severe, cabinets must be re-leveled before counters |
| Dull rings on marble | Etching from acids (citrus, wine, tomato) | Hone with marble polishing compound or call a stone restorer; accept patina or switch to quartzite next time |
| Seam visible in counter | Poor slab layout or mismatched epoxy color | Ask fabricator to re-fill and color-match the seam; plan seams away from sinks and cooktops |
| Island stools bump knees | Overhang under 12″ at counter height | Extend overhang with steel supports or switch to fewer, armless stools |
| Haze on zellige or handmade tile | Grout residue not removed in time | Clean with a grout haze remover made for the tile type; test on a spare piece first |
| Glare on glossy counters from lights | Recessed lights directly over the counter edge, or high color temperature | Shift fixtures toward the counter front, use lower-glare trims and 2700-3000K bulbs |
| Dishwasher panel won’t line up | Panel size or hinge spec wrong | Refit using the exact appliance model’s panel spec; may need a new panel |
When to call a pro
Call a licensed electrician for any new 240-volt circuit, panel change or service upgrade. Call a licensed plumber or gas fitter for moving supply lines, drains or any gas work. If you’re removing or opening a wall, hire a structural engineer to confirm whether it’s load bearing. Hire an HVAC contractor for makeup air and duct runs over 400 CFM. For a luxury kitchen, a general contractor should coordinate all of them. The only DIY-friendly parts are design decisions, sample selection, painting walls and some finish hardware.
FAQ
How much does a high end kitchen renovation cost?
Most high end kitchen renovations fall between $100,000 and $250,000. Very large kitchens with custom millwork, multiple appliance suites and imported stone go well past $300,000. The biggest swing factors are cabinetry grade, appliance brand, stone choice and whether walls, windows or plumbing locations move.
What’s the difference between a high end kitchen remodel and a midrange one?
A midrange remodel replaces finishes in roughly the same layout with semi-custom cabinets and standard appliances. A high end kitchen remodel typically reworks the layout, uses custom or high-grade semi-custom cabinetry, pro-grade or panel-ready appliances and natural stone, and adds features like a scullery, pot filler and layered lighting.
Does a luxury kitchen remodel add value to a house?
It adds livability far more than resale value. Remodeling magazine’s Cost vs. Value data has consistently shown upscale major kitchen remodels recovering well under half their cost at sale. A smaller, well-executed midrange update usually recovers a larger percentage. Do a luxury kitchen because you’ll live with it for years.
Should I use quartz or marble in a luxury kitchen?
Use marble if you love the look and accept etching and patina over time. Use quartz or quartzite if you want a marble look with less maintenance. Many designers split the difference, putting marble on the backsplash and quartzite on working counters.
How long does a luxury kitchen renovation take?
Plan on 4 to 9 months from first design meeting to finished room. Construction itself usually takes 8 to 16 weeks. Most of the wait comes from design approval and 10 to 16 week cabinet lead times.
Can I live in the house during a luxury kitchen remodel?
Yes, most people do. Set up a temporary kitchen in another room with the old fridge, a microwave, an induction hot plate and a folding table. Expect 8 to 16 weeks of paper plates and dust, and seal the work zone with zip-wall plastic and negative air if anyone in the house has allergies.