To finish a basement, you fix the moisture first, pull a permit, then work in a fixed order: rough plumbing, foam on the walls, framing, electrical, inspection, drywall, ceiling, floor, trim. Done yourself, an 800-square-foot basement runs roughly $15,000 to $28,000 and 8 to 12 weekends; hiring it out typically lands between $25 and $100 or more per square foot, with most jobs in the $30 to $65 range. The sequence matters more than any single skill, because every inspection and every layer depends on what went in before it.
Quick steps: finish an unfinished basement
- Test the slab and walls for moisture and fix any leaks before buying lumber.
- Draw a floor plan, confirm ceiling height and egress, and pull the building permit.
- Clear the space, cut the slab for any bathroom drains, and rough in plumbing.
- Glue 2-inch rigid foam to the foundation walls and tape the seams.
- Frame walls, soffits and the mechanical room with a treated bottom plate.
- Run electrical, HVAC ducts and bath fan, then pass the rough inspection.
- Insulate the rim joist, add fire blocking, hang and finish drywall.
- Paint, install flooring, doors and trim, then call for the final inspection.
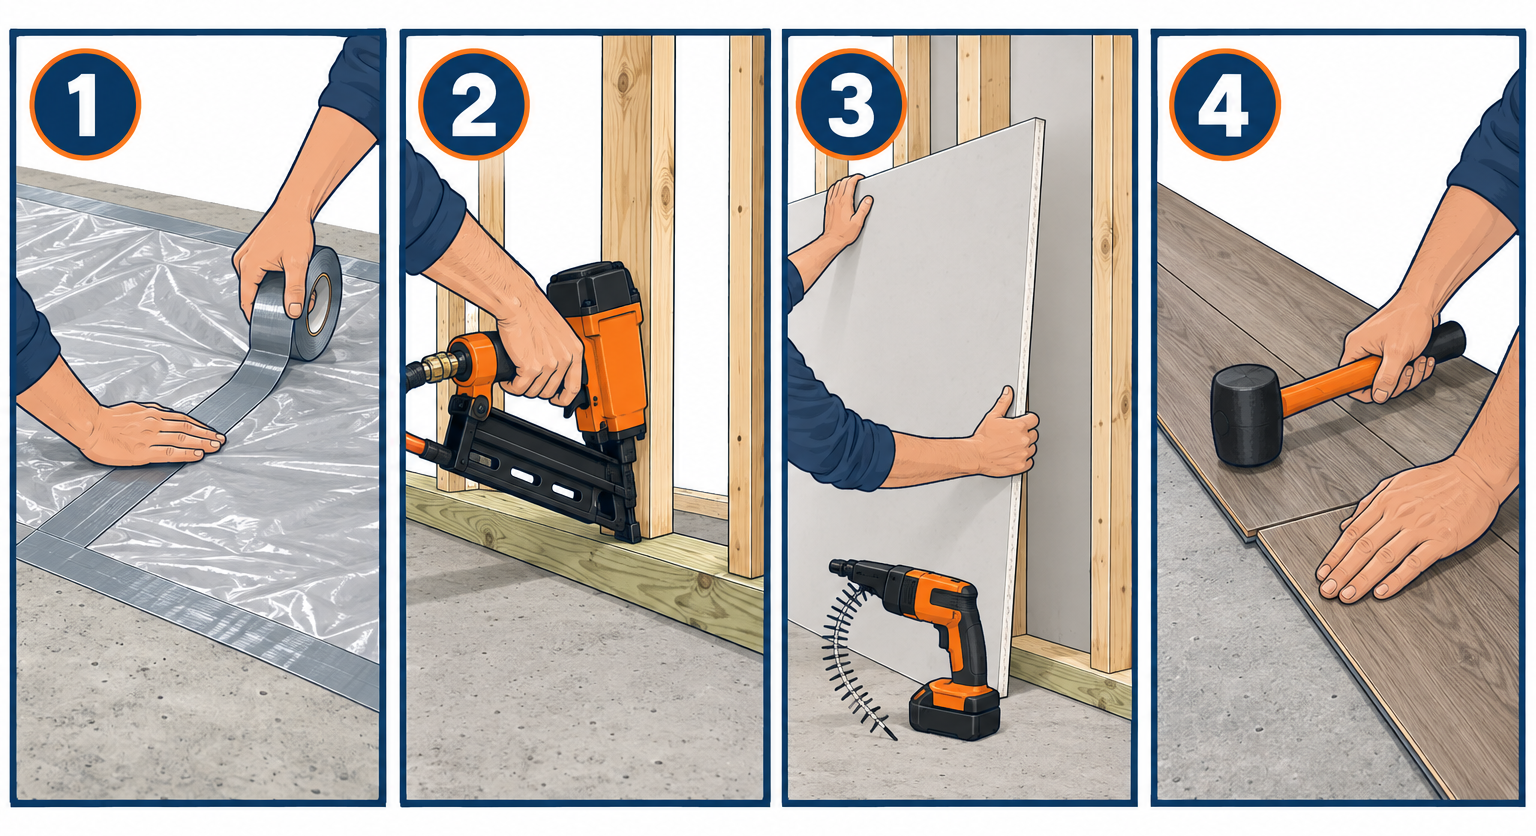
Tools and materials
- Framing nailer with 3-inch nails, or 16d framing nails and hammer
- Powder-actuated nailer with .22 loads, or 3/16 x 2-3/4-inch Tapcons and hammer drill
- 4-foot level, chalk line, 25-foot tape, framing square, speed square
- Circular saw, miter saw, reciprocating saw, oscillating multi-tool
- Drill/driver, drywall screw gun, 1-1/4-inch coarse drywall screws
- Drywall lift (rental, about $40 a day), 6-, 10- and 12-inch taping knives, mud pan
- 2×4 studs (kiln-dried), pressure-treated 2×4 bottom plates, sill seal foam
- 2-inch XPS or polyiso rigid foam, foam board adhesive, foil seam tape, low-expansion spray foam
- 1/2-inch drywall for walls, 1/2-inch or 5/8-inch for ceilings, paper tape, setting compound, all-purpose compound
- 14-2 and 12-2 NM cable, old-work boxes, AFCI and GFCI breakers or devices
- 6-mil polyethylene sheet, duct tape, hygrometer for moisture testing
- Dust masks (N95), safety glasses, hearing protection, knee pads
Calculators for this job
Safety first
Turn off the breaker and verify with a non-contact tester before touching any existing wiring. Wear an N95 and run a box fan to a window when cutting concrete, drywall or foam. Never seal the furnace or water heater into a closed room without a combustion air plan.
Step 1: Test for moisture and fix it before anything else
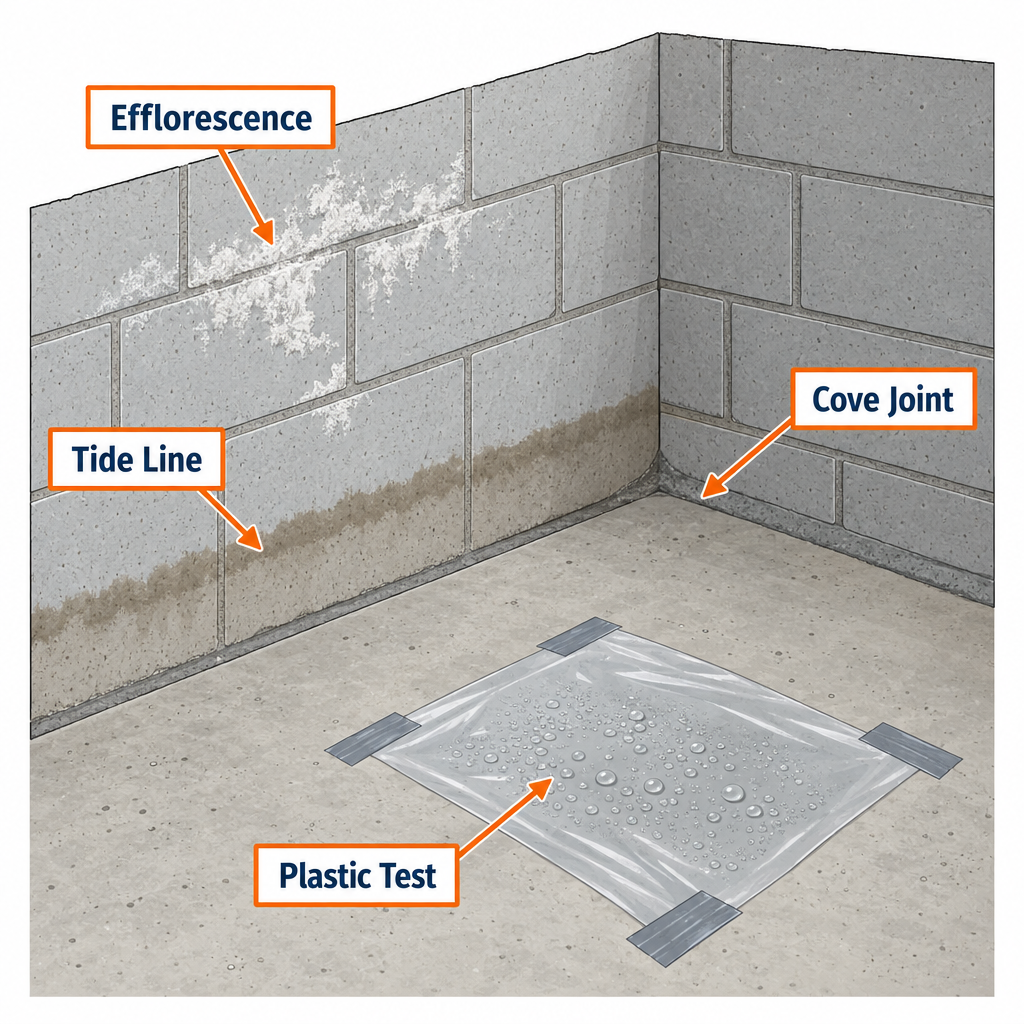
Every failed basement finishing job started with a wet slab that somebody covered up. Spend two weeks on this step and you will never tear out moldy carpet later.
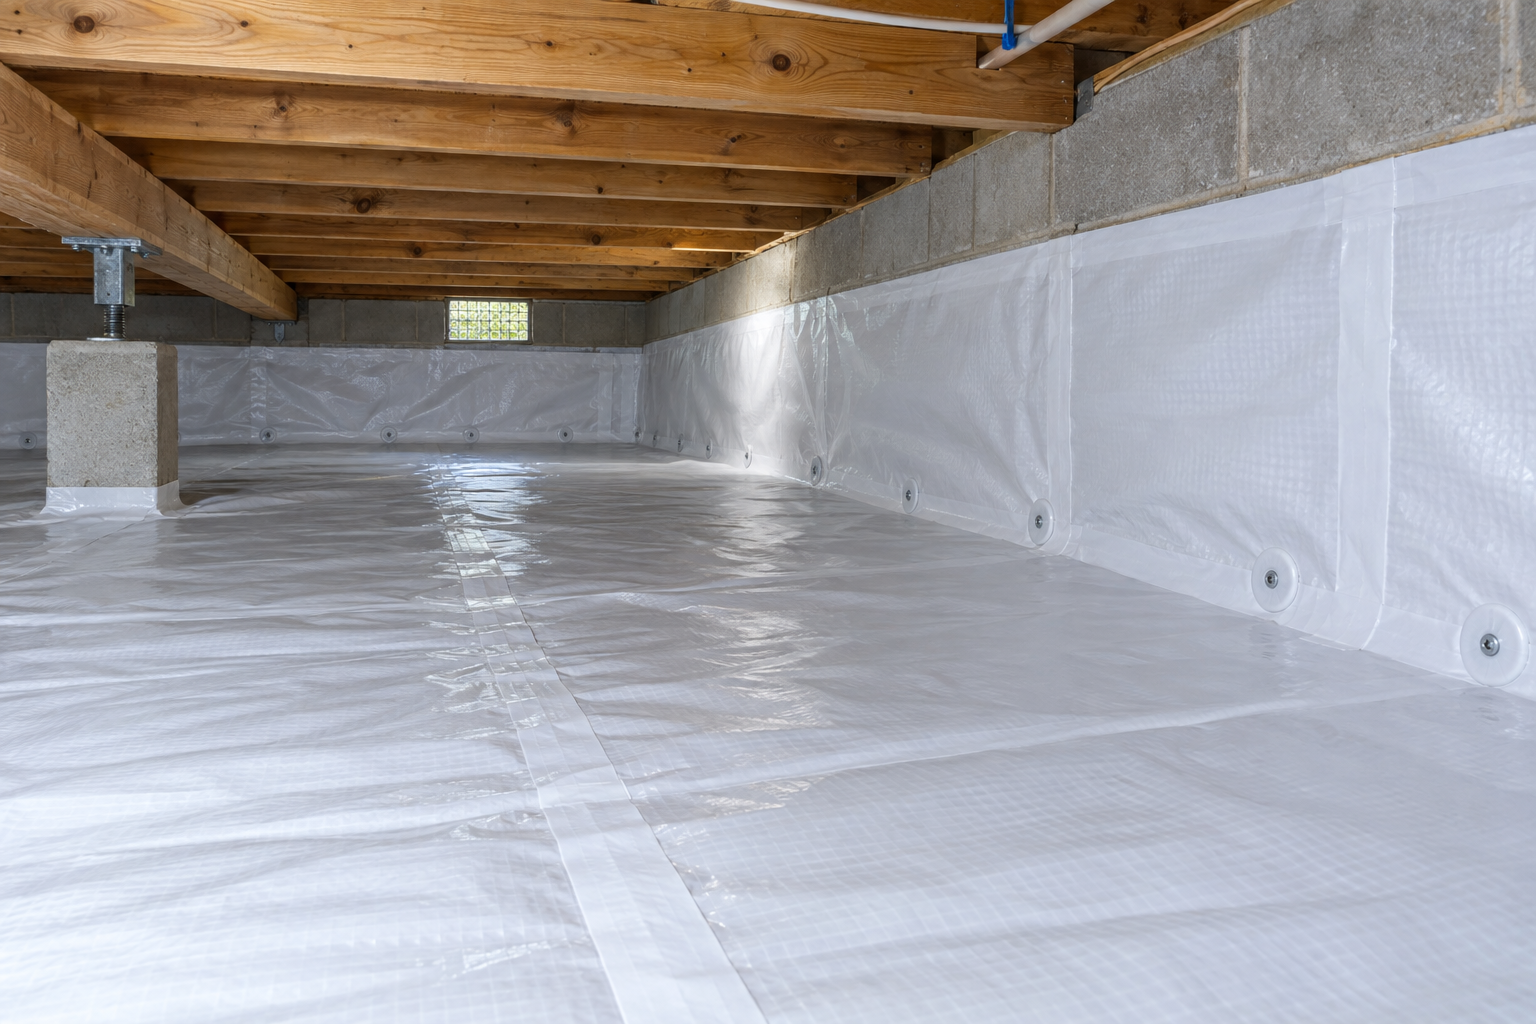
Tape a 2-foot square of 6-mil plastic to the bare slab with duct tape on all four edges. Do the same on a foundation wall. Leave both for 48 hours. If the concrete underneath darkens or the plastic fogs up, moisture is coming through and you need a vapor-resistant floor assembly or a drainage fix, not just flooring.
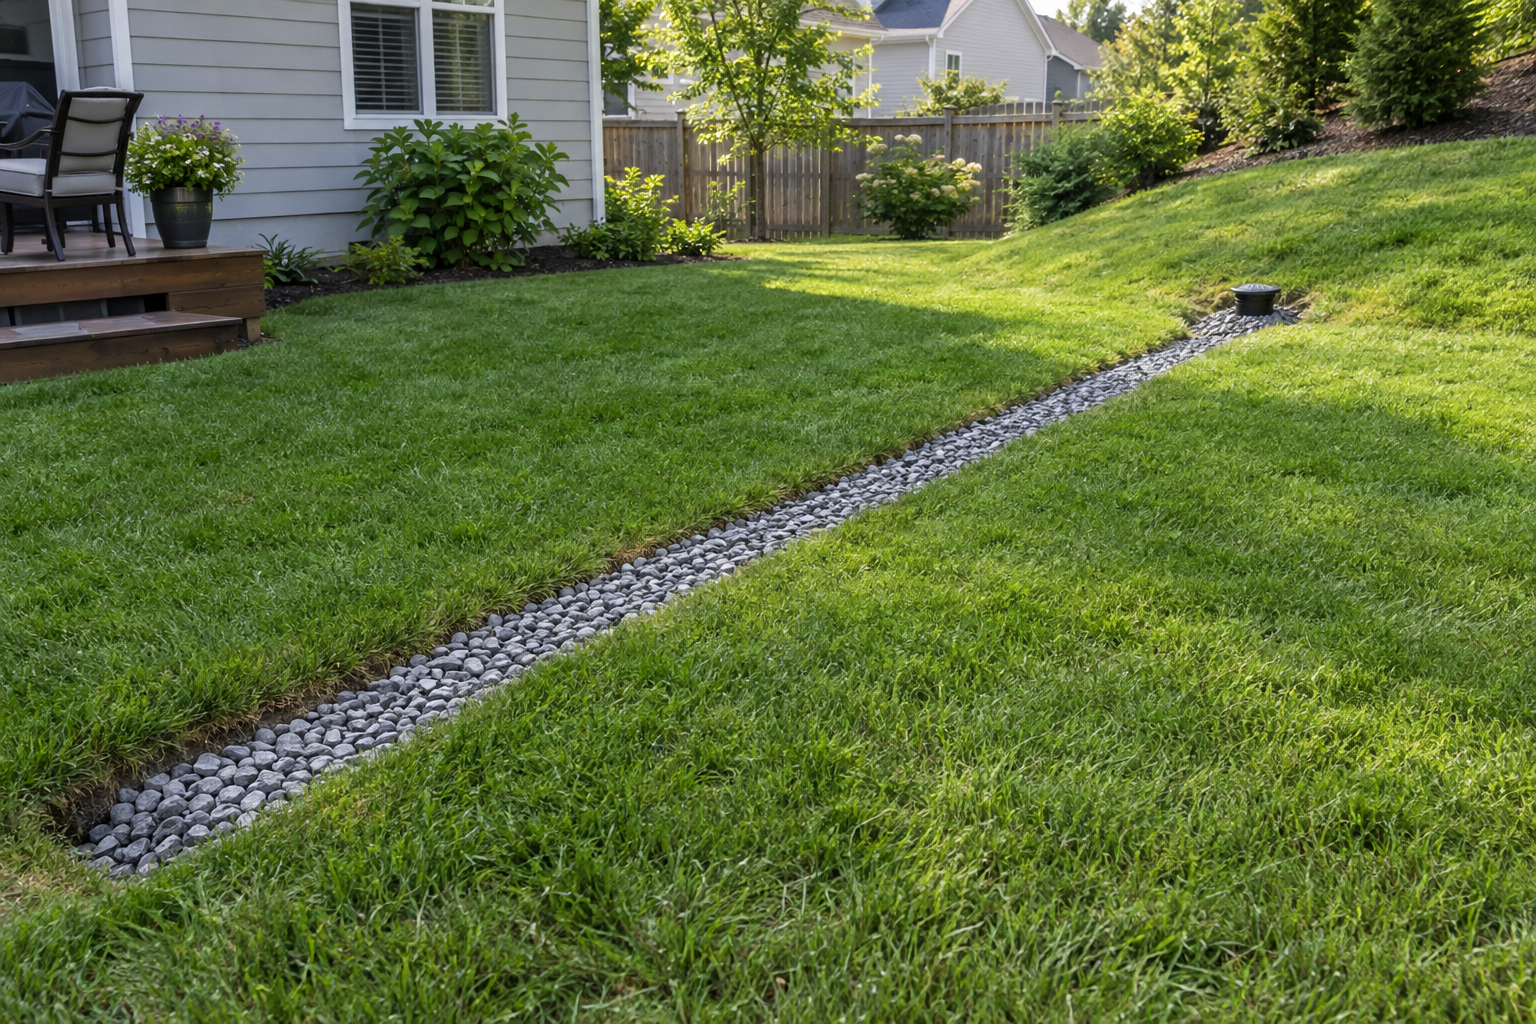
Walk the perimeter after the next hard rain. Chalky white efflorescence on the block, a tide line 2 to 6 inches above the floor, or rust on the bottom of the water heater all point to water that comes and goes. A hairline crack that weeps needs a polyurethane injection kit (about $100 to $150 for 8 feet). Water that pools along the cove joint where wall meets floor calls for an interior french drain tied to a sump pump, which is a $3,000 to $8,000 fix for a typical basement but still cheaper than redoing the finish.
Outside, grade the soil to fall 6 inches over the first 10 feet, add 4-foot downspout extensions, and clean the gutters. Half of “leaky” basements are gutter problems.
Set a $20 hygrometer on a shelf for a week. Summer humidity above 55 percent means you will need a dedicated dehumidifier draining to a floor drain or condensate pump, budgeted as part of the project, not an afterthought. Test for radon while you wait, since the fix (a 4-inch pipe and fan, roughly $1,200 to $2,000) is far easier before walls go in.
Step 2: Plan the layout, check the code limits, pull the permit
Measure the basement and draw it at 1/4 inch to the foot on graph paper. Mark every immovable thing: the furnace, water heater, electrical panel, sump, main shutoff, cleanout, steel columns, the beam, and every duct and drain line that drops below the joists.
Check three numbers before you commit to a plan:
- Ceiling height. Habitable rooms need 7 feet clear. Beams, girders and ducts can drop to 6 feet 4 inches in most jurisdictions, but not a whole ceiling. If you have a 7-foot-2 basement, a drop ceiling will take you under the limit and you will be drywalling the joists instead.
- Egress. Any bedroom, and in most codes any finished basement at all, needs an emergency exit that isn’t the stairs. A basement egress window needs a net clear opening of 5.7 square feet, at least 20 inches wide and 24 inches high, with the sill no more than 44 inches off the floor. Add the well, drain and ladder and you are looking at $2,700 to $8,500 installed, with most jobs landing around $4,000 to $5,000. Plan it now; it changes where the bedroom goes.
- Mechanical clearances. Keep 30 inches of working space in front of the panel and the furnace, with a 36-inch clear path to the panel. Fuel-burning appliances need combustion air, so the mechanical room gets a louvered door or a pair of transfer grilles, never a solid door.
Keep the panel outside any bedroom or bathroom. Put the bathroom as close to the existing stack or cleanout as the plan allows. Leave an access panel wherever a shutoff valve or cleanout will end up behind drywall.
Then take the drawing to the building department. A finishing permit typically runs $200 to $1,500 depending on your town and project value, and it usually bundles framing, electrical, plumbing and mechanical with two or three inspections. Skipping it means the square footage can’t be counted when you sell, and your insurer can deny a claim on unpermitted work. Many towns require a licensed electrician or plumber to pull their portion even when the homeowner does the rest, so ask up front.
Step 3: Clear the space and mark the slab
Move everything out, including the shelving you think you can work around. You will need clear floor to cut studs and stand drywall sheets.
Scrape the slab, sweep it, and vacuum the perimeter where the plates will sit. Pull any old furring strips, nails and random hooks off the joists. Note which joists have been notched or drilled by a previous owner; a joist with a 2-inch hole through the bottom chord needs a sister before you load it with drywall.
Snap chalk lines for every wall on the slab. Perimeter walls get framed 1/2 to 1 inch off the foam, never tight to the foundation. Interior walls get lines on both faces of the plate so you can see the full 3-1/2 inches. Mark door openings with an X. Walk the plan with a tape measure one more time and check that the furniture you own actually fits.
Shut off and cap any plumbing you will be moving, and photograph every existing wire and pipe run before walls hide them.
Step 4: Rough in the plumbing (and break the slab if you need to)
A basement bathroom is the one piece of this job that has to happen before framing, because the drain is under the slab.
Find the main drain’s depth by opening the cleanout and dropping a tape in. If the existing line runs below the slab deep enough for a 1/4-inch-per-foot fall from the new toilet, you cut the concrete, trench, and tie in with a 3-inch PVC wye. Mark a trench 12 inches wide along the drain path, score it with a diamond blade in a rented concrete saw, then break it out with a rented 35-pound electric jack hammer. Budget a full day of brutal work plus $150 in rentals for a 15-foot trench.
If the main line exits above slab level, you have two options. A sewage ejector pit (an 18-by-30-inch basin with a 1/2-horsepower pump, about $400 to $600 in parts) goes in a hole beside the bathroom and pumps up to the main. Or you skip the concrete entirely with an upflush macerating toilet system, which sits on top of the slab, handles a toilet, sink and shower, and installs in an afternoon for $900 to $1,400.
Rough in the shower drain, the 2-inch sink drain, the toilet flange (set at finished floor height, so account for the tile or subfloor thickness), and the 1-1/2-inch vent runs tied into an existing vent stack. Pour the slab back with bagged concrete mix, 3 inches minimum, and let it cure a week before loading it. Run the 1/2-inch PEX supplies now too, stubbed up and capped with push-fit caps.
This is the point where many homeowners hire a plumber for a day. Expect $1,500 to $4,000 for a bathroom rough-in when existing rough-in connections are already in place, or $4,000 to $10,000 or more when the slab has to be cut for new drain lines.
Step 5: Insulate the foundation walls with rigid foam
Rigid foam against the concrete does three jobs at once: it insulates, it stops warm indoor air from condensing on cold concrete, and it lets the wall dry inward. Fiberglass batts stuffed against block do none of those well. Do not hang polyethylene sheeting on the inside of the studs either; a basement wall needs to dry toward the room, and a plastic vapor barrier traps water inside the cavity.
Use 2-inch extruded polystyrene (XPS, R-10) or foil-faced polyiso (about R-12 at 2 inches). Most climates in the northern half of the country want R-10 to R-15 continuous on basement walls; check your local energy code, since zones 6 and up often require R-15.
Cut sheets with a utility knife and straightedge, or a fine-tooth handsaw. Run a continuous bead of foam-board adhesive (not standard construction adhesive, which eats the foam) in an S pattern and press the sheet to the wall. Butt the sheets tight and tape every seam with foil tape. Fill gaps at the top, bottom and around pipe penetrations with low-expansion spray foam. Keep the foam 1/2 inch off the slab so any water that reaches the floor isn’t wicked up.
Code requires foam to be covered with a 15-minute thermal barrier, which is 1/2-inch drywall on the framed wall in front of it. That is why the drywall goes on even behind closets and the mechanical room.
Pro tip
Buy foam board in 4-by-8 sheets and snap a horizontal chalk line at 48 inches on the wall. Hang the bottom course first, then the top. You will waste almost nothing, and the seam lands behind a stud bay where a drywall screw can’t find it.
Do the rim joist now while you have foam and the spray can out. Cut 2-inch pieces to fit each joist bay, press them against the band board, and seal the perimeter with spray foam. This is the leakiest part of most basements, and it takes two hours.
Step 6: Frame the walls, soffits and mechanical room
Measure the floor-to-joist height at both ends of each wall and at the middle. Basement slabs are rarely level, so cut studs per wall, not per basement. Standard 92-5/8-inch precuts are usually too long; expect to cut every stud.
Build each wall flat on the slab, then stand it. Lay out plates at 16 inches on center, hooking the tape on the end and marking at 15-1/4, 31-1/4 and so on, with an X on the far side of each line. The bottom plate is pressure-treated 2×4, with a strip of sill seal foam under it. The top plate is standard kiln-dried lumber. Nail the plates to the studs with two 16d nails through the plate into each end.
Build walls 3/4 inch shorter than your shortest measurement so you can tip them up, then shim at the top plate with cedar shims before nailing to the joists. Where a wall runs parallel to the joists, add 2×4 blocking between the joists every 24 inches to give the top plate something to nail into.
Fasten the bottom plate to the slab with a powder-actuated nailer (2-1/2-inch pins every 24 inches) or 3/16-by-2-3/4-inch Tapcons, which need a 5/32-inch masonry bit and a hammer drill. Check the wall for plumb with a 4-foot level in both directions before firing a single pin.
Frame door openings 2 inches wider than the door and 82-1/2 inches tall for a standard 80-inch prehung door. Use a doubled 2×6 header on a bearing wall, or a flat 2×4 on a non-bearing interior wall if your inspector allows it. Interior doors should be 30 inches minimum, 32 inches if you ever want to move a dresser through.
Box in the beam and ducts with soffits: a 2×2 “ladder” of 2x4s laid flat, hung from the joists, with a vertical ladder down the face. Keep every soffit at or above 6 feet 4 inches. Box steel columns with 2x4s on four sides. Never remove or relocate a column; that is structural work and a pro job.
Frame the mechanical room to leave 30 inches clear in front of the furnace and water heater, and a route to carry the water heater out. If the washing machine lives down here, give the laundry area its own framed nook with a 2-inch drain standpipe and a recessed supply box, or you will be snaking hoses behind drywall forever.
Install fire blocking as you go: a 2×4 flat on top of the stud wall closes the gap between the top plate and the foundation, and horizontal 2×4 blocking goes in any concealed space taller than 10 feet, which usually means the stairwell wall. Mineral wool stuffed tightly into the gap satisfies most inspectors too.
Step 7: Run the electrical, HVAC and low-voltage
Plan the circuits on paper first. A finished basement usually needs at least three new 15- or 20-amp circuits: one for general lighting, one or two for receptacles, and a 20-amp dedicated circuit for the bathroom. Add a 20-amp dedicated circuit for a microwave or bar fridge, and a 15-amp dedicated circuit for the sump pump if it shares one with anything.
Receptacle spacing follows the 6/12 rule: no point along a wall can be more than 6 feet from an outlet, so outlets land every 12 feet, and any wall 2 feet or longer gets one. Put an outlet within 6 feet of every door. Mount boxes 12 inches to the bottom of the box, switches at 48 inches to the top. Every 15- and 20-amp circuit serving finished living space needs AFCI protection, which means a $45 to $60 AFCI breaker or a combination AFCI/GFCI device at the first outlet. Bathroom, laundry and any outlet within 6 feet of a sink needs GFCI.
Drill the studs with a 3/4-inch spade bit centered in the stud (at least 1-1/4 inches from either face) or add 1/16-inch nail plates. Staple cable within 8 inches of each box and every 4-1/2 feet along the run. Leave 8 inches of free conductor in every box. Use 14-2 for 15-amp circuits and 12-2 for 20-amp.
For lighting, 4-inch or 6-inch LED wafer lights are the right call: they are 1/2 inch thick, need no can in the joist bay, and one per 25 to 40 square feet gives even light. Wire a 3-way switch pair at the top and bottom of the stairs. Add a hardwired, interconnected smoke alarm in the main room and in every bedroom, plus a CO alarm within 15 feet of the mechanical room door.
HVAC: every room needs a supply and a return. Tap the main trunk with a 6-inch takeoff collar and run flex or hard duct to a ceiling or wall register, and cut a return grille into the joist bay nearest the furnace. If the system is undersized, this is the time to ask an HVAC tech to run a load calculation; a basement adds load the existing ac unit may not have been sized for. The bathroom fan needs 50 CFM minimum, ducted outdoors through 4-inch rigid duct, never into a joist bay.
Pull a few runs of Cat6 and RG6 coax while the walls are open. Low voltage is cheap now and miserable later.
Call for the rough inspection with framing, plumbing, electrical and HVAC all exposed. The inspector will check nail plates, box fill, AFCI plans, fire blocking, the egress window opening and header sizes. Fix the punch list, get the signature, and only then move on.
Pro tip
Photograph every wall with a tape measure in the frame before drywall goes up. When you want to hang a TV mount or a shelf two years later, you’ll know exactly where the cable, the studs and the duct run.
Step 8: Insulate the soffits and bedrooms, then fire-block anything new
With foam on the walls, most of the insulating is already done. What remains is sound control and the odd cold spot.
Stuff unfaced R-13 or R-15 batts into the joist bays over bedrooms and the bathroom to kill footstep noise from upstairs; mineral wool blocks more sound for about $0.40 more per square foot. Fill the stud cavities of bedroom walls the same way. Do not put faced batts or plastic against the foam.
Insulate the wall around the stairs where it meets the garage or an unheated space, and foam any new penetrations you made for ducts, drains and wires through the rim joist. Walk the perimeter with a flashlight and hunt for daylight.
Some jurisdictions want a separate insulation inspection. Ask when you get the rough signed off so you do not hang drywall over something the inspector wanted to see.
Step 9: Hang and finish the drywall
Decide on the ceiling now, because it changes the order. Drywall on the joists takes only 1/2 inch of height and looks like the rest of the house, but every shutoff and junction box needs a 12-by-12 or 14-by-14 access panel. A suspended grid ceiling eats 3 to 4 inches, costs about $2 to $4 per square foot in materials, and gives you access to everything. In a 7-foot-6 basement, drywall it. In an 8-foot-plus basement with a lot of plumbing overhead, the grid is the honest answer.
Ceiling first, then walls, so the wall sheets support the ceiling edges. Rent a drywall lift for the ceiling; it turns a two-person fight into a one-person job. Use 1/2-inch board on joists 16 inches on center, or 5/8-inch on 24-inch centers to avoid sag. Many inspectors require 5/8-inch Type X on the mechanical room ceiling and walls, so ask.
Hang sheets horizontally on the walls with the factory edges meeting in the middle, staggering the butt joints. Drive 1-1/4-inch coarse-thread screws every 12 inches on ceilings and 16 inches on walls, dimpled just below the paper without breaking it. Cut outlet openings with a rotary tool or a drywall saw after marking from your photos. Leave a 1/2-inch gap at the slab; the baseboard hides it and the paper never touches wet concrete.
Tape with paper tape bedded in 45-minute setting compound for the first coat; it does not shrink and it hardens whether or not it dries. Use lightweight all-purpose compound for the second and third coats, widening each pass with a 10-inch then a 12-inch knife. Inside corners get one side per coat so the knife never drags the other. Sand with a pole sander and 150-grit screen, wearing a respirator, then wipe the dust before priming.
Budget one weekend to hang an 800-square-foot basement and three weekends to finish it. Finishing is the part most people underestimate.
Pro tip
Skim a thin coat of compound over every ceiling joint with a 14-inch knife, then put the first coat of flat ceiling paint on before you install a single light trim. Ceilings show every flaw in raking light, and fixing them after the fixtures are in means masking every one.
Step 10: Prime, paint and trim out the ceiling
Prime bare drywall with a PVA drywall primer; regular paint on raw mud flashes dull patches you will see forever. Roll the ceiling with flat white, two coats. Roll the walls with an eggshell or satin in a light color that bounces the limited daylight, two coats, cutting in with a 2-1/2-inch angled sash brush.
Paint takes two days for most basements. While it dries, install the wafer lights, snap in the ceiling registers, mount the smoke alarms, and set the bath fan grille. If you chose a grid ceiling, build it now: wall angle at the perimeter, main tees every 4 feet hung on 12-gauge wire every 4 feet, cross tees at 2 feet, then panels.
Step 11: Lay the floor
The slab test from Step 1 decides this. Solid hardwood is off the table in any basement; it moves too much. Everything else works with the right underlayment.
Check flatness first with a 10-foot straightedge. Floating floors want no more than 3/16 inch of deviation in 10 feet. Grind high spots with a cup wheel on an angle grinder and fill lows with self-leveling underlayment (about $35 per 50-pound bag, covering roughly 25 square feet at 1/4 inch).
Your main options:
| Floor | Material cost per sq ft | What goes under it | Best for |
|---|---|---|---|
| Luxury vinyl plank (floating) | $2-5 | 6-mil poly or attached pad | Family rooms, any slab that passed the plastic test |
| Carpet with moisture-rated pad | $2-5 installed | Synthetic pad, no jute | Bedrooms, media rooms |
| Raised subfloor panels (2×2 OSB over dimpled plastic) | $2-3 for the panels alone | Nothing, lays on the slab | Slabs that showed some moisture, warmer feel underfoot |
| Porcelain tile | $3-8 plus thinset | Uncoupling membrane over the slab | Bathrooms, laundry, bar areas |
| Epoxy or sealed concrete | $1-3 | Clean, etched slab | Gyms, workshops, tight budgets |
For LVP, lay a 6-mil poly sheet with seams overlapped 8 inches and taped, then click the planks together starting along the longest straight wall with 1/4-inch spacers at the perimeter. Stagger end joints at least 8 inches. If the plastic test showed moisture, use the interlocking subfloor panels first; they raise the floor 7/8 inch and keep the finish floor off the cold, damp concrete.
In the bathroom, set the tile on an uncoupling membrane, grout, then install the toilet on the flange with a wax ring. Install the shower pan or base before the surrounding drywall goes on if it’s an alcove unit; sequence that one back into Step 9.
Step 12: Doors, trim, fixtures and the final inspection
Set the prehung doors first. Shim behind each hinge, check the gap is even around the slab, and drive one 2-1/2-inch screw through each hinge into the stud behind the shims. Swap the top hinge’s short screws for 3-inch screws to stop sag.
Run the baseboard (3-1/4-inch primed MDF is $1 to $1.50 a foot) with an 18-gauge brad nailer and 2-inch brads, coping inside corners and mitering outside ones. Case the doors and the egress window. Fill nail holes, caulk the top edge and corners with paintable latex caulk, and paint.
Then the fixtures: outlet and switch devices, cover plates, the vanity and faucet, the bath fan, the towel bar nobody remembers until the walls are painted. Set the dehumidifier and run its hose to the floor drain or a condensate pump.
Call for the final inspection. The inspector tests the smoke alarms, checks GFCI and AFCI function with a plug tester, measures the egress opening, confirms the furnace room door and clearances, and looks for the required access panels. Once it’s signed off, send the permit card to your insurance agent and update the home’s square footage with the assessor if your town doesn’t do it automatically.
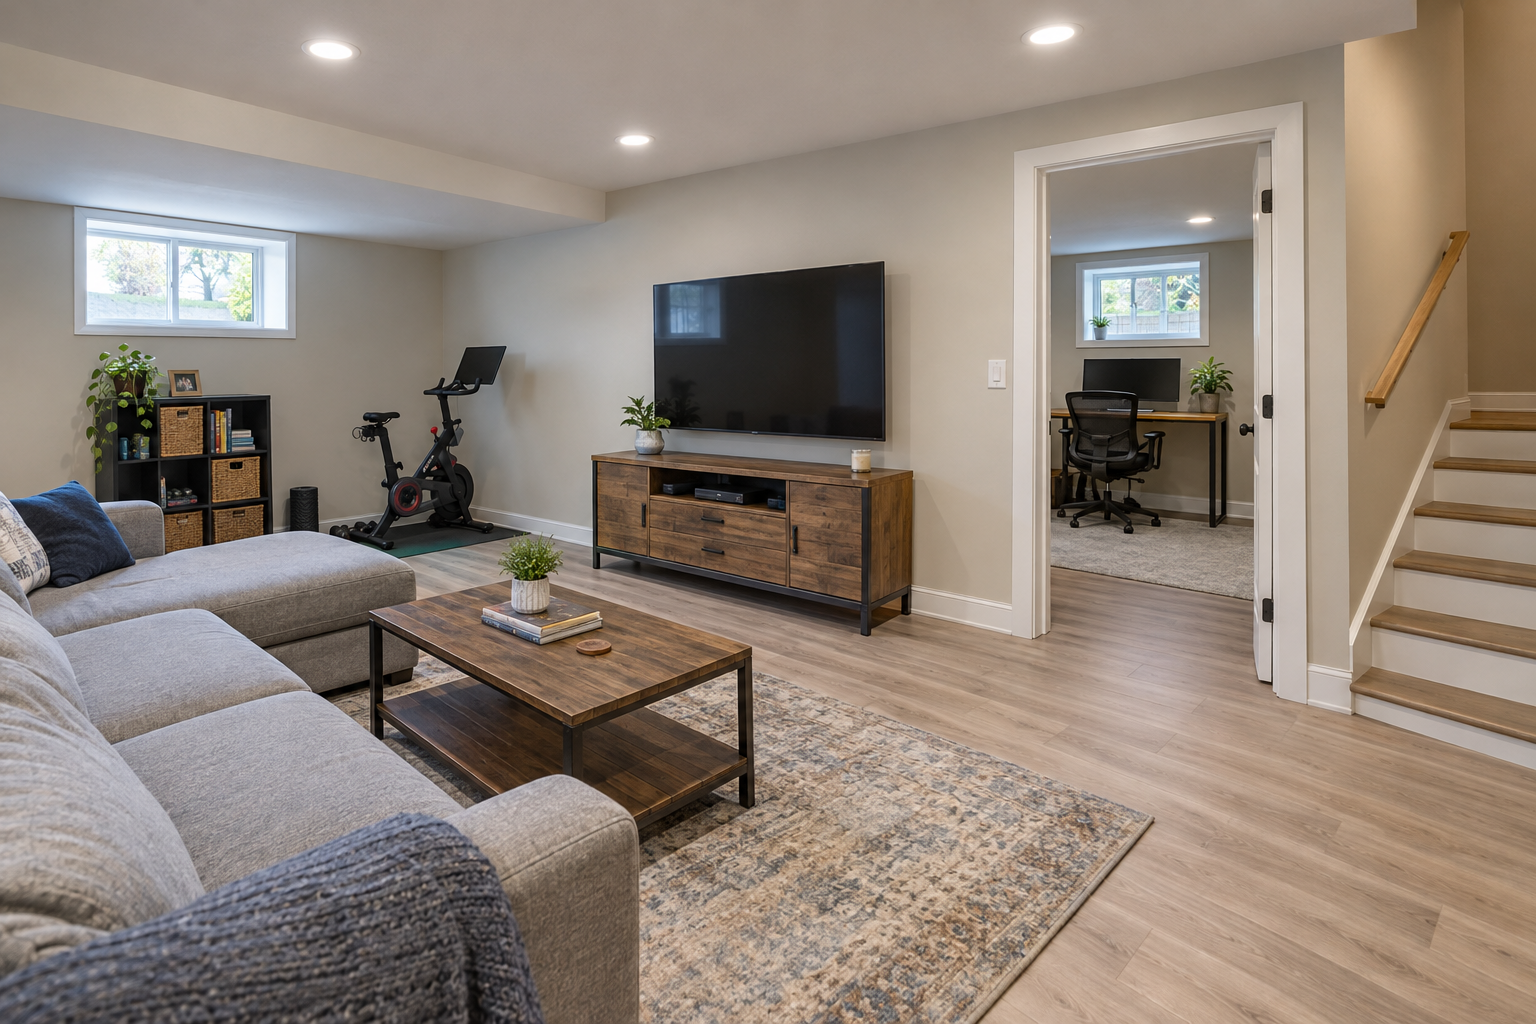
The expected result: a basement that reads as part of the house, holds 45 to 50 percent humidity in summer, stays within 3 or 4 degrees of the floor above, and adds appraised living area at roughly 50 to 70 percent of the value of above-grade space.
Troubleshooting a finished basement
| Symptom | Likely cause | Fix |
|---|---|---|
| Musty smell within a month | Humidity above 60 percent, or a slab leak you skipped testing for | Run a 50-pint dehumidifier set to 45 percent; pull a baseboard and check the drywall edge for moisture |
| Drywall cracks at soffit corners | Soffit framing moving with duct expansion or joists flexing | Cut out, re-tape with mesh and setting compound, add blocking behind the corner |
| Cold floor even with heat on | Floor laid directly on bare slab | Add area rugs now; next time use raised subfloor panels or cork underlayment |
| New lights flicker or breaker trips randomly | AFCI breaker reacting to a loose neutral or a shared neutral | Tighten every connection in the circuit; separate shared neutrals |
| Door won’t latch after a season | Bottom plate was fastened before the wall was plumb | Pull the strike, shift it 1/8 inch, or re-shim the hinge side |
| White chalk at the base of walls | Efflorescence, meaning water vapor is driving through | Check grading and gutters; if it persists, you need an interior drain, not more sealer |
| Toilet gurgles, slow drain | Missing or undersized vent on the new bathroom group | Open the wall and add an air admittance valve if the inspector allows, or tie into the vent stack |
| Ceiling sags between joists | 1/2-inch board on 24-inch centers | Add screws into every joist, or furr and re-hang with 5/8-inch board |
When to call a pro
Hire a structural engineer or foundation contractor for any wall crack wider than 1/4 inch, a bowed wall, or any plan that touches a beam or column. A licensed electrician handles the panel work and any new circuits where your town requires it. A licensed plumber takes the under-slab drain and the ejector pit. A licensed HVAC tech adds supplies and returns if the furnace is near its capacity. Call a waterproofing contractor if the slab test fails after you’ve already graded and fixed gutters.
FAQ
Can you finish a basement without a permit?
You can, but you shouldn’t. Unpermitted finished space can’t be counted as living area at sale, insurers can deny claims tied to it, and a buyer’s inspector will often flag it. The permit costs a few hundred dollars and buys you three free inspections of your own work.
How long does it take to finish a basement?
A contractor finishes a typical 800-square-foot basement in 4 to 8 weeks. Working weekends and a few evenings, plan on 8 to 12 weekends, with drywall finishing eating the most time.
What is the cheapest way to finish an unfinished basement?
Do the foam, framing, drywall and paint yourself, hire the electrician and plumber for a day each, skip the bathroom, choose a painted drywall ceiling over a grid, and use LVP or sealed concrete for the floor. That lands most basements around $7 to $23 per square foot for the DIY portion, compared with $25 to $75 or more per square foot for a contractor-finished basement.
Do I need an egress window to finish a basement?
If the space includes a bedroom, yes, without exception. Most codes also require one egress opening for any habitable basement space, even a family room. Verify with your building department before you draw the plan.
Can I finish a basement that gets damp in spring?
Only after you stop the water. Fix grading and gutters first, then add an interior drain and sump if it still comes in. Finishing over a damp slab guarantees mold and torn-out drywall within a few years.
Should I use a vapor barrier on basement walls?
Not a plastic sheet on the inside of the studs. Rigid foam glued to the concrete does the moisture control and lets the wall dry inward. Plastic over studs traps water in the cavity.