A bathroom remodel follows a fixed order: measure and plan, set the budget, design to code, order fixtures, pull permits, demo, fix the framing, rough in plumbing and electrical, waterproof, tile, finish, and walk through with a punch list. For a typical 5×8-foot hall bath, expect 3 to 6 weeks with a contractor or 6 to 12 weekends doing it yourself. Skipping a step, or doing two out of order, causes most of the leaks, cracked tile and failed inspections people blame on bad luck.
Quick steps: remodeling a bathroom
- Measure, photograph and inspect the room, then set scope and a budget with 15% contingency.
- Design the layout to code clearances and order long-lead fixtures before demo.
- Pull permits, then demo to studs and subfloor.
- Repair framing, add blocking, and run rough plumbing, electrical and venting.
- Pass rough-in inspection, hang backer board and waterproof the shower.
- Flood test, then tile, grout and seal.
- Paint, set the vanity, toilet, trim and accessories.
- Pass final inspection and walk through a written punch list.
Tools and materials
- Non-contact voltage tester and a GFCI outlet tester
- Reciprocating saw with demolition blades, oscillating multi-tool, 4-lb sledge and flat pry bar
- Shop vac with HEPA filter, P100 respirator, safety glasses, cut-resistant gloves
- 4-ft level, 6-ft level or straightedge, laser level (optional but worth it)
- Circular saw, drill/driver, impact driver, palm nailer or framing nailer
- PEX crimp or expansion tool, tubing cutter, propane torch if sweating copper
- Cement board or foam backer board (1/2 in.), alkali-resistant mesh tape, backer screws
- Liquid or sheet waterproofing membrane (RedGard, Hydro Ban, Schluter Kerdi or equivalent)
- Tile saw or wet saw, 1/2-in. square-notch trowel, margin trowel, mixing paddle, 5-gal buckets
- Thinset mortar (large-format formula for tiles 15 in. or longer), grout, grout float, sponges
- 100% silicone caulk for corners and changes of plane
- Wax or wax-free toilet seal, closet bolts, composite shims
Calculators for this job
Safety first
Shut off the bathroom circuits at the panel and confirm dead with a non-contact tester before you open any wall, and close the main water valve before cutting a pipe. Homes built before 1978 can have lead paint and pre-1980s floor tile, mastic and joint compound can contain asbestos, so test before demo and wear a P100 respirator, not a dust mask.
Pick your scope first: five remodel types compared
The biggest cost driver in any bathroom remodeling project is how much you move. Swapping finishes in place is cheap. Moving a 3-inch toilet drain across a floor full of joists is not. Decide your scope before you look at a single tile sample, because it sets your budget, your permit list and your schedule.
| Scope | What changes | Typical hired cost (5×8 bath) | Time | Permit usually needed? |
|---|---|---|---|---|
| Cosmetic refresh | Paint, vanity top, faucet, lights, mirror, accessories | $3,000-$8,000 | 3-7 days | Only for new electrical |
| Acrylic tub or shower system | Acrylic liner or wall panels over or replacing the old tub/shower; new valve trim | $6,000-$15,000 | 1-3 days | Sometimes, if the valve is replaced |
| Wet-zone gut, same layout | Full tear-out to studs, new valve, waterproofing, tile, fixtures in the same locations | $15,000-$30,000 | 3-5 weeks | Yes |
| Full gut with layout change | Fixtures move, new drains and vents, often a tub-to-shower conversion | $25,000-$45,000 | 5-8 weeks | Yes |
| Master bath expansion | Walls move, square footage grows, double vanity, separate tub and shower | $40,000-$100,000+ | 2-4 months | Yes, plus structural review |
Those ranges are mid-market estimates for US metro areas. Coastal cities and high-end finishes push the top end well past what the table shows, and rural markets can come in under it.
How to choose your scope
Use these five criteria, in this order:
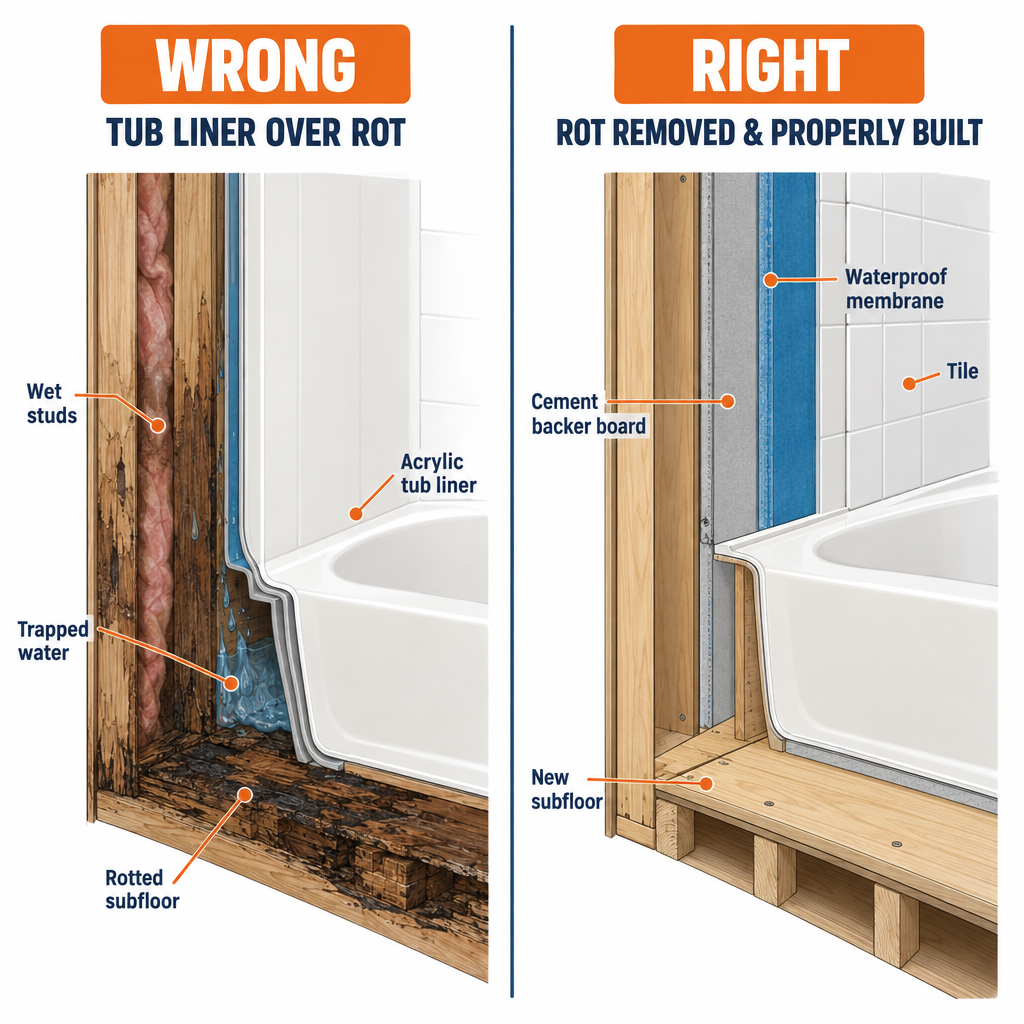
- Hidden damage. Push hard on the floor around the toilet and tub with your heel. Soft or springy subfloor means rot, and rot means a full gut regardless of what you wanted to spend.
- Does the layout work? If the door hits the toilet, or the vanity blocks the tub, you need a layout change. If you only dislike the color and finishes, you don’t.
- How long you’ll stay. If you plan to sell within three years, a clean cosmetic refresh or a wet-zone gut with neutral finishes recovers more of its cost than a high-end custom job.
- Your skill set. Tile and paint are learnable. Moving drains, adding circuits and changing vent stacks usually require a licensed trade and a permit in most jurisdictions.
- Budget with contingency. Whatever number you settle on, hold back 15% (20% in a house over 50 years old) for what you find behind the walls.
Top pick for most homes: gut the wet zone, keep the layout
For most bathrooms, the best value is a full tear-out that leaves the toilet, tub or shower drain, and vanity in their current locations. You get new waterproofing, a new valve, new tile and new fixtures, which is everything that fails with age, without paying to reroute drains and vents through joists. If the original layout functions, keeping it typically saves several thousand dollars in plumbing labor and floor framing compared with a full layout change.
The acrylic system route (the franchise companies that install bath liners and wall panels in a day or two) makes sense when your tub and walls are structurally sound, you don’t want a tiled look, and downtime matters more than customization. It is a poor choice if the wall behind the old tile is wet or soft, because a liner covers the problem instead of fixing it.
Step 1: Measure, photograph and inspect the room
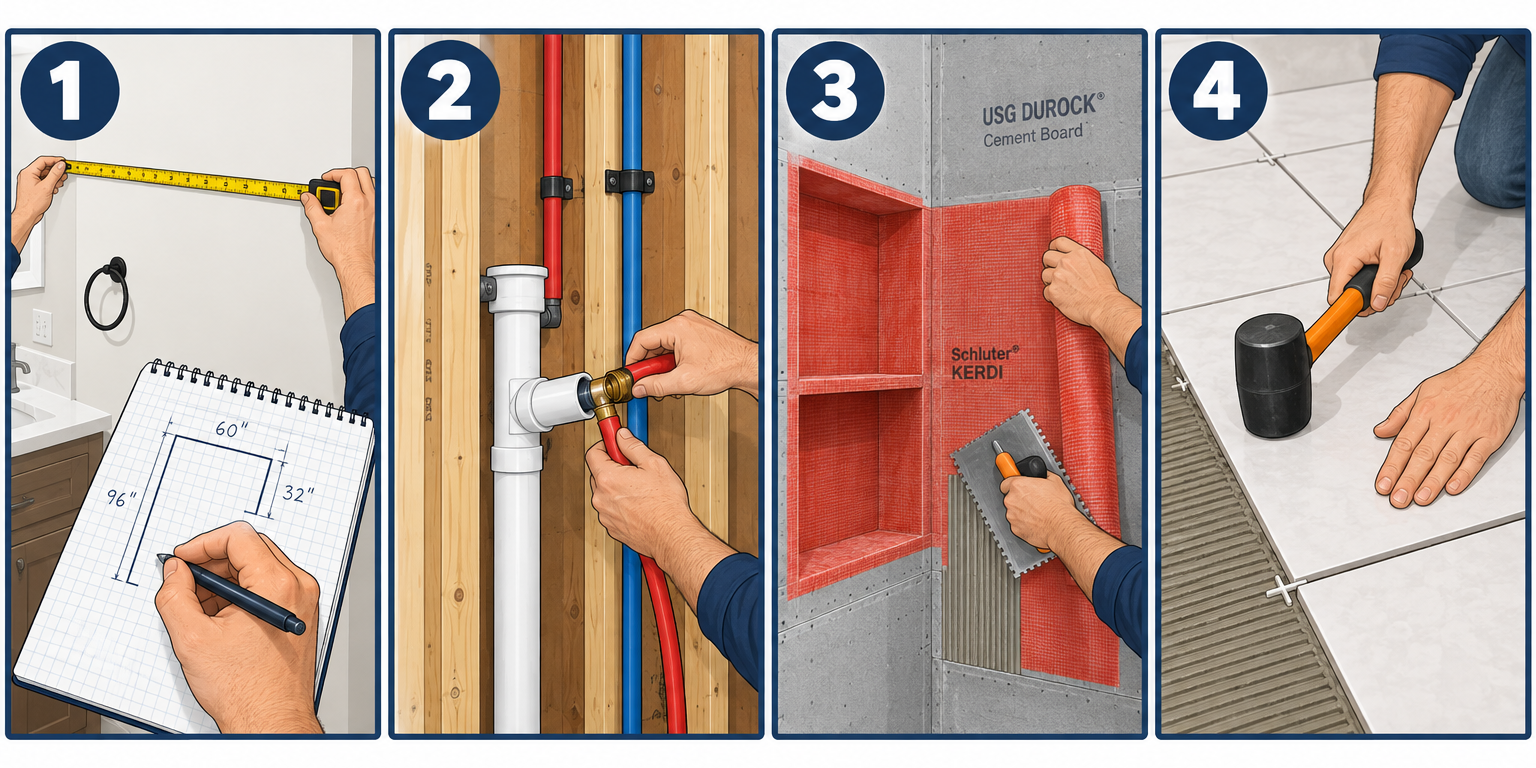
Start with a dimensioned sketch on graph paper or in a free floor-plan app. Record the room’s length, width and ceiling height, then the exact location of every fixture measured to its centerline from the nearest wall.
The measurements you need before you buy anything:
- Toilet rough-in: the distance from the finished wall (not the baseboard) to the center of the floor bolts. Most toilets are 12 inches; older homes often have 10 or 14 inches. Buying the wrong rough-in is one of the most common reasons a toilet gets returned.
- Vanity drain height: the center of the drain pipe coming out of the wall, typically 18 to 20 inches above the floor.
- Supply line positions: the height and spread of the hot and cold stub-outs at the vanity and toilet.
- Tub or shower footprint: 60 inches by 30 or 32 inches is the standard alcove tub. Note which end the drain is on.
- Door width and swing, plus window size and height off the floor.
- Joist direction and depth, visible from a basement or crawlspace below, which tells you where a drain can and cannot move.
Take photos of every wall, the floor, the ceiling, and the area under the sink from several angles. These photos become your before shots, they help contractors quote without a second visit, and they record what existed if a dispute comes up later.
Check for trouble while you’re there. Run the shower for five minutes and look for staining on the ceiling below. Probe grout lines at the bottom of the tub wall with a screwdriver; if it sinks in, the backer behind is likely wet. Look for a GFCI outlet and a working exhaust fan. In older bathrooms, renovations often reveal galvanized supply pipe, cast iron drains with rusted-through bottoms, and ungrounded wiring, so note the house’s age and expect at least one of those.
Step 2: Set the budget and line up financing
Build the budget from line items, not a single number. A mid-range, contractor-built wet-zone gut usually splits roughly like this:
| Category | Share of budget | Notes |
|---|---|---|
| Labor (all trades) | 40-50% | Higher if layout changes |
| Tile and setting materials | 10-15% | Includes backer, membrane, thinset, grout |
| Fixtures (toilet, tub/shower base, valve, faucets) | 10-15% | Valve and trim must be the same brand |
| Vanity, top and mirror | 10-15% | Custom vanities can double this |
| Electrical, lighting and fan | 5-10% | |
| Permits, dumpster, disposal | 3-5% | |
| Contingency | 15% | Not optional |
DIY cuts the labor share, but don’t assume you’ll save all of it. Tools you don’t own, wasted tile from learning cuts, and a plumber or electrician for the parts you shouldn’t do usually eat a quarter to a third of the savings.
Financing options and how to read them
Most homeowners pay for bathroom renovations one of four ways: cash, a home equity line of credit (HELOC), an unsecured personal loan, or financing offered through the contractor or a remodeling franchise. HELOCs generally carry the lowest rates because they’re secured by the house. Personal loans fund faster with no lien but cost more.
Contractor financing deserves the closest read. “No interest for 12 months” offers are frequently deferred-interest plans, which means if any balance remains when the promo ends, interest is charged back to the original purchase date. Ask whether the offer is true 0% or deferred interest, and get the answer in writing.
Treat discounts the same way. A “40% off” promotion that expires the day of the sales visit is a pressure tactic; the real test is whether the itemized price matches two other bids for the same scope. Free design consultations are standard in the industry, not a gift that obligates you to sign.
Step 3: Design the layout to code clearances
The International Residential Code (IRC), which most US jurisdictions adopt with local amendments, sets minimum fixture clearances. Your local building department has the final word, so confirm before you frame.
| Item | IRC minimum |
|---|---|
| Toilet centerline to side wall or obstruction | 15 in. |
| Clear space in front of toilet | 21 in. |
| Clear space in front of lavatory (sink) | 21 in. |
| Clear space in front of shower entrance | 24 in. |
| Shower interior area | 900 sq. in., able to contain a 30-in. circle |
| Exhaust fan (if no operable window) | 50 cfm intermittent, ducted outside |
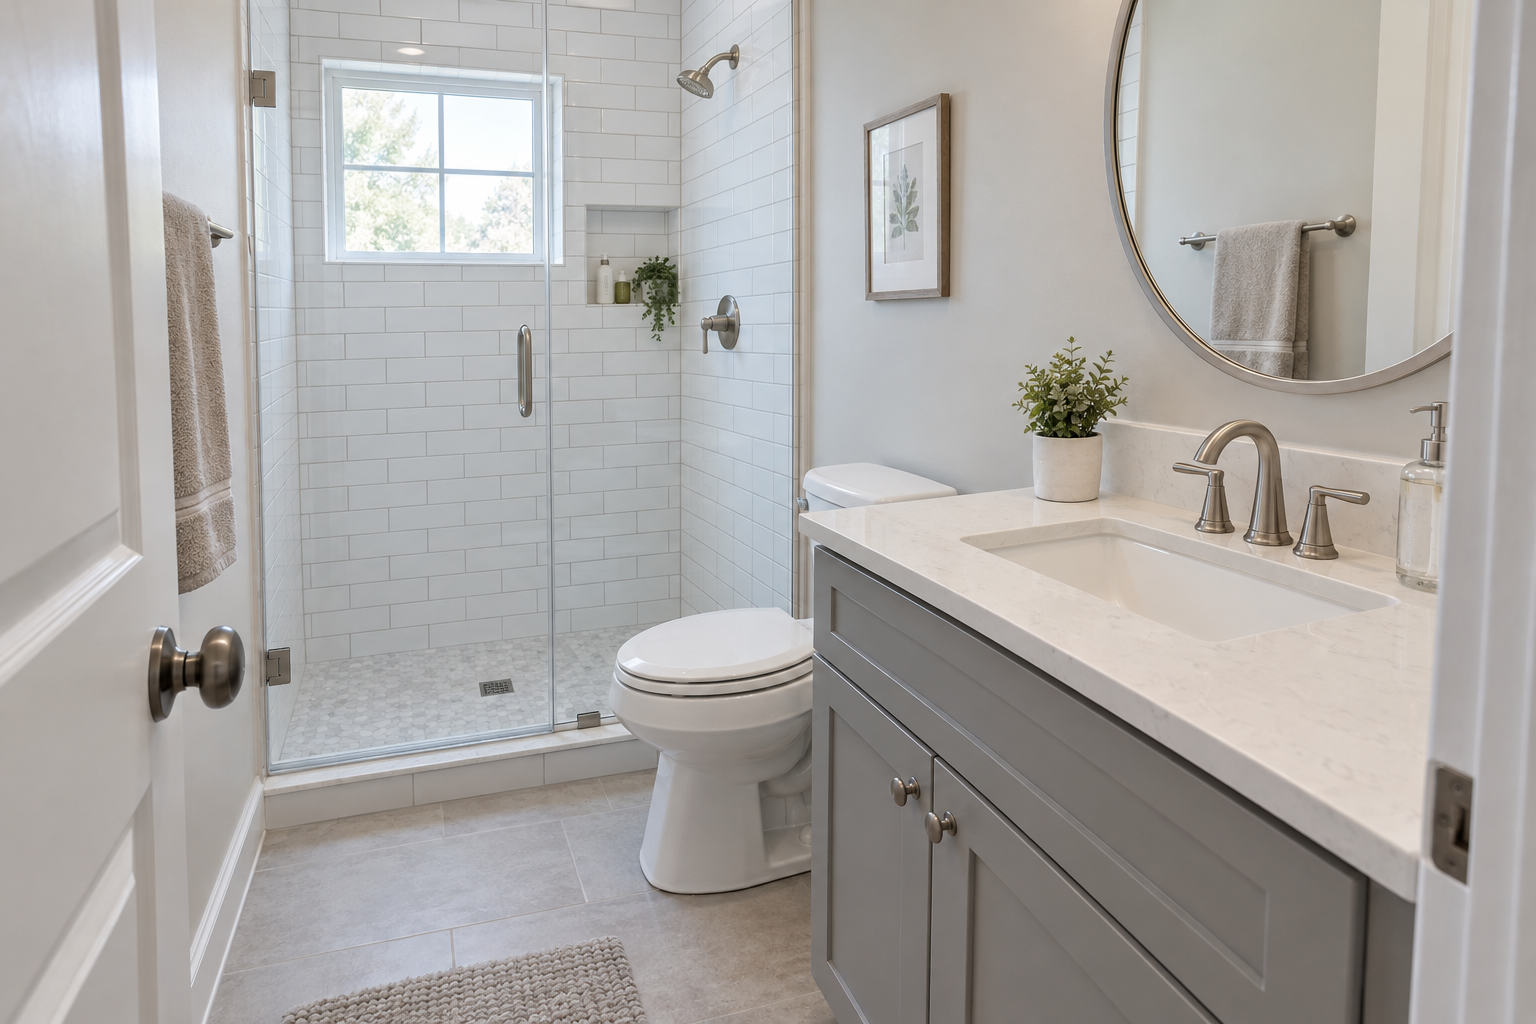
These are minimums, not targets. Most people find 18 inches from toilet center to wall and 30 inches in front of the toilet comfortable, and a 36×36-inch or 36×48-inch shower feels far less cramped than the code-minimum 30×30. If you’re working with a tight footprint, our guide to bathroom remodel for small bathrooms covers how to keep function in a 5×7 or smaller room.
Layout decisions that cost the most to undo
Tub vs. shower. Converting a 60-inch tub alcove to a walk-in shower is the most requested change. It’s usually smart in a master bath, but keep at least one tub in the house if families with young children are your likely buyers. If you’re weighing a curbless, alcove, neo-angle or walk-in design, our rundown of types of showers walks through the drain and slope requirements for each.
Curbless showers. A zero-threshold entry requires recessing the floor framing 1 to 2 inches or using a linear drain with a sloped system, which may mean cutting into joists. Get an engineer or experienced framer involved before demo, not after.
Lighting. Plan three layers: a vanity light at roughly 75 to 80 inches above the floor or sconces on each side of the mirror at about eye level, a ceiling fixture or recessed lights for general light, and a wet-location-rated fixture in the shower if it’s enclosed.
Ventilation. The Home Ventilating Institute recommends 1 cfm per square foot of floor area for bathrooms up to 100 square feet, so a 5×8 bath needs at least 50 cfm, and a 10×12 master bath needs closer to 120. Choose a fan rated at 1.0 sone or quieter; loud fans don’t get used, and unused fans cause mold.
Storage. Frame a niche between studs in the shower wall now. It costs almost nothing during framing and cannot be added once the tile is up.
Pro tip
Before you finalize the layout, mark every fixture on the subfloor with painter’s tape at full size after demo. Stand at the vanity, sit on an overturned bucket where the toilet goes, and open the door. Five minutes of this catches problems no drawing will.
Step 4: Select fixtures and materials, then order long-lead items
Order anything with a lead time before the first wall comes down. A gutted bathroom with no toilet waiting on a backordered vanity is the most common schedule killer. Custom vanities, glass shower doors, special-order tile and some valve trims can take 4 to 12 weeks.
The shower valve
Every new shower or tub/shower valve must be pressure-balancing, thermostatic or a combination of the two (look for ASSE 1016 certification on the box). This keeps the water from scalding when someone flushes a toilet. The valve body goes in the wall during rough plumbing, so buy the valve and the trim together from the same manufacturer and product line. Trim from one brand will not fit another brand’s valve body, and many people discover this after the tile is finished.
If you’re keeping an existing valve and only changing the trim, check whether the valve still has parts available; an old valve with a dripping shower cartridge is a sign it may be time to replace the body while the wall is open.
Tile
- Porcelain is denser and absorbs less water than ceramic, making it the best choice for shower floors and walls. Look for a PEI rating of 3 or higher for floors.
- Natural stone looks high-end but requires sealing and stiffer floor framing.
- Shower floor tile should be small (2×2 mosaics or similar) so it can follow the slope to the drain, or use a large-format tile with a linear drain and a single-plane slope.
- Order 10% extra for straight lays and 15% for diagonal or herringbone patterns. Keep one unopened box for future repairs, since dye lots change.
Style and color
Pick finishes for the house you have. A traditional style with subway tile, a hexagon or penny-round floor, and a polished nickel or chrome faucet suits most homes built before the 1980s and dates slowly. Bold color is easiest to commit to in paint and accessories, which you can change in an afternoon, rather than in tile. Some homeowners love the vintage pink tile of a 1950s bathroom and keep it; if you’re going that route, repairs are easier if you salvage intact tiles during any partial demo.
Fixtures checklist
- Toilet: matching rough-in, chair height (17 to 19 inches to the seat) for most adults, elongated bowl if the clearance allows it.
- Vanity: depth (21 inches standard, 18 inches for tight rooms), height (32 to 36 inches), and sink type. Our guide to installing a bathroom vanity covers anchoring and plumbing hookup.
- Tub: a new alcove tub needs the drain side to match your existing drain or a plumbing reroute.
- Exhaust fan, lights, mirror, towel bars, grab bars and the shower door or curtain rod.
Step 5: Hire the contractor and pull permits
If you’re hiring out the whole job, get three written bids from contractors who quote the same scope. Bids that aren’t comparable line by line are useless, so hand each contractor your measured sketch, your fixture list and your scope in writing.
What to verify before you sign:
- License: check your state’s contractor licensing board and confirm the license is active for the type of work.
- Insurance: general liability and workers’ compensation, with certificates sent directly from the insurer.
- References: at least three recent bathroom jobs, with photos and a phone number for each homeowner.
- Payment schedule: tied to completed milestones (demo done, rough-in passed, tile done, final), never front-loaded. Some states cap deposits; California, for example, limits home improvement down payments to $1,000 or 10% of the contract price, whichever is less.
- Written contract: itemized scope, fixture allowances, start and finish dates, change-order process and warranty.
- Lien waivers: ask for signed waivers from subcontractors and suppliers with each payment.
Permits
Plan on a permit for any new plumbing, moved plumbing, new circuits, or structural changes. Permit fees vary widely by jurisdiction, often a few hundred dollars for a bathroom. Many cities allow homeowners to pull their own permits for work on a home they live in, though some require licensed trades for gas or electrical work. Permits schedule inspections at rough-in (before walls close) and final; skipping them can complicate insurance claims and home sales later.
If you’re remodeling one bathroom and renovation of a kitchen or second bath is planned for next year, ask your building department whether a single permit can cover both. In some places it can, which saves a set of fees.
Step 6: Demo to studs and subfloor
Demolition moves fast, but sloppy demo creates problems for every trade that follows. Before starting, protect the path from the bathroom to the exit with ram board or rosin paper, tape plastic over the doorway with a zipper door, and cover HVAC registers and returns so dust doesn’t circulate through the house. Rent a 10-yard dumpster (typically $300 to $600 for a week in most markets) for a full bath gut; a single bathroom fills about half of it.
Demo order:
- Shut off water and power. Close the fixture stops, then the main if the stops are old or seized. Turn off the circuit breaker and test every outlet and switch.
- Remove the toilet. Flush, sponge out the remaining water, disconnect the supply, remove the nuts, and rock it off the wax seal. Stuff a rag in the drain flange immediately to block sewer gas and stop debris from dropping in.
- Remove the vanity, mirror, accessories, and light fixtures. Cap or nut each wire.
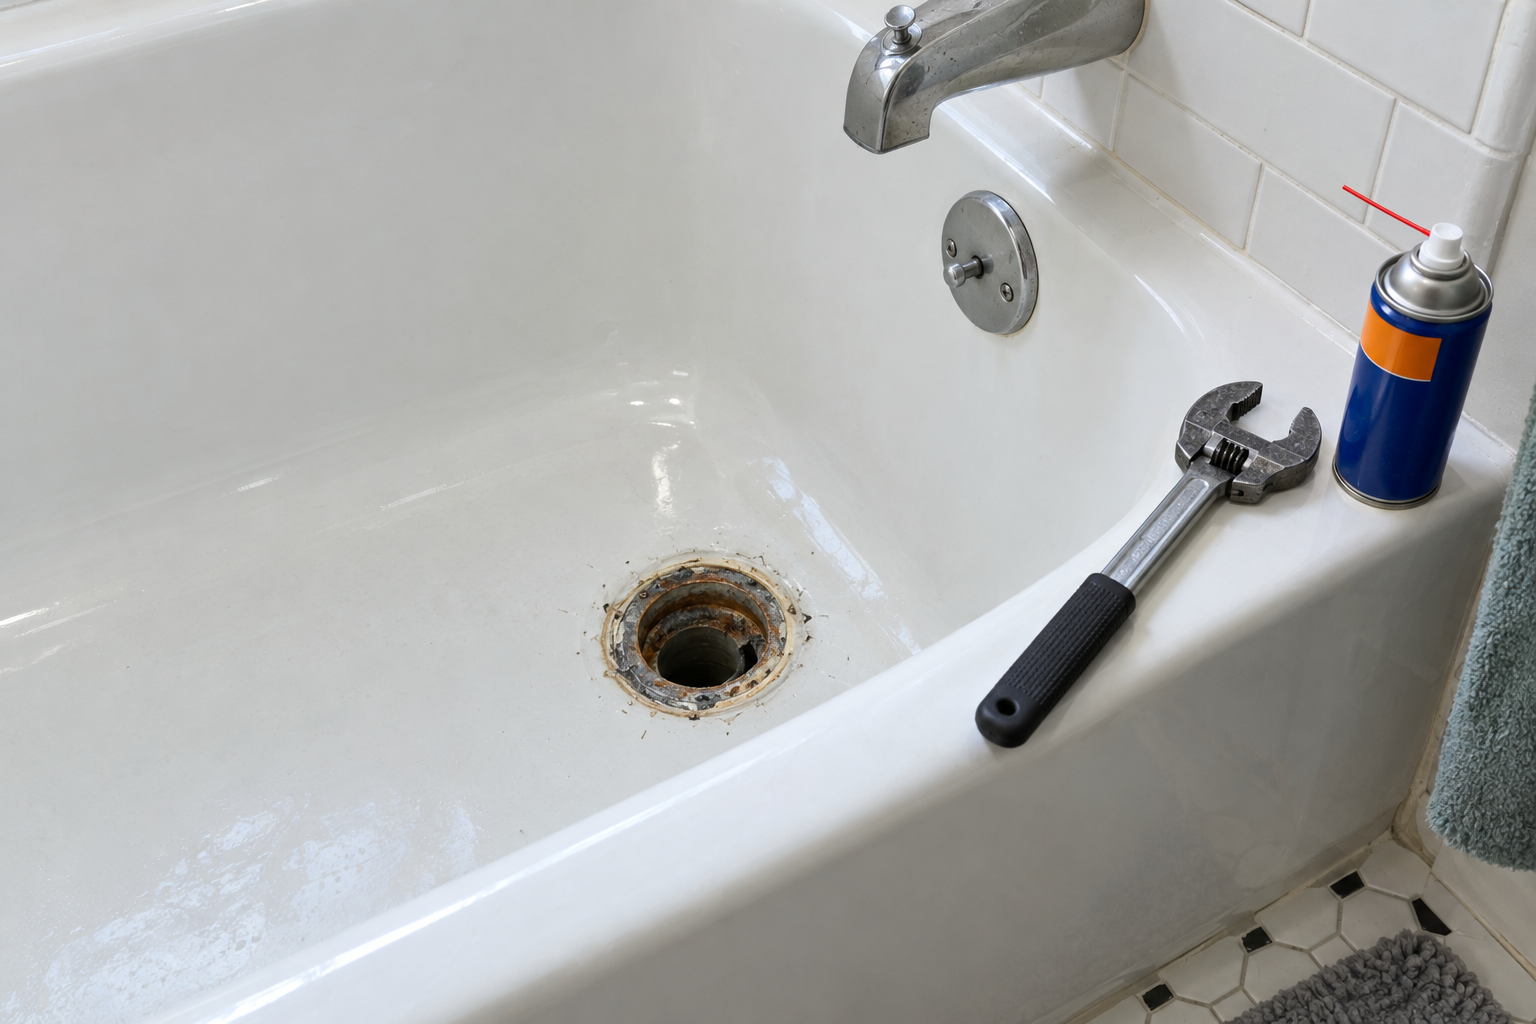
- Remove the tub or shower. Steel and acrylic tubs come out in one piece after you cut the surrounding drywall and pull the nails or screws along the flange. Cast iron tubs weigh 250 to 500 pounds; most people break them in place with a sledgehammer after covering them with a moving blanket, wearing safety glasses, hearing protection and long sleeves. Our guide to removing a bathtub drain covers getting the drain shoe out cleanly.
- Remove wall tile and backer. Score the drywall above the tile, then pull tile and backer off in sections with a pry bar. Mortar-bed walls (common before the 1960s) are 1 to 2 inches thick and come out with a sledge and pry bar.
- Remove the flooring and underlayment down to the subfloor or joists, depending on condition.
Salvage anything worth keeping. Cast iron tubs in good shape can be refinished, and old chrome or brass towel hardware can be cleaned up; our guide to removing rust from metal covers bringing back corroded fittings.
Step 7: Repair framing, subfloor and add blocking
With the room down to studs, this is your one chance to fix structure. Examine every joist, stud and plate for rot (soft, dark, crumbly wood) and insect damage.
Floors
Tile needs a stiff floor. The Tile Council of North America sets deflection limits of L/360 for ceramic and porcelain and L/720 for natural stone, where L is the joist span. In practical terms, joists that bounce when you jump on them need help. Sister new lumber alongside weak joists, full length if possible, glued and bolted or nailed per your local code.
Replace rotted subfloor with 3/4-inch tongue-and-groove plywood, glued and screwed to the joists every 6 inches at the edges and 8 inches in the field. Don’t patch with OSB in a wet area.
Never notch or bore through joists beyond code limits to reroute drains. The IRC limits notches to one-sixth of the joist depth and keeps them out of the middle third of the span; holes are limited to one-third of the depth and must stay at least 2 inches from the top and bottom edges. Engineered I-joists have their own rules from the manufacturer.
Walls and blocking
Add 2×6 or 2×8 blocking between studs anywhere you’ll mount something heavy or need solid backing:
- Grab bars (34 to 38 inches above the floor, plus vertical locations near the shower entry)
- Vanity top and wall-hung vanities
- Towel bars and robe hooks
- Shower door hinges and glass panel clips
- Toilet paper holder
- Any wall-mounted toilet carrier (which needs a 2×6 wall at minimum)
Even if you don’t want grab bars now, blocking costs a few dollars and makes them easy to add later. Frame shower niches now, typically 12 or 14 inches wide between studs, with a slight slope on the bottom sill toward the shower.
Check that the walls are plumb and flat. Use a 6-foot level or straightedge; a wall that bows more than 1/8 inch over 10 feet will show in large-format tile. Plane down high studs or sister straight lumber to the low ones.
Pro tip
Take a photo of every wall after framing and rough-in, with a tape measure stretched across the frame for scale. When you need to find a pipe or a blocking location later, those photos save you from guessing and drilling into a supply line.
Step 8: Rough in the plumbing
Rough plumbing covers everything inside the walls and floor: drains, vents, supply lines and the shower valve body. This is where layout changes get expensive and where code inspections focus.
Drains and vents
- Toilet drain: 3-inch pipe, with the closet flange set on top of the finished floor, not the subfloor. A flange below the finished floor needs an extension ring or spacer, and is a common cause of leaks at the wax seal.
- Shower drain: 2-inch drain and trap is standard practice for showers, sized to handle the flow from modern showerheads.
- Vanity and tub drains: 1-1/2-inch is typical.
- Slope: 1/4 inch per foot for drains 3 inches and under.
- Venting: every fixture needs a vent within the distance code allows. If you move a fixture, you may need to tie into an existing vent or add an air admittance valve where your local code permits one.
Replace any cast iron drain with a rusted bottom, cracked hub or pinhole leaks while it’s exposed. Transition to PVC or ABS with a shielded no-hub coupling.
Supply lines
PEX is the most common choice for remodels: it’s flexible, fast to run and resists freezing better than copper. Use the fittings and tool for your PEX type (crimp, clamp or expansion). Copper still works well if you know how to sweat joints.
Install a shut-off valve at each fixture. If your house still has galvanized supply pipe, replace it back to the main or at least to the nearest accessible point, since galvanized lines corrode from the inside and restrict flow.
Shower and tub valve placement
Typical heights, measured from the finished floor or tub floor:
| Fixture | Typical height |
|---|---|
| Tub spout | 4 in. above tub rim |
| Tub/shower valve | 28-34 in. above tub floor |
| Shower-only valve | 48 in. above shower floor |
| Showerhead | 78-80 in. above floor |
| Handheld slide bar | Centered at about 60 in. |
Set the valve body at the depth the manufacturer specifies relative to the finished wall surface, which includes backer, membrane, thinset and tile. Most valves include a plastic plaster guard that shows the acceptable range. Set it too deep and the trim won’t reach; too shallow and the trim won’t sit flush.
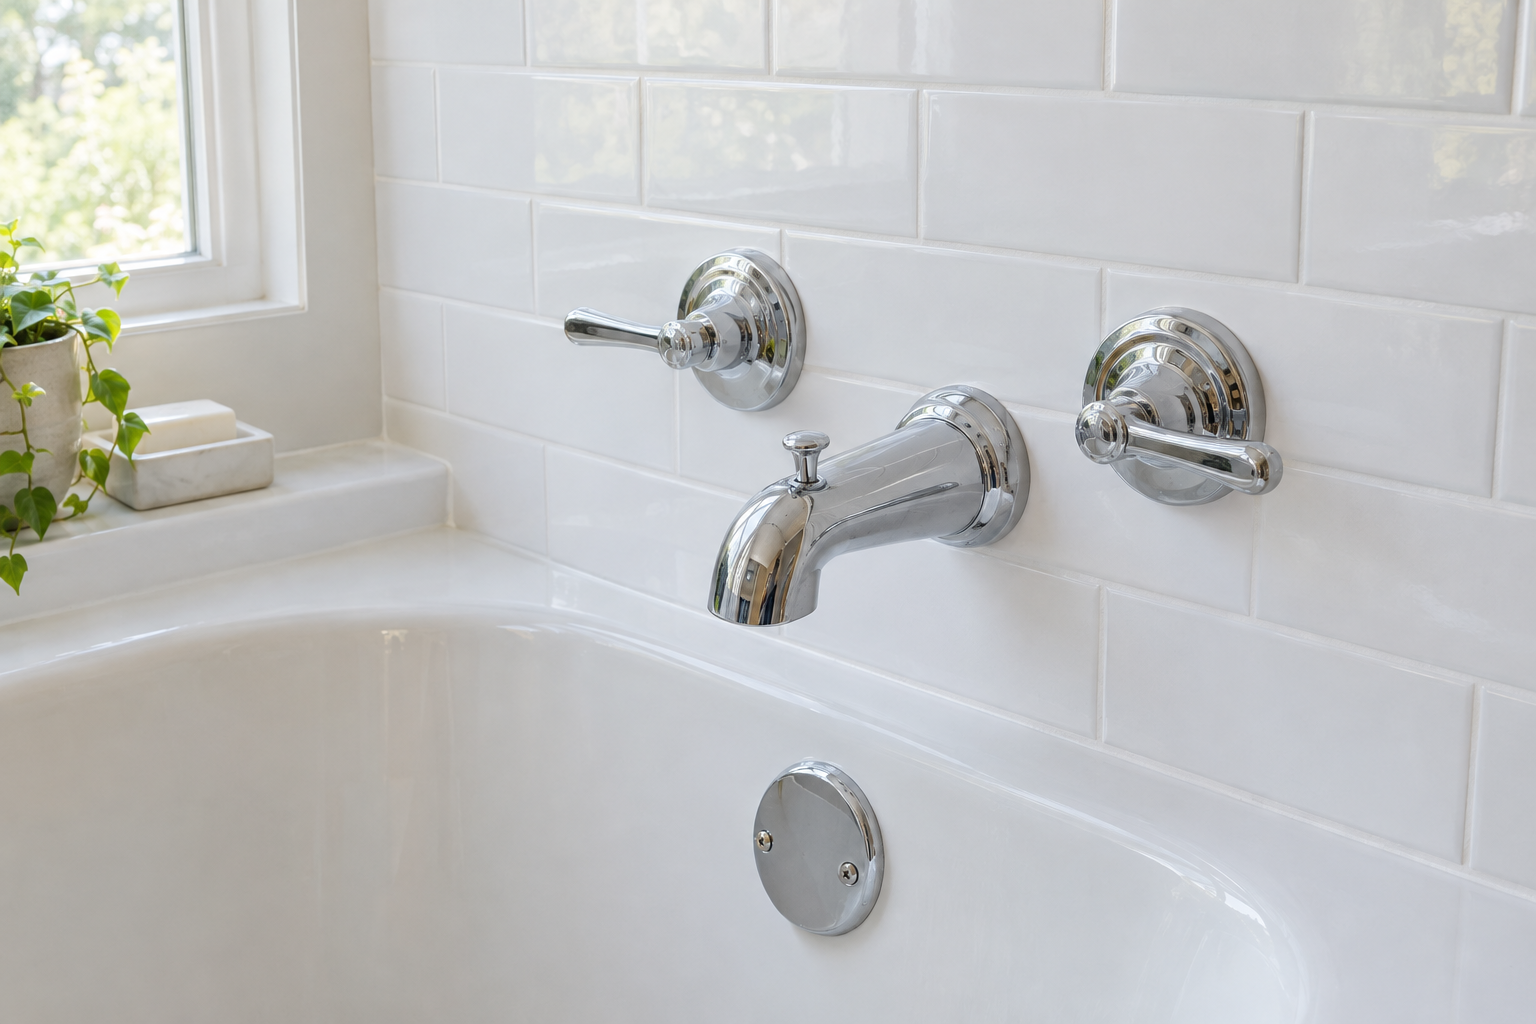
If you’re keeping a tub and replacing only the spout and handles, our guide to replacing a bathtub faucet covers matching the spout connection type.
Pressure test
Before closing walls, pressure test the supply side (most inspectors want 50 to 100 psi held for 15 minutes or as specified locally) and check the drain side by filling it with water and watching for leaks. Don’t skip this; finding a leak after tile is a full tear-out.
Step 9: Rough in electrical and ventilation, then pass inspection
Bathroom electrical requirements under the National Electrical Code, which most jurisdictions adopt:
- Dedicated 20-amp circuit for bathroom receptacles. One 20-amp circuit can serve receptacles in more than one bathroom, or the receptacles, lights and fan in a single bathroom.
- GFCI protection for all bathroom receptacles.
- At least one receptacle within 3 feet of each sink basin.
- No hanging fixtures, track lights or ceiling fans within 3 feet horizontally and 8 feet vertically of the tub rim or shower threshold.
- Wet-location or damp-location rated fixtures in the shower or tub area, as specified on the fixture label.
Heated floors usually need their own GFCI-protected circuit depending on wattage. A whirlpool or jetted tub needs a dedicated GFCI-protected circuit too.
Exhaust fan
Duct the fan to the outside through the roof or a wall cap with a backdraft damper. Never vent into the attic or a soffit vent, which causes condensation, mold and rot in the attic. Use 4-inch rigid or semi-rigid metal duct, insulated where it runs through unconditioned space, and keep the run short with as few bends as possible. Long or crushed flexible duct can cut a fan’s real airflow by half.
A humidity-sensing switch or a timer switch makes the fan run long enough to clear moisture after a shower, typically 20 minutes.
Rough-in inspection
Schedule the rough-in inspection after plumbing, electrical and ventilation are done and before any backer or drywall goes up. Inspectors check drain slope, venting, valve type, wire gauge, box fill, GFCI planning and the pressure test. Most inspections take 15 to 30 minutes. If you fail, fix the specific items noted and reschedule; don’t close walls until you have a passed inspection in writing.
If you don’t have electrical experience, hire a licensed electrician for this step. Panel work, new circuits and anything that requires a load calculation are not DIY territory in most jurisdictions.
Step 10: Hang backer board and waterproof the shower
The shower is the only part of a bathroom that faces daily water pressure. Every failed tile job traced back to rot behind the wall starts here.
Backer board
In the shower and tub surround, use cement board (Durock, HardieBacker, PermaBase) or foam board (Schluter Kerdi-Board, Wedi, GoBoard). Don’t use regular drywall or “greenboard” behind tile in the shower; neither is waterproof. Outside the wet area, standard or moisture-resistant drywall is fine.
- Run backer horizontally, with the bottom edge 1/4 inch above the tub flange so it doesn’t wick water.
- Fasten with backer screws (not drywall screws) every 8 inches.
- Tape all seams with alkali-resistant mesh tape embedded in thinset.
Shower pan
For a tiled shower floor, you need a pre-slope of 1/4 inch per foot from the walls to the drain, then a waterproof layer, then tile. Two common methods:
- Traditional mortar bed: a sloped mortar pre-slope, a PVC or CPE liner that runs up the walls at least 3 inches above the curb, then a second mortar bed on top. This works but is slow and has a long cure time.
- Foam pan systems (Schluter Kerdi, Wedi, Laticrete, GoBoard): a pre-sloped foam tray with a bonding-flange drain, covered by the system’s membrane. Faster and more consistent for DIYers, but more expensive.
Waterproofing membrane
Apply liquid membranes (RedGard, Hydro Ban, Laticrete Hydro Ban, Mapei AquaDefense) with a roller and brush at the coverage and number of coats the manufacturer specifies, typically two coats with a wet-film gauge check. Sheet membranes like Kerdi go on with unmodified thinset and overlap at seams by 2 inches.
Wrap the membrane into the niche, over the curb, and up the walls to at least the showerhead height. Pay special attention to inside corners and penetrations (valve, showerhead arm), using the preformed corners and seals from the system.
Flood test
Plug the drain, fill the shower pan with water to just below the curb, and mark the waterline with tape. Wait at least 24 hours (some manufacturers and inspectors want longer). If the water drops more than the evaporation you’d expect, find and fix the leak before tiling. Some jurisdictions require the inspector to witness the flood test.
Pro tip
Set a coffee cup of water next to the shower during the flood test, filled to the same level. If both drop the same amount, it’s evaporation. If the shower drops more, you have a leak.
Step 11: Tile, grout and seal
Lay out the tile before you mix any thinset. Dry-lay floor tile and snap reference lines so cuts at the walls are at least half a tile wide, and center the pattern on the most visible wall or the doorway. The same layout rules apply to tiling floor tiles elsewhere in the house, and our floor-tiling guide covers layout lines and spacing in more detail.
Walls first or floor first?
In most bathrooms, tile the shower walls first, then the shower floor, then the main floor. Setting the floor last keeps it from getting damaged by ladders and dropped tools. Some installers do the main floor first so the vanity can sit on tile; either works if you protect the finished surface.
Setting the tile
- Thinset: use a polymer-modified thinset that’s compatible with your membrane (Kerdi traditionally calls for unmodified, so check the system’s spec). For tiles 15 inches or longer on any side, use a large and heavy tile (LHT) mortar.
- Trowel size: 1/4×3/8-inch square notch for tile up to 12 inches, 1/2-inch square notch for 12×24 and larger.
- Back-butter large-format tiles with a thin, flat coat of thinset to get the 95% coverage required in wet areas.
- Lippage: use a leveling clip system on tiles larger than 12 inches to keep edges flush.
- Spacers: 1/16 to 1/8 inch for rectified tile, 3/16 inch or more for handmade tile.
- Walls: start a row on a ledger board screwed to the wall one tile up, not on the tub, so the first row is level even if the tub isn’t. Fill the bottom row last.
Pull a tile every 10 minutes or so in the first few rows and check the coverage on the back. If you see bare spots or trowel ridges that haven’t collapsed, your thinset is too stiff, your trowel is too small, or you’re waiting too long between spreading and setting.
Grout and caulk
Wait at least 24 hours after setting before grouting (check your thinset’s spec). Sanded cement grout works for joints 1/8 inch and wider; unsanded for narrower joints on walls. Epoxy and urethane grouts cost more and are harder to work but resist stains and don’t need sealing.
Work in 3×3-foot sections, pressing grout diagonally across the joints with a rubber float, then wiping with a damp (not wet) sponge. Haze can be buffed off with a dry cloth an hour later.
Do not grout inside corners or where tile meets the tub. Those are changes of plane that move; grout cracks there within months. Fill them with 100% silicone caulk in a matching color.
Seal cement grout after it cures, usually 48 to 72 hours, with a penetrating sealer.
Step 12: Paint, set fixtures and finish
With tile done, the room starts to look finished. This phase moves quickly but rushing it causes most of the callback issues.
Paint
Prime new drywall with a PVA or high-build primer. Use a satin or semi-gloss bathroom paint with mildewcide; flat paint absorbs moisture and shows water spots. Paint before installing the vanity and toilet so you don’t have to cut in around them.
Vanity and top
Set the vanity level and anchored to the blocking you installed in Step 7. Shim under the cabinet base, not the top. Most stone and quartz tops sit on the cabinet with silicone; heavier tops may need added support. Connect the faucet and drain to the top before setting it if access is tight.
Toilet
- Set the closet bolts in the flange slots, perpendicular to the wall.
- Place a new wax ring or wax-free seal on the toilet horn (or the flange, per the seal’s instructions).
- Lower the toilet straight down onto the bolts, keeping it level, and press firmly with your body weight.
- Tighten the nuts alternating side to side, hand-tight plus a quarter turn. Overtightening cracks porcelain.
- Shim any rock with composite shims, cut them flush and caulk around the base (many installers leave a gap at the back so leaks will show).
- Connect the supply line, turn the water on, and check for leaks after several flushes.
Shower trim, glass and accessories
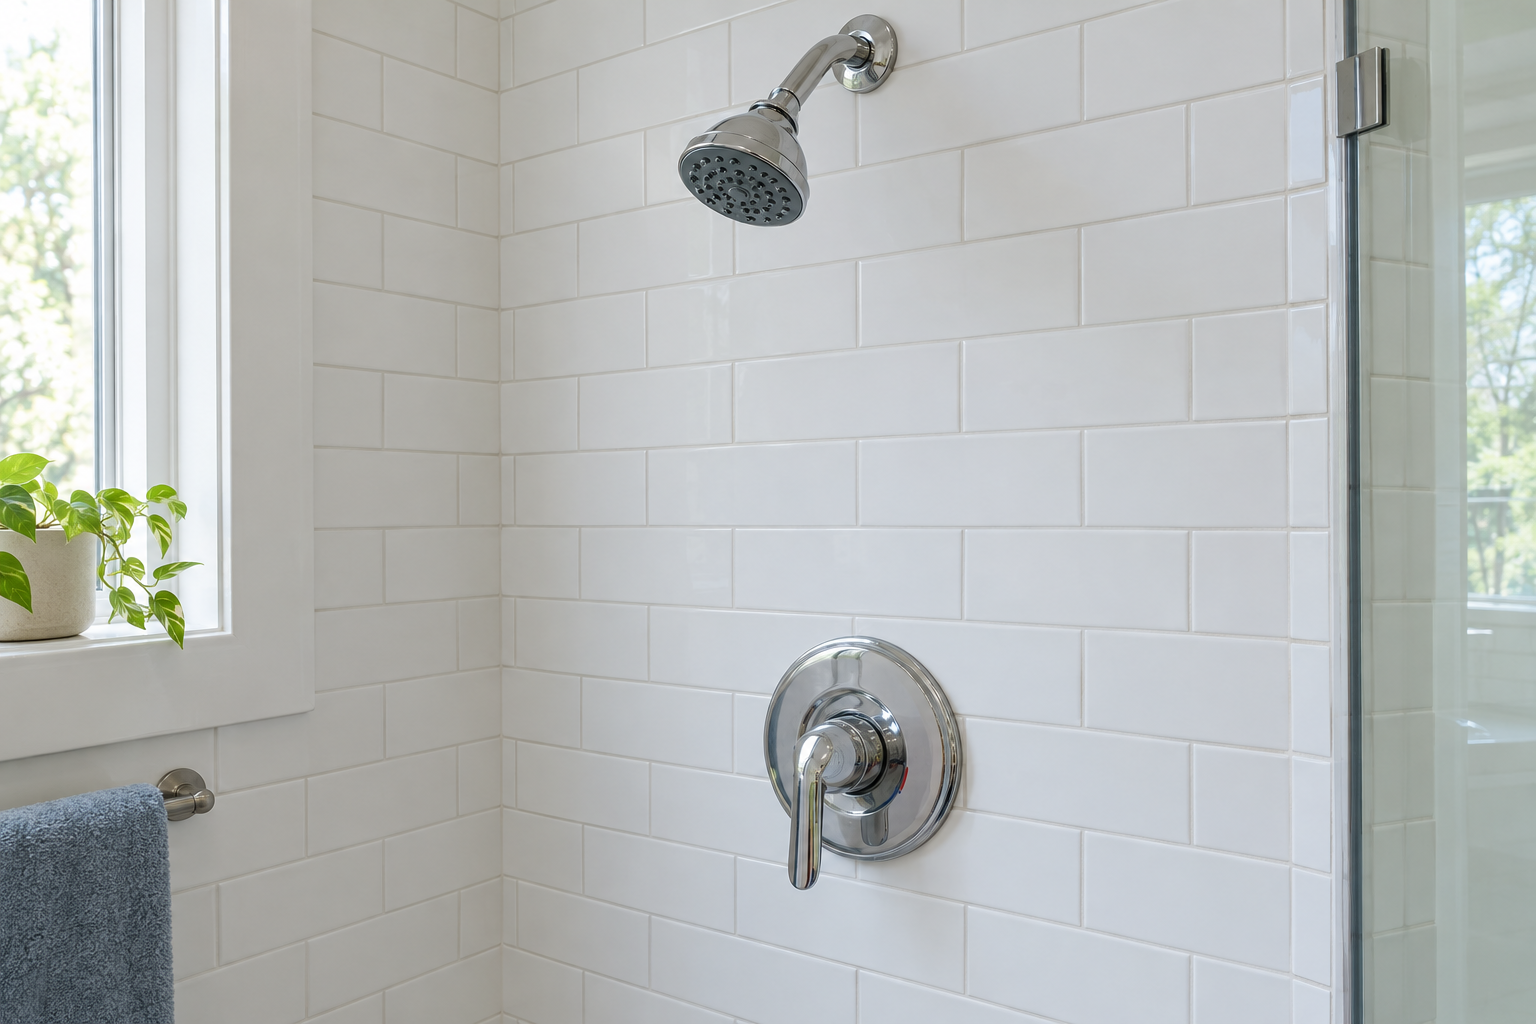
Install the valve trim, showerhead, spout and handles. Glass shower doors typically get measured after tile is finished, which is why they often arrive a week or two after everything else; budget for a temporary curtain rod. Install mirrors, towel bars and the toilet paper holder into the blocking.
Step 13: Final inspection and walkthrough
The final inspection checks the finished plumbing and electrical: GFCI operation, fixture connections, the exhaust fan’s discharge, and anything noted at rough-in. Once you pass, you’re done with the building department.
Walk the room with your contractor (or by yourself if DIY) and write a punch list. Check each item:
- Water: run every faucet hot and cold for a full minute. Check under the vanity for drips. Flush the toilet five times. Run the shower and check that water drains without pooling.
- Hot water temperature: set the anti-scald stop on the valve so the hottest setting doesn’t exceed 120°F at the showerhead.
- Tile: look for lippage, cracked or chipped tile, missing grout, and haze. Check caulk lines at corners and the tub.
- Fixtures: confirm the toilet doesn’t rock, the vanity is level, doors and drawers close square, and the shower door seals and drips into the pan.
- Electrical: press the test and reset buttons on every GFCI, run the fan, test every light and switch.
- Paint and trim: check for drips, missed spots and nail holes.
Hold back the final payment until every punch-list item is fixed. Get warranty information and receipts for every fixture, plus paint color names and tile lot numbers, and file them with the before-and-after photos from Step 1.
Troubleshooting
| Symptom | Likely cause | Fix |
|---|---|---|
| Toilet rocks after install | Uneven floor or flange set too low | Shim with composite shims; if flange is below finished floor, reset with a flange extender and new seal |
| Water seeps from toilet base | Failed wax seal or flange below floor level | Pull the toilet, add extension ring or use a thicker seal, reset |
| Shower valve trim doesn’t reach the wall | Valve set too deep | Install the manufacturer’s extension kit; if none exists, open the wall and reset the valve |
| Water pools on shower floor | Pre-slope too shallow or reversed | Pre-slope must be 1/4 in. per foot; minor pooling can’t be fixed without re-doing the pan |
| Grout cracking in corners | Grout used at a change of plane | Rake out grout and replace with 100% silicone caulk |
| Tile sounds hollow when tapped | Poor thinset coverage | Remove and re-set the tile with back-buttering and correct trowel size |
| Mold on ceiling within months | Fan too small, vented into attic or not run long enough | Upsize fan to 1 cfm per sq. ft., duct outside, add a timer or humidity switch |
| GFCI trips repeatedly | Moisture in a box, a faulty device, or overloaded circuit | Check boxes for water, replace the GFCI; persistent trips need an electrician |
| Hot water runs out too fast in new shower | Oversized showerhead or new soaking tub exceeding heater capacity | Install a 1.8 or 2.0 gpm showerhead or upgrade the water heater |
| Hairline cracks across floor tile | Floor deflection too high | Stiffen joists from below; replace cracked tile with an uncoupling membrane |
When to call a pro
Call a licensed plumber if you’re moving a toilet drain, adding a vent, working on a gas water heater, or your jurisdiction requires a licensed trade for valve replacement. Call a licensed electrician for new circuits, panel work or a heated floor. Call a structural engineer or experienced framer before cutting joists, removing a wall, or installing a heavy cast iron or stone tub on an upper floor, and call a certified lead or asbestos abatement contractor if testing comes back positive.
FAQ
How much does a bathroom remodel cost?
A mid-range hired remodel of a typical 5×8-foot hall bath usually costs $16,000 to $28,000, with a full gut and layout change running higher, often to $35,000 or more. A cosmetic refresh typically costs $2,500 to $10,000 hired, and doing it yourself can cut that by 50 to 70%.
How long does a bathroom renovation take?
A wet-zone gut with an experienced contractor usually takes 3 to 6 weeks, including inspection waits and glass door lead times. DIY projects done on weekends often stretch to two or three months, so plan for a second bathroom or a temporary setup.
Do I need a permit for a bathroom remodel?
You usually need a permit for new or moved plumbing, new electrical circuits, or structural changes. Cosmetic work like paint, a new vanity top or swapping a faucet in place generally doesn’t require one, but rules vary by city.
Should I remove the only tub in my house?
If you plan to sell within a few years and your home appeals to families, keep at least one tub. Converting the master bath tub to a walk-in shower is generally safe if a hall bath keeps its tub.
What should I do first in a bathroom remodel?
Measure the room, photograph it, and inspect for hidden damage before setting a budget or picking finishes. Then lock in your layout and order long-lead fixtures, because waiting on a vanity or valve after demo is the most common cause of delays.
Is an acrylic bath system as good as tile?
Acrylic tub liners and wall systems are durable, quick to install and easy to clean, and they work well when the walls behind are sound. Tile offers more design choice and lasts longer when properly waterproofed, but it costs more and takes weeks rather than days.