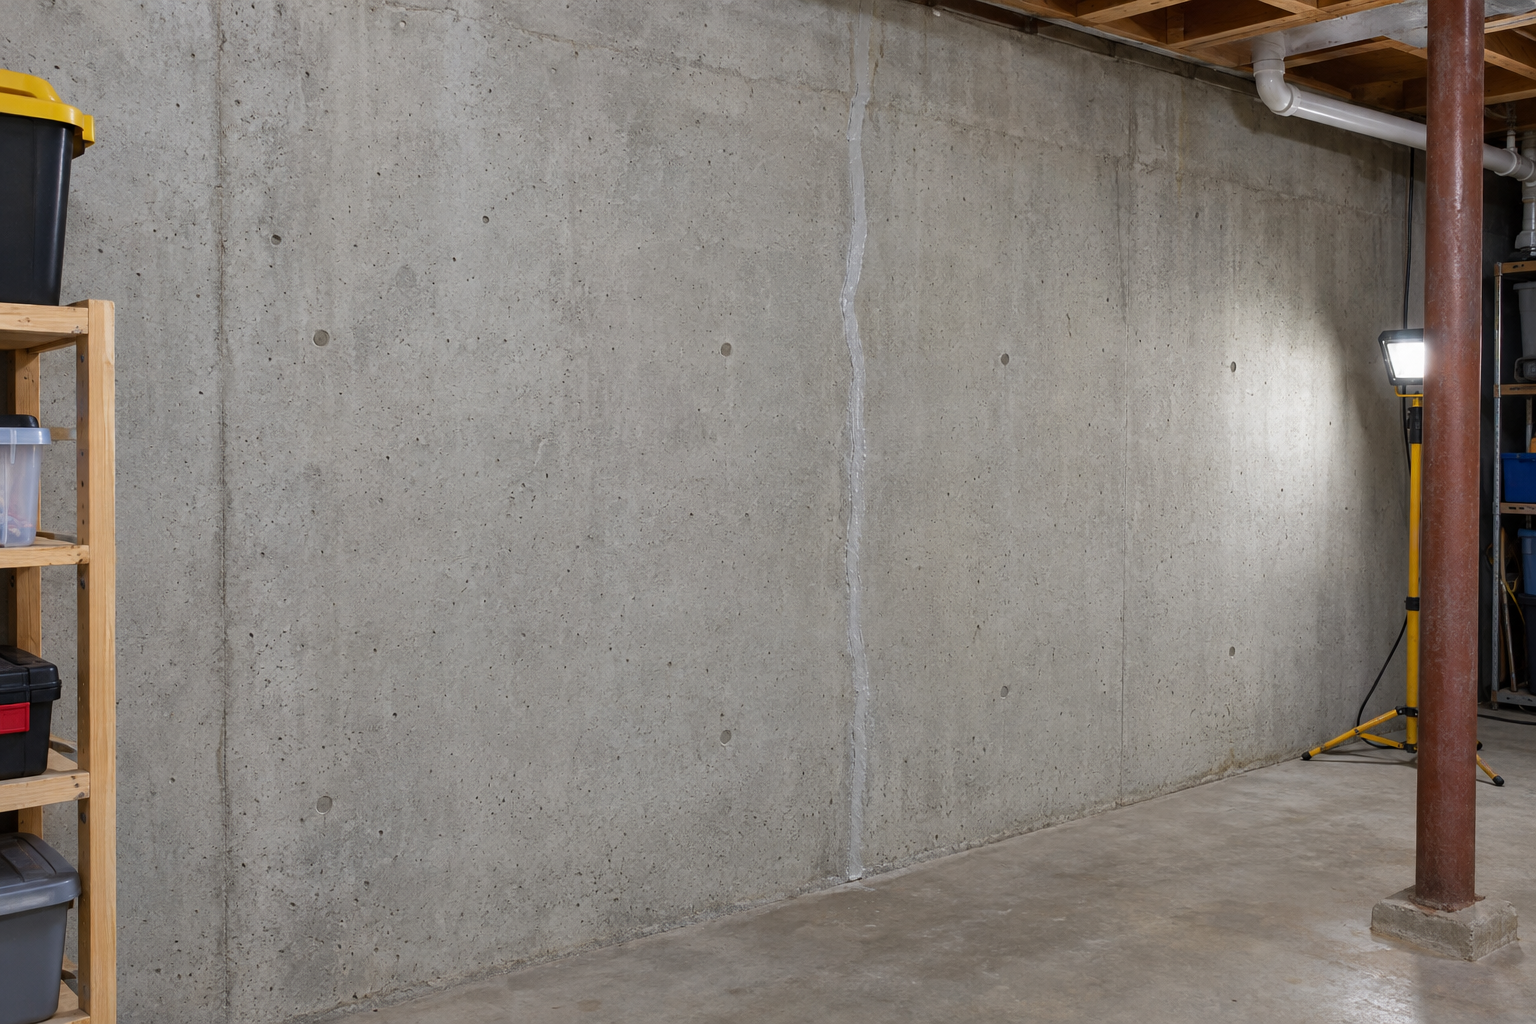
To repair a crack in a poured concrete basement wall, inject it from the inside with a two-part polyurethane or epoxy kit. The material fills the crack through the full thickness of the wall, so water can’t track through behind a surface patch. Most vertical or diagonal cracks up to 1/4 inch wide are a one-day DIY job. Horizontal cracks, bowing walls and widening cracks need an engineer.
Quick steps: inject a basement wall crack
- Confirm the crack is in poured concrete and is not structural.
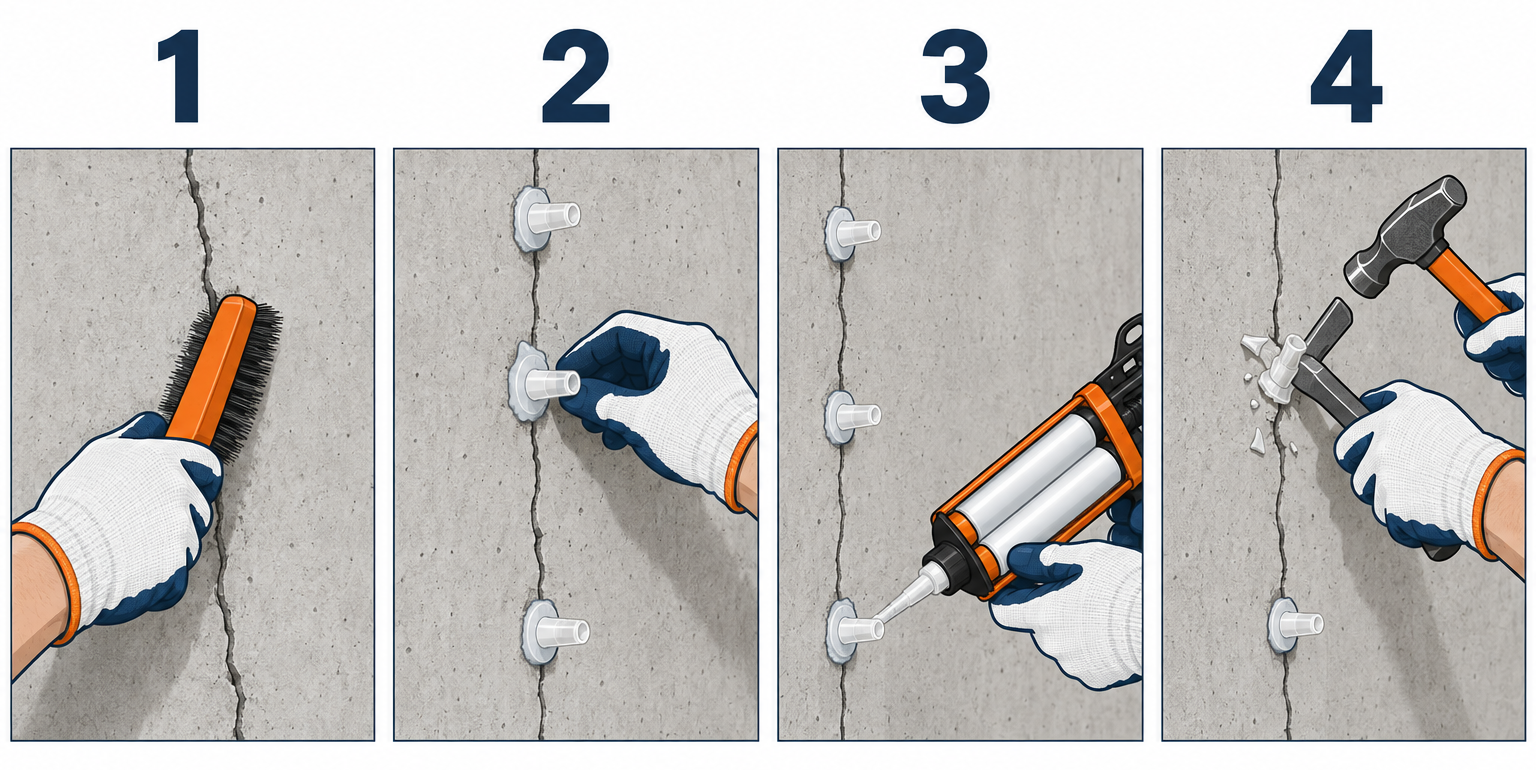
- Grind or wire-brush 2 inches on each side of the crack down to bare concrete.
- Glue surface ports over the crack every 8 inches, bottom to top.
- Cover the crack and port bases with epoxy surface seal paste and let it cure.
- Inject from the lowest port until material shows at the next port, then cap and move up.
- Let it cure 24-48 hours, then knock off the ports and grind the seal flush.
Tools and materials
- Two-part crack injection kit (polyurethane for leaking cracks, epoxy for dry structural hairlines), sized for 6-10 ft of crack
- Extra static mixing nozzles (at least 2)
- Epoxy surface seal and port adhesive (usually included)
- Dual-cartridge caulk gun, or a standard gun if the kit fits one
- Angle grinder with a diamond cup wheel, or a stiff wire brush
- Shop vacuum
- Putty knife (1 1/2 inch)
- Finish nails or toothpicks for centering ports
- Hammer and cold chisel or a scraper for port removal
- Nitrile gloves, safety glasses, N95 or P100 respirator
- Pencil, tape measure and painter’s tape for marking
Calculators for this job
Safety first
Grinding concrete releases crystalline silica dust, so wear a P100 respirator and run a shop vac with a fine filter. Uncured urethane and epoxy irritate skin and eyes. Wear nitrile gloves and safety glasses, and ventilate the basement.
Step 1: Figure out what kind of crack you have
Diagnose the crack before you buy anything. The right fix depends on the wall material, the crack direction and whether the crack is still moving.
Injection only works on poured concrete walls. If your wall is concrete block (CMU), the hollow cores swallow injection material and it never builds pressure. Block walls get a different repair, covered below.
| Crack type | What it usually means | DIY injection? |
|---|---|---|
| Vertical hairline, under 1/16 in | Normal shrinkage as concrete cures | Yes, if it leaks |
| Vertical or diagonal, 1/16 to 1/4 in, no offset | Shrinkage or minor settlement | Yes |
| Diagonal from a window corner | Stress concentration at the opening | Yes, unless it’s widening |
| Wider than 1/4 in, or one side sticks out past the other | Differential settlement | No, call an engineer |
| Horizontal, often 3-5 ft up the wall | Soil pressure pushing the wall in | No, call an engineer |
| Stair-step in block mortar joints | Settlement or lateral pressure | No injection; evaluate first |
| Wall bowing, leaning or bulging | Structural failure in progress | No, call an engineer |
Check that the crack has stopped moving. Draw a pencil line across it with a tick mark on each end, then write the date and measured width. Check again in 4 to 8 weeks. A crack that hasn’t grown can be injected. One that’s widening means the cause is still active, and sealing it hides the problem.
Note whether it’s wet. Water seeping through right now points you toward polyurethane. A dry crack that you want to bond back together points to epoxy.
Step 2: Pick the right repair method
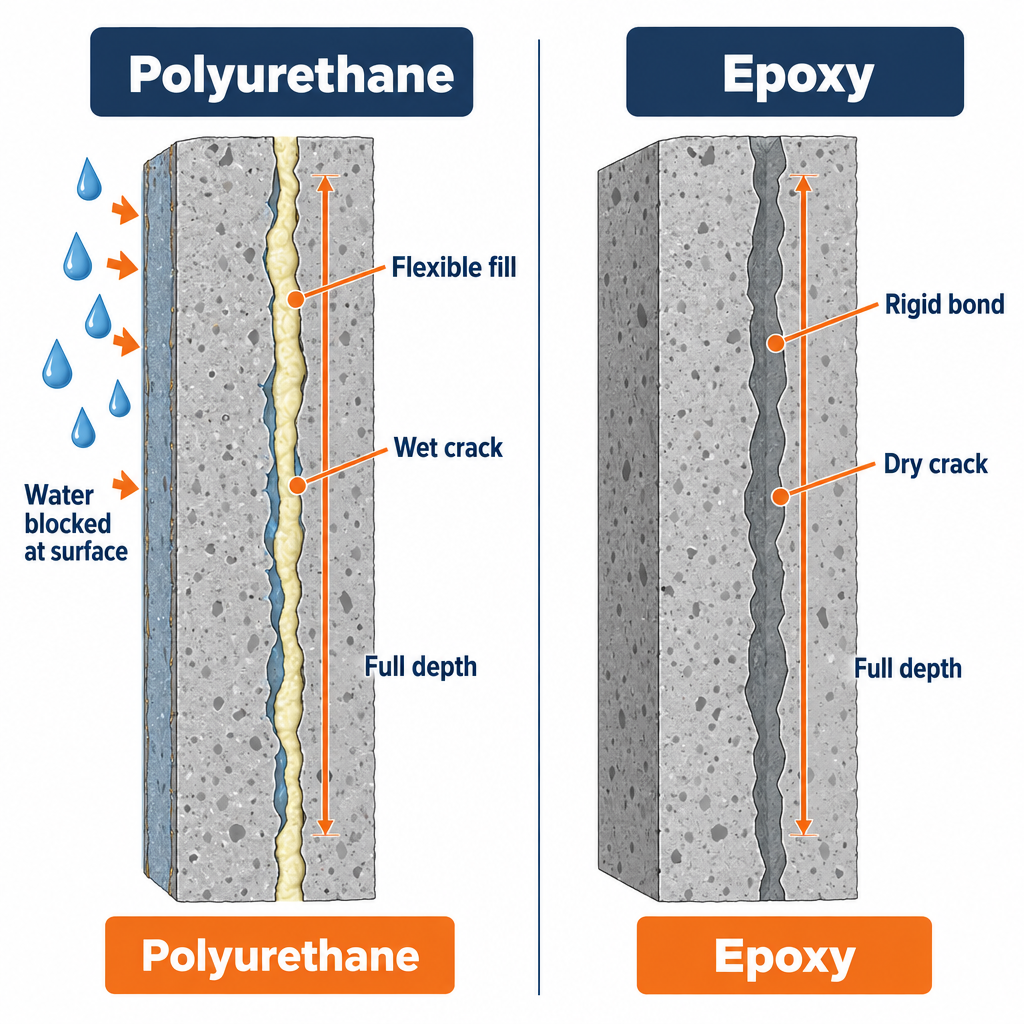
Most homeowners searching for a basement crack fix have a water problem, not a structural one. That makes polyurethane the default choice for most poured walls.
| Method | Best for | How it works | Typical working/cure time | Approx. DIY cost |
|---|---|---|---|---|
| Polyurethane injection | Leaking or damp cracks, poured walls | Expands into foam that fills voids and stays flexible | Gels in minutes, full cure in hours | $70-150 per kit |
| Epoxy injection | Dry, stable cracks where you want strength | Bonds the two sides back together; stronger than the concrete | Slow set, full cure 1-7 days | $60-130 per kit |
| Hydraulic cement | Actively running leaks, tie-rod holes, temporary plug | Sets in 3-5 minutes, expands slightly | Minutes | $10-25 per bucket |
| Flexible polyurethane sealant (caulk) | Hairline cosmetic cracks, floor-to-wall joint | Surface bead only | 24 hours to skin and cure | $8-15 per tube |
Polyurethane flexes slightly as the house moves through seasons, so it’s more forgiving on cracks that open and close a hair. Epoxy is rigid. If an epoxy-filled crack moves later, the concrete usually cracks right next to the repair.
Pro tip
Surface patches like caulk or hydraulic cement on the face of a crack almost always fail as a waterproofing fix. Water travels inside the crack and pops out beside the patch. Only injection seals the full depth of an 8-inch poured wall.
Step 3: Clean and prep the wall surface
The surface seal paste has to bond to bare concrete. It won’t hold on paint, Drylok, efflorescence or dirt, and a weak bond is the number one reason injections blow out.
- Mark a strip 2 inches wide on each side of the crack, floor to top.
- Grind that strip with a diamond cup wheel on a 4 1/2 inch angle grinder. Stop when you see clean gray concrete with no paint or sealer left. A stiff wire brush works on unpainted walls, but it’s slower.
- Don’t grind into the crack itself. You want the crack opening intact so ports can seat over it.
- Vacuum the strip and the crack. Blow out loose material with a can of compressed air if you have one.
- Let the surface dry. Polyurethane tolerates a damp crack, but the surface paste needs a dry face to bond. A hair dryer or heat gun on low speeds this up.
Check the temperature. Most kits want the wall and room above 40-50°F, and cold slows the cure badly. Read your cartridge label and run a space heater overnight in a cold basement if needed.
If the crack runs behind framing or drywall, you’ll need to open the wall. Anyone planning to finish a basement should do every crack repair before the studs go up. Once the finish is on, it’s a demolition job.
Step 4: Set the injection ports
Surface ports are small plastic nipples with a flat base. You glue them directly over the crack, and they act as the entry and vent points for the injection material.
- Spacing: Space ports about the same distance as the wall’s thickness. For a standard 8-inch poured wall, that’s one port every 8 inches. Some kits call for 12 inches; follow yours.
- Bottom port: Place the first one 1 to 2 inches above the floor slab.
- Top port: Place the last one near the top of the crack. If the crack runs to the sill plate, keep the port an inch below the top of the concrete.
- Wide spots: Put an extra port where the crack is noticeably wider or branches.
Mix a small amount of the epoxy paste, following the kit’s ratio. Butter the base of each port and press it over the crack centered on the opening. Don’t let paste squeeze into the port’s hole or the crack mouth under it.
Pro tip
Push a finish nail or toothpick into the crack, slide the port over it to center it perfectly, then pull the nail out once the paste grabs. It keeps the port hole lined up with the crack, which matters on hairline cracks you can barely see.
Step 5: Seal the crack surface
Now cover the entire length of the crack with the same paste, so the injection material can only go one way: into the wall.
- Spread the paste about 1/8 inch thick and 1 inch wide on each side of the crack with a putty knife.
- Work it up around each port base to form a cone, like a small volcano.
- Leave no pinholes. Any gap here becomes a leak point under pressure.
- Let the paste cure. Typical time is 30 minutes to a few hours, depending on product and temperature. It should be hard and not tacky when you press a fingernail into it.
Check the outside of the crack too, if you can see it. When the crack runs through a window well or a basement egress window cut, the exterior opening can let material escape. Seal what you can reach.
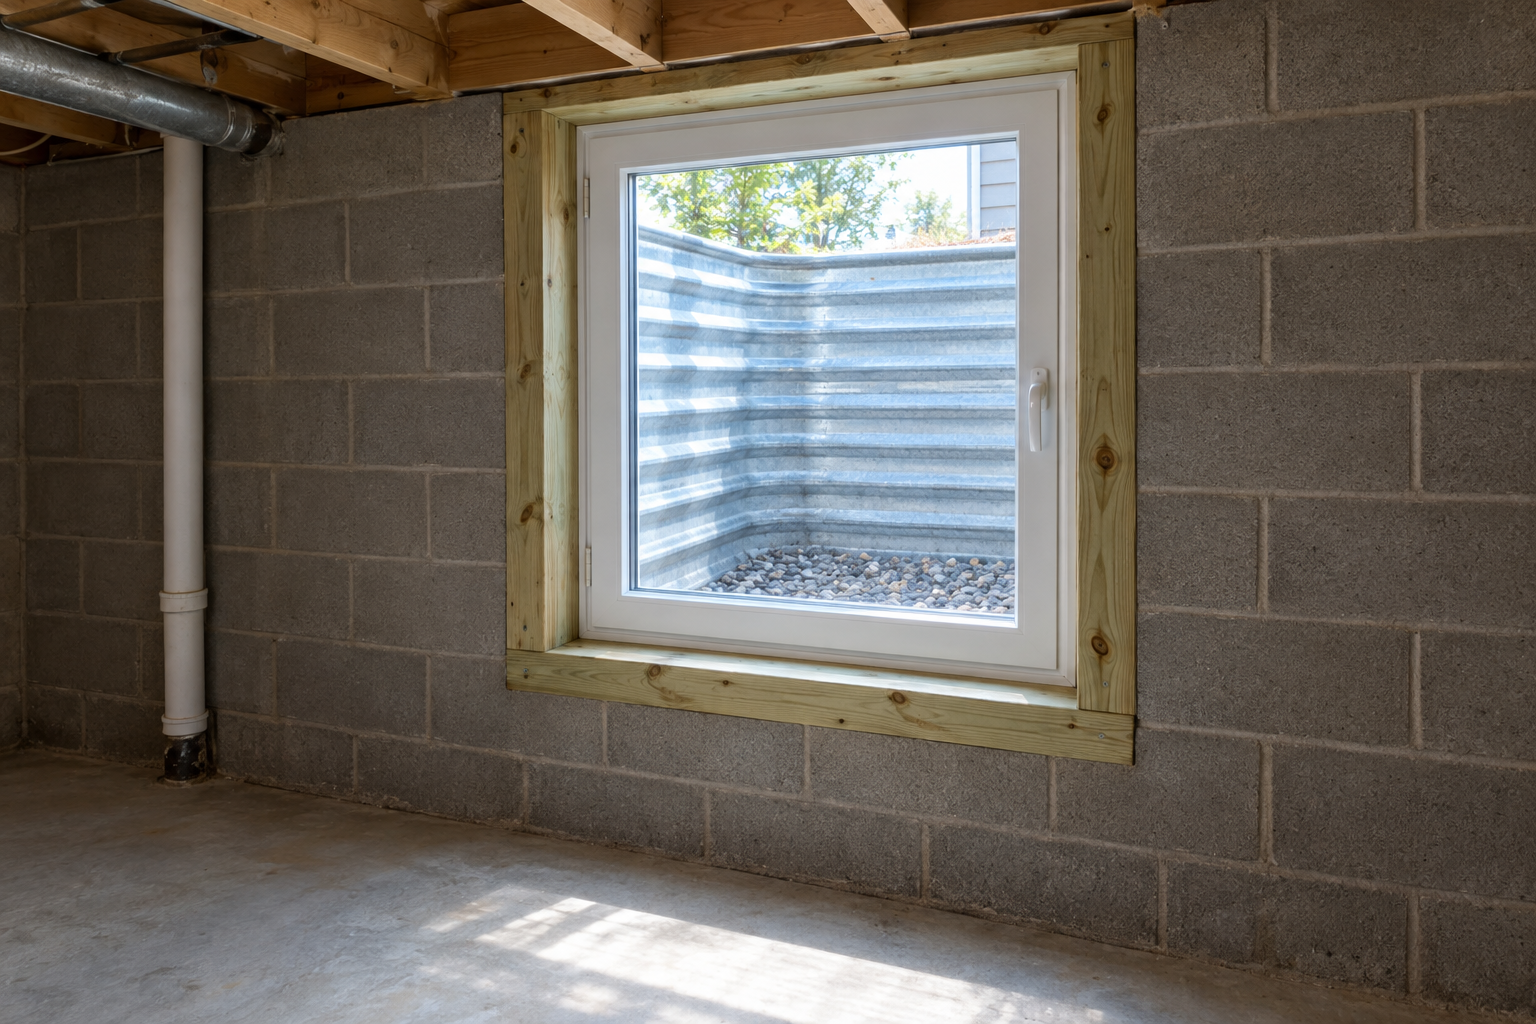
Corner cracks running from a cut opening are common in houses that had a basement egress window added. They usually inject fine as long as they aren’t widening.
Step 6: Inject the crack from the bottom up
This is the part that takes patience. Slow and steady works best.
- Load the cartridge in the gun and attach a static mixer. Purge the first 2 to 3 inches of material onto cardboard until the color is uniform. Unmixed material won’t cure.
- Push the mixer tip onto the lowest port.
- Squeeze slowly and steadily. You aren’t trying to force it. Let the material fill the crack and climb.
- Watch the next port up. When material starts coming out of it, stop, cap the port you’re on, and move to that next port.
- Repeat up the wall. On the top port, inject until you feel firm resistance, then cap it.
With polyurethane, you may see it foam out of the port or seep through damp spots in the crack. That’s normal. With epoxy, expect slow travel up the crack, sometimes a minute or more per port.
Don’t stop for long mid-job. Two-part material starts curing inside the static mixer within a few minutes. If you pause longer than about a minute, swap in a fresh mixer before continuing. That’s why kits include spares, and why buying two extra is smart.
On a dry, tight crack, it can help to go back after 10 to 15 minutes and give each port a second short shot. The first pass soaks into the concrete; the second fills what’s left.
Step 7: Cure, remove ports and finish
Leave the ports and paste in place for at least 24 hours for polyurethane and 48 hours or more for epoxy. Cooler basements need longer.
To clean up:
- Knock the ports off with a hammer and cold chisel held at a low angle, or snap them with a side blow.
- Grind the surface paste flush with the diamond cup wheel if you want a smooth wall. If the wall stays unfinished, you can leave the paste.
- Inspect after the next heavy rain. A properly injected crack stays dry along its whole length.
If you plan to paint, wait until the cure time on the product is fully up, then use a masonry primer.
Repairing cracks in a concrete block wall
You can’t inject block. Hollow cores fill like a bucket. For cracked block walls:
- Hairline stair-step cracks in mortar that aren’t moving can be repointed with mortar or sealed with a polyurethane masonry sealant.
- Leaking block walls usually leak because water collects in the cores. The real fix is managing water: interior drain tile with a sump, or exterior grading and drainage.
- Bowing or horizontally cracked block walls need structural bracing such as carbon fiber straps, steel beams or wall anchors. That’s an engineer-designed repair.
Fixing a leak that’s running right now
If water is actively flowing out of a crack, plug it first. Chisel the crack into a V or inverted-V shape about 1/2 inch deep, mix hydraulic cement to a putty consistency, and hold it into the opening with a gloved hand for 3 to 5 minutes until it sets.
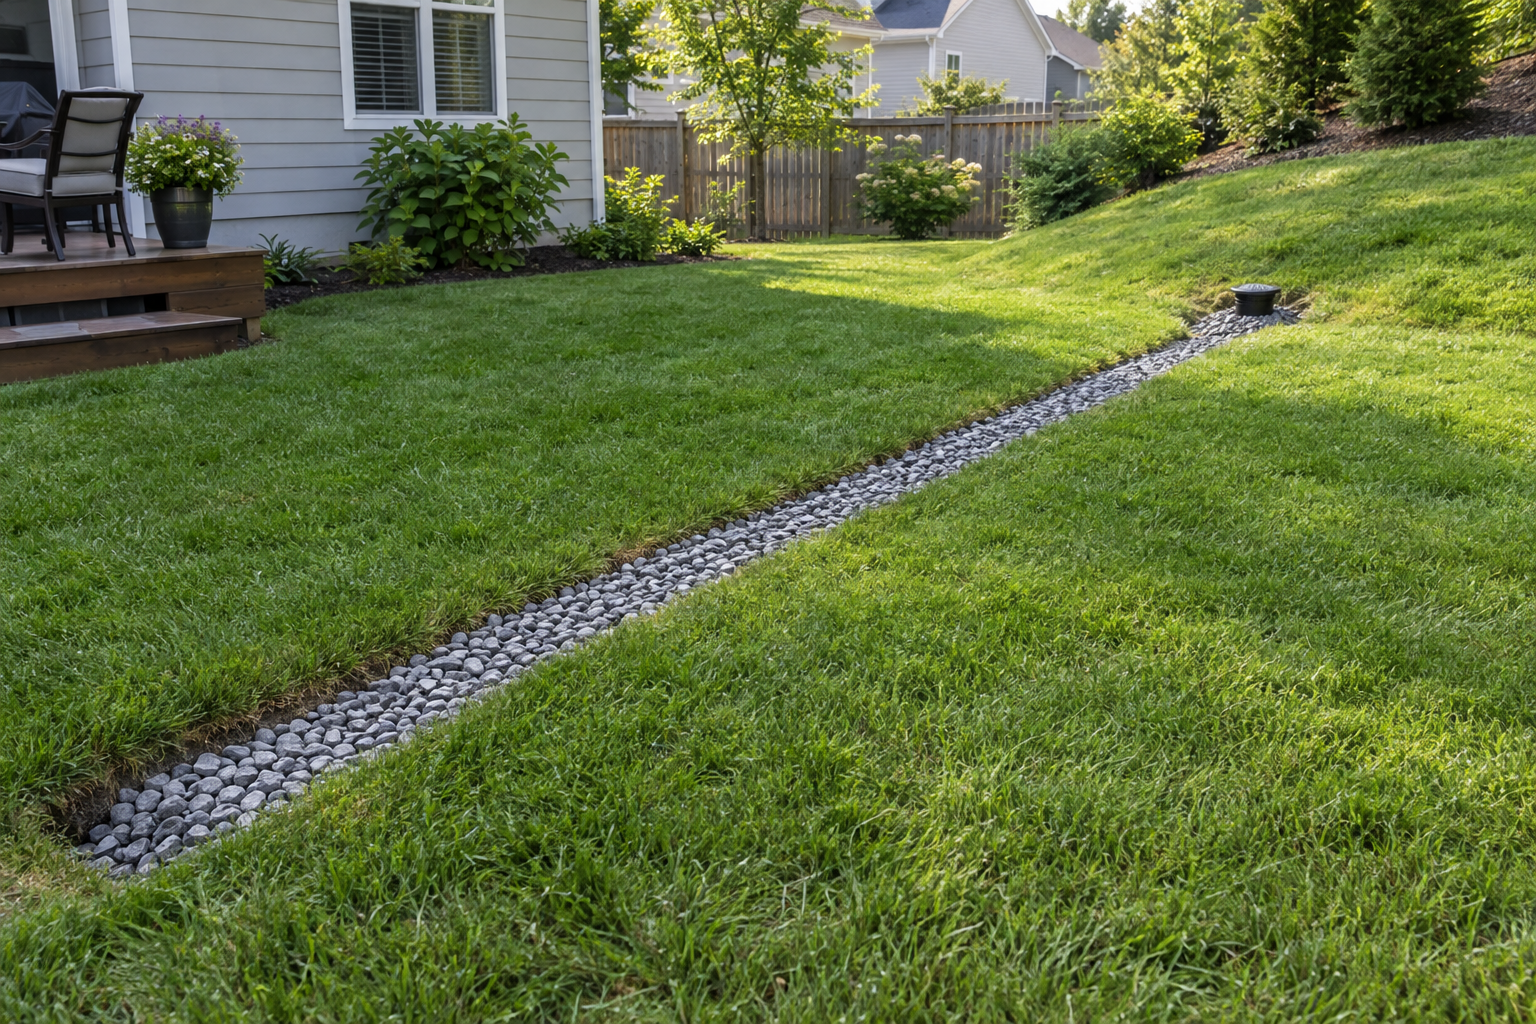
Treat that as a stopgap. Once the water stops, come back with polyurethane injection for the long-term seal. Better yet, look outside. Downspouts dumping next to the foundation, soil sloping toward the house or a saturated yard all push water into cracks. A french drain along the foundation or regraded soil often does more than any crack repair.
What basement crack repair costs
| Job | DIY cost | Pro cost (typical US range) |
|---|---|---|
| Single crack, polyurethane or epoxy injection | $60-150 | $300-800 per crack |
| Hydraulic cement plug | $10-25 | $150-300 |
| Structural engineer inspection | n/a | $300-700 |
| Carbon fiber straps for a bowing wall | n/a | Roughly $500-1,000 per strap installed |
| Exterior excavation and waterproofing | n/a | Often $100-300 per linear foot |
| Wall anchors or steel beam bracing | n/a | Often several thousand dollars per wall |
A basement waterproofing contractor will often recommend interior drainage or a sump on top of the crack injection. That’s legitimate when you have widespread seepage. It’s overkill for one leaking shrinkage crack.
Troubleshooting
| Symptom | Likely cause | Fix |
|---|---|---|
| Material leaks out around a port base | Paste didn’t bond, usually over paint or dust | Stop, let it cure, grind off, re-prep and re-seal |
| Surface seal cracks or blows off mid-injection | Too much pressure or paste not fully cured | Slow down; patch with fresh paste and wait for full cure |
| Material won’t go in at the bottom port | Port glued off-center or crack plugged with paste | Move to the next port up and inject there |
| Material never reaches the next port | Crack is very tight or material is leaking out the back | Inject longer and slower; check the exterior for an escape point |
| Mixer clogged with hard material | Paused too long | Replace the static mixer and purge before continuing |
| Material stays tacky after 48 hours | Wrong mix ratio, unmixed material or cold wall | Grind out soft material, warm the space, re-inject |
| Crack leaks again a few months later | Crack is still moving or water pressure is high | Monitor width; fix exterior drainage; consult an engineer if it’s widening |
| New crack appears beside an epoxy repair | Wall is still moving and epoxy is rigid | Inject the new crack with polyurethane; get the movement evaluated |
When to call a pro
Call a licensed structural engineer before any contractor if you see a horizontal crack or a crack wider than 1/4 inch. The same goes for one side of a crack sitting proud of the other, a bowing or leaning wall, or a crack that keeps widening. Sticking doors and windows upstairs are another warning sign. Get the engineer’s report first. Then hire a foundation repair contractor to do the specified work, so you aren’t relying on a salesperson’s diagnosis.
FAQ
Are vertical cracks in a basement wall normal?
Yes. Thin vertical cracks in poured concrete are usually shrinkage from curing and aren’t structural. They only need repair if they leak, let in soil gas, or you’re about to finish the space.
Can I just caulk a basement wall crack?
Caulk is fine for a dry hairline crack you want to look tidy. It won’t stop a leak, because water moves through the crack behind the bead. Use injection for any crack that gets wet.
Polyurethane or epoxy for a basement wall crack?
Use polyurethane for leaking or damp cracks and for cracks that might move slightly. Use epoxy for dry, stable cracks where you want the wall bonded back together. Most leaking basement cracks get polyurethane.
How long does a crack injection last?
A properly prepped and injected crack in a stable wall should stay sealed for decades. Failures almost always trace to poor surface prep or a crack that was still moving.
Do I need a permit to repair a basement crack?
Not for DIY crack injection in most US jurisdictions. Structural repairs like wall anchors, steel bracing or excavation often do require a permit, and your contractor should pull it.
Can I fix a crack from the outside instead?
You can, but it means digging down to the footing, which is far more work and cost. Interior injection reaches the full wall depth from inside, so exterior work is usually reserved for full waterproofing jobs.