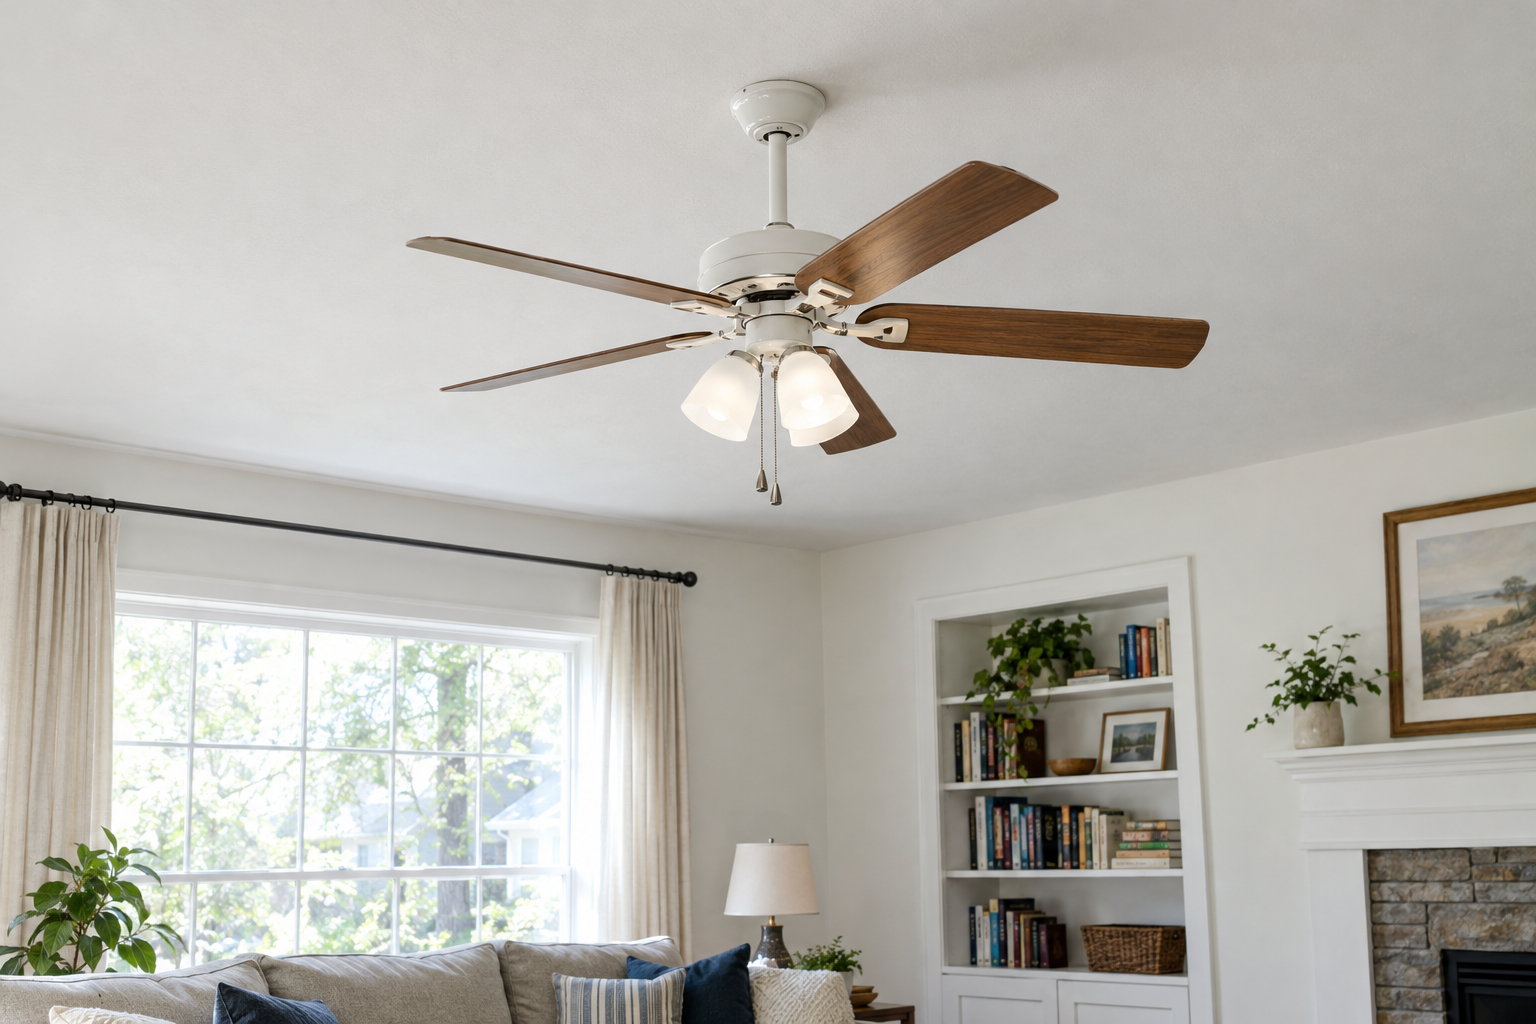
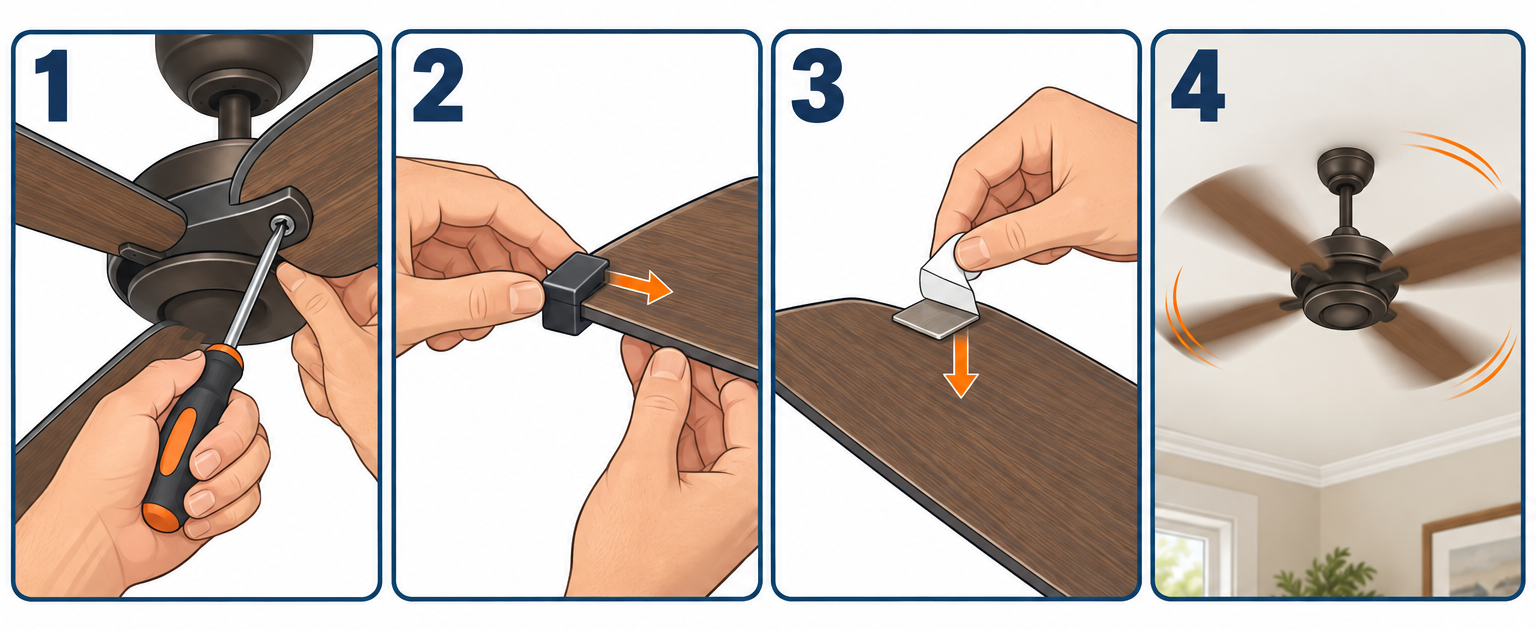
A ceiling fan balancing kit uses a plastic clip to find the light blade. You then stick a small adhesive weight on that blade to even out the rotation. Before you use it, tighten every fastener and check that the blades sit level, because a kit only corrects weight imbalance and cannot fix loose hardware or a bent blade.
Quick steps: balance a wobbly fan
- Shut off the breaker and tighten every screw from the ceiling bracket to the blade tips.
- Measure each blade tip’s distance to the ceiling and correct any blade more than 1/8 in off.
- Wipe the blades clean so dust isn’t adding weight.
- Restore power, then clip the balancer mid-blade on each blade in turn and run the fan on high.
- On the blade that improves most, slide the clip in and out to find the smoothest spot.
- Stick a weight on the top centerline of that blade, directly in line with the clip.
- Remove the clip, retest, and add a second weight only if the fan still wobbles.
Tools and materials
- Ceiling fan balancing kit (1 clip plus adhesive weights; any brand works)
- Step ladder tall enough that you can stand on the second step from the top or lower (a 6 ft ladder suits most 8-9 ft ceilings)
- #2 Phillips screwdriver and a flathead screwdriver
- Yardstick or tape measure
- Pencil and painter’s tape
- Isopropyl rubbing alcohol (70% or higher) and a microfiber cloth
- Non-contact voltage tester (if you remove the canopy)
- Safety glasses
Calculators for this job
Safety first
Turn the fan off at the breaker before you touch the canopy, mounting bracket or blade irons, and confirm it’s dead with a voltage tester. Never reach toward spinning blades. Stop the fan fully at the wall or remote every time you move the clip.
What’s in the kit and how it works
Most kits are tiny. You get a plastic clip that slides onto a blade edge, plus a few flat metal weights with peel-off adhesive backing. Hunter, Westinghouse, Harbor Breeze, Generation Lighting and generic hardware-store kits all work the same way, so the brand on the package doesn’t matter. Any of them will fit any standard fan.
The logic is simple. A fan wobbles when the mass around the motor isn’t even. One blade is a little light, or one side of the fan is a little heavy, so the assembly orbits instead of spinning true. The clip acts as a temporary, movable weight. You move it around until the fan runs smooth, then you replace it with a permanent stick-on weight in the same spot.
Blade sets leave the factory matched by weight. Even so, small differences show up from manufacturing tolerances, a blade that absorbed moisture, a chipped edge, or a coat of paint someone added years ago. The kit corrects those small differences. It cannot fix a fan that’s hanging from a loose box or a blade bolted on crooked. That’s why Steps 1 through 3 come first, and why skipping them is the number one reason people say the kit “didn’t work.”
If your fan has other symptoms, like humming, clicking, a light that flickers or speeds that don’t change, those are separate faults. Our guide on how to fix common ceiling fan problems covers them. This article stays focused on wobble.
Step 1: Shut off power and get set up
Flip the fan’s breaker off at the panel, not only the wall switch. The wall switch may control only one hot conductor, and on fans run from a remote or a smart switch, the receiver can still be live. Put tape over the breaker handle so nobody flips it back while you’re on the ladder.
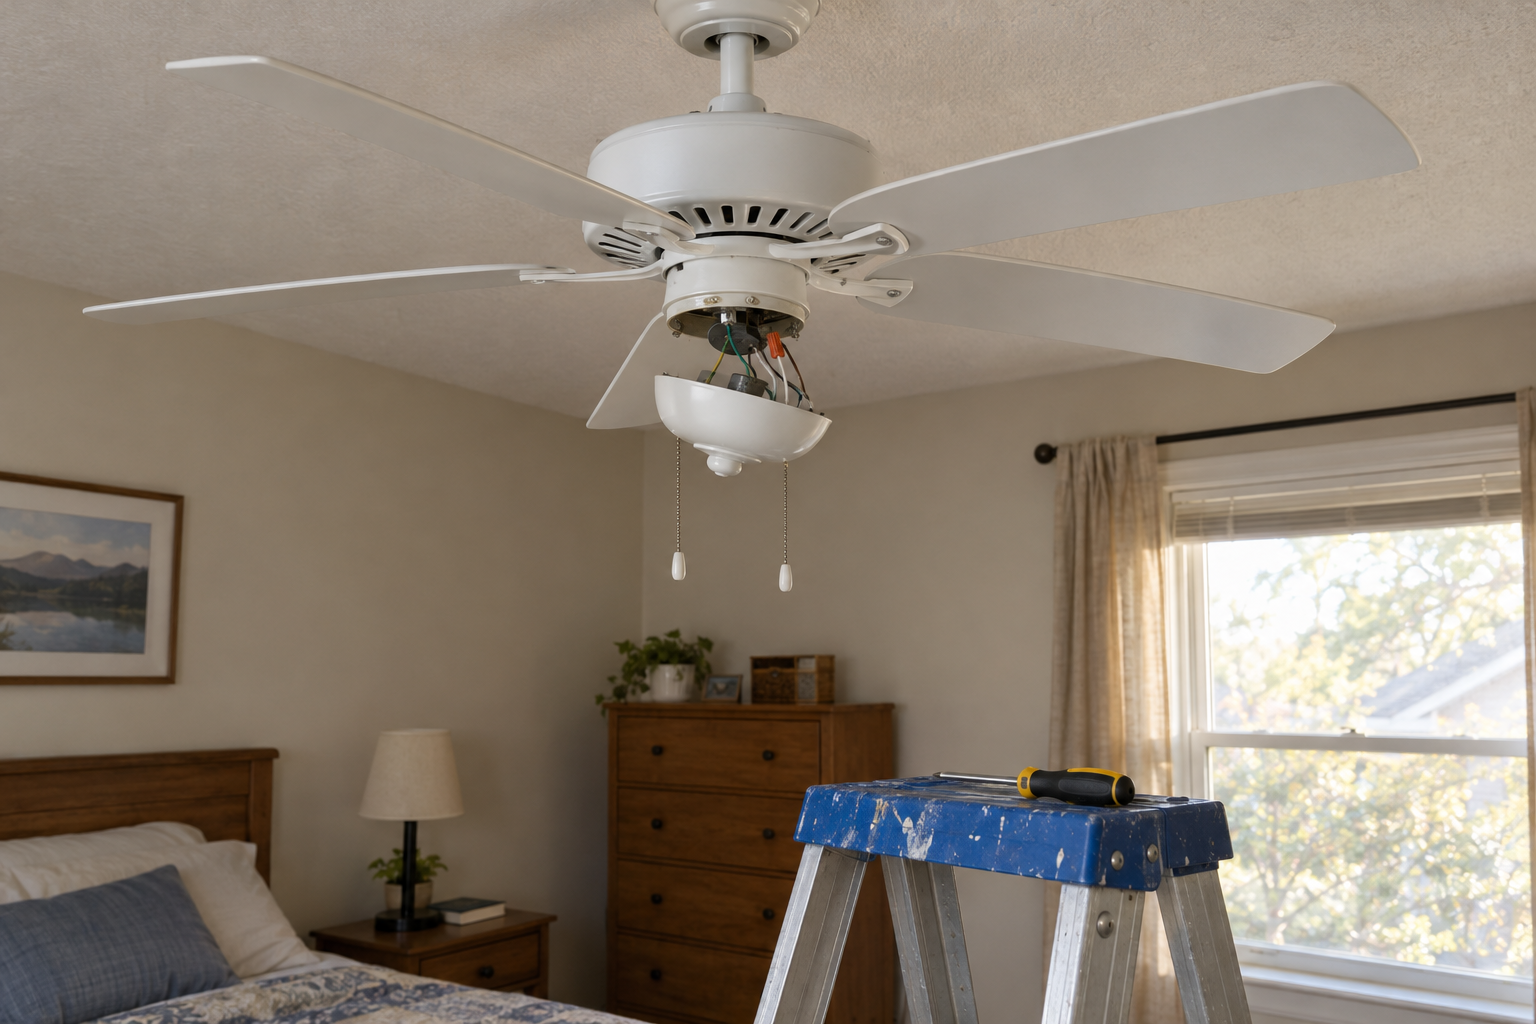
Set the ladder so you can reach the canopy and the motor housing without stretching. You’ll be up and down several times, so position it just outside the blade sweep. That way you can stand on it and watch the fan run without getting clipped.
Take one quick look at the fan running before you shut it off. Note the speed where the wobble is worst and where it shows up. Watch the downrod, the motor housing and the light kit. A fan that sways from the ceiling points to a mounting problem. A fan whose housing orbits while the downrod stays still points to a blade problem. That one observation tells you where to spend your time.
Step 2: Tighten everything from the ceiling down
Loose hardware causes more wobble than unbalanced blades. Work from the top down so you don’t miss anything.
The canopy and mounting bracket
Lower the canopy (the decorative cover against the ceiling) by loosening its screws. Behind it, you’ll find the mounting bracket screwed to the electrical box. Use your voltage tester on the wires before you touch anything inside, then check these points:
- Bracket screws: Tighten the screws holding the bracket to the box. They should be snug, with no play when you push on the bracket.
- The box itself: Push up and sideways on the bracket. If the whole box shifts in the ceiling, no amount of balancing will help. Jump to the section on loose boxes below.
- Ball joint seating: On downrod fans, the rubber or metal ball at the top of the downrod sits in a cradle in the bracket. There’s a tab or slot that the ball’s groove must engage. If the ball has rotated off that tab, the fan hangs slightly cocked and wobbles at every speed.
Check for a box label while you’re up there. The National Electrical Code requires ceiling fans to hang from a box listed for fan support. Look for a stamp reading “Acceptable for Fan Support,” with a weight rating if the fan is heavier than 35 lb. A plain plastic light-fixture box nailed to a joist doesn’t qualify, even if the fan seemed fine for years.
The downrod
Find the set screws and the cross pin where the downrod enters the motor’s yoke (the collar on top of the motor). The pin should pass fully through the rod, and the set screws should be tight against it. A loose downrod lets the whole motor rock. Tighten the set screws with a screwdriver until they bite, but don’t strip them.
The blade irons and blades
The blade irons are the metal arms connecting each blade to the motor. Each iron typically has two or three screws into the motor flange. Each blade then has two or three screws into its iron. Check every one. On a five-blade fan with three screws per joint, that’s 30 screws, and it’s common to find two or three that have backed out.
Snug them firmly by hand with a screwdriver. Don’t use an impact driver. Many blades are particleboard or MDF, and overtightening crushes the material around the screw so it never holds again.
The light kit and switch housing
Loose glass shades, a light kit that isn’t fully threaded on, or a switch housing with a missing screw will rattle and amplify any wobble. Check the screws holding the light kit to the switch housing. Make sure every glass globe is seated evenly in its holder, with its thumbscrews snug.
Pro tip
Remove the glass shades entirely for your balancing test runs. Shades add weight below the motor and can hide or exaggerate a wobble. Once the blades are balanced, put the shades back and confirm the fan still runs smooth.
Close the canopy, restore power, and run the fan on high for a minute. Many fans stop wobbling right here. If yours does, you’re done and you don’t need the kit.
Step 3: Check the blade track
“Tracking” means every blade tip passes through the same horizontal plane. If one blade droops or tilts up, it pushes air differently from the others. That creates a wobble no weight can cancel.
Shut the power off again and stop the blades. Then measure:
- Hold a yardstick vertically with one end against the ceiling, positioned so a blade tip will pass next to it.
- Rotate the fan slowly by hand until the first blade’s tip lines up with the yardstick.
- Mark the height of the blade’s edge on the yardstick with a pencil, or note the measurement.
- Rotate the next blade into the same position without moving the yardstick and compare.
Measure at the same point on each blade, like the leading edge at the tip. All blades should land within about 1/8 inch of each other. A blade that’s 1/4 inch or more higher or lower is your problem, and it needs attention before you balance.
Finding out whether it’s the blade or the iron
Swap the suspect blade with the blade next to it, iron and all, and measure again. If the low tip follows the blade to its new position, the blade itself is warped. If the low tip stays in the same spot on the motor, the iron or the motor flange is the cause.
Warped blade: Take it off and lay it on a flat surface like a countertop. Then sight down its length. Warping is common on particleboard blades in humid rooms like bathrooms, sunrooms and covered porches. You can’t reliably straighten them. Order a replacement blade set from the fan maker, since blades are sold in matched sets. Expect to pay roughly $20-60 depending on the brand and blade material.
Bent iron: Stamped steel irons can be eased back into line with gentle hand pressure while the blade is attached. Make small corrections and re-measure each time. Cast metal irons (thicker, often decorative, sometimes with a visible seam) can crack if you bend them. Replace them instead. Fan makers sell individual irons as replacement parts.
Fans mounted on vaulted ceilings need extra care here. If you can’t measure to a flat ceiling, measure down from a straightedge clamped level across the room, or measure up from the floor to each tip. The comparison is what matters, not the absolute number.
Step 4: Clean the blades
Dust is weight. On a fan that hasn’t been cleaned in a season, the leading edges of the blades carry a visible ridge of it, and it’s rarely spread evenly. It also gives the adhesive weight nothing to grip.
Slide an old pillowcase over each blade and pull it back toward you. The dust falls inside the case instead of on your bed. Then wipe the top of each blade with a microfiber cloth dampened with rubbing alcohol. Wipe the spot where weights usually go, the top centerline, especially well. Alcohol removes grease film from kitchen fans and flashes off in about a minute.
Don’t soak wood or particleboard blades with water or spray cleaner. Moisture swells them and can cause the very warping you just checked for.
Run the fan once more. Clean blades sometimes run noticeably smoother on their own.
Step 5: Find the light blade with the clip
Now the kit comes out. You’re going to test each blade in turn to find the one that needs extra weight.
- Stop the fan completely.
- Slide the clip onto the trailing edge of any blade, about halfway between the blade iron and the tip. The trailing edge is the edge that follows as the fan spins. In summer (counterclockwise) mode, viewed from below, it’s the higher edge on most fans.
- Turn the fan on high and let it reach full speed. Give it 20-30 seconds.
- Watch the wobble. Note whether it got better, worse or stayed the same.
- Stop the fan, move the clip to the same position on the next blade, and repeat.
Go all the way around, testing every blade. Put a small piece of painter’s tape on top of each blade with a number on it so you don’t lose track. Jot down your observations, something like “1 worse, 2 same, 3 better, 4 much better, 5 same.”
The blade where the wobble improved the most is the light blade. That’s where the weight goes.
Why the clip goes on the trailing edge
Clipped on the leading edge, the clip disturbs the air hitting the blade and can change its pitch slightly in the airflow. On the trailing edge, it adds weight with the least aerodynamic effect. The permanent weight goes on the top centerline later, which is the most neutral spot of all.
If no blade improves
If every blade either does nothing or makes it worse, you have one of three situations. The imbalance is small enough that the clip is overcorrecting. The wobble is coming from the mount or track and not from weight. Or two blades are almost equally light. Go back and recheck Steps 2 and 3 first. If those are solid, try the clip closer to the blade iron, where it has less leverage.
Pro tip
Judge the wobble from directly underneath, looking up at the motor housing, rather than from across the room. From below, you can see the housing trace a small circle when it’s out of balance, and that circle shrinks or grows clearly as you move the clip.
Step 6: Find the exact spot on that blade
Knowing which blade is light gets you most of the way. Placement along the blade gets you the rest.
Leave the clip on the light blade and move it in steps. Start at the midpoint where you tested. Slide it about 2 inches toward the tip, run the fan, and compare. Then try 2 inches toward the motor from the midpoint. Keep moving in the direction that improves things, in smaller increments as you get close, until the fan runs its smoothest.
The physics here helps you guess. A weight near the tip has much more effect than the same weight near the hub. So if the clip at the midpoint helped a lot but slightly overcorrected (the wobble changed character instead of disappearing), move it inward. If it helped a little but not enough, move it outward.
When you find the best spot, mark it. Put a pencil line on top of the blade directly above the clip, or stick a sliver of painter’s tape there.
Most fans settle down with the clip somewhere in the middle third of the blade. If you find yourself pushed all the way to the tip and still wanting more, you need a weight heavier than one clip. Stick a weight at the tip mark, put the clip back on, and repeat Steps 5 and 6 to fine-tune.
Step 7: Stick on the weight
Shut the fan off and let it stop completely.
- Take one weight from the kit. If your kit has weights in different sizes, start with the smallest.
- Wipe the spot one more time with alcohol and let it dry.
- Peel the backing and press the weight onto the top of the blade, centered between the front and rear edges, directly in line with where the clip was.
- Hold firm pressure for 30 seconds.
- Remove the clip.
The weight goes on top for two reasons. It’s invisible from the floor, and centrifugal force and gravity both push it against the blade rather than trying to peel it off. Keep it on the centerline because a weight near one edge can very slightly change how the blade sits in the airflow.
Adhesive bonds best at normal room temperature. If you’re working on an outdoor fan on a cold morning, warm the blade and the weight with a hair dryer for a minute before you press it on. In a hot attic room or a sunny porch, give the adhesive a few hours before you run the fan hard.
Step 8: Test and fine-tune
Run the fan through every speed, low to high, and watch from below for a minute on each. Put the glass shades back on if you removed them, and test again.
If the wobble is gone or nearly gone, you’re finished. If it improved but some remains, you have two options:
- Add a second weight stacked on top of the first, or immediately beside it along the centerline. Test again.
- Repeat the clip test with the first weight in place. Sometimes balancing one blade reveals a smaller imbalance elsewhere, and a second weight on a different blade cleans it up.
Stop after two or three weights. If a fan needs more than that, the blades aren’t the real problem. Go back to the mount, the downrod and the blade track.
If you added too much weight and the fan wobbles worse, peel the weight off slowly with a plastic putty knife. A little heat from a hair dryer softens the adhesive. Clean the residue with alcohol, then retest with the clip.
No kit? Use coins and tape
You can balance a fan without buying anything. US coins have known weights: a penny is 2.5 grams, a dime 2.268 grams, a nickel 5.0 grams and a quarter 5.67 grams. That makes them handy, consistent test weights.
Do the clip test with a coin taped to the top of the blade instead of the clip. Use a quarter taped near the trailing edge, then move it blade to blade exactly like Step 5. Once you’ve found the light blade and the spot, either tape the coin down permanently with aluminum foil tape or swap in a kit weight.
Painter’s tape is fine for testing but will let go in a few weeks of spinning. For a permanent fix, use aluminum foil tape from the HVAC aisle, the same tape used to seal ductwork. It holds, it’s thin, and it handles heat and humidity. Smooth it down with a fingernail so there’s no flap to catch air and make noise.
Coins work best on large, heavy blades. On a small, light fan, a quarter may be far too much weight. In that case, a penny or a cut strip of the kit weight gives you finer control.
Measuring wobble with your phone
The eye is surprisingly good at spotting wobble, but it’s poor at judging small changes. A phone gives you numbers. Free vibration-meter and accelerometer apps read your phone’s motion sensor and display vibration as a figure or graph.
On most standard fans, the blades and the motor’s outer shell spin, but the switch housing and light kit underneath stay still. That stationary bottom is where the phone goes. Hold the phone flat against the bottom of the light kit, or tape it there with painter’s tape, and stay clear of the blades. Run the fan on high, note the reading, and repeat for each clip position. The lowest reading is your balance point.
Never attach a phone to a spinning blade. Also skip this method on fans where the whole bottom assembly rotates, which includes some modern and DC-motor designs. If you’re not sure, turn the fan on low and see whether the bottom cap turns.
Common mistakes that waste the kit
Balancing before tightening. The kit can mask a loose blade iron for a few days, then the wobble returns worse as the screws keep backing out. Always tighten first.
Sticking the weight on a dirty blade. Dust and kitchen grease make the adhesive fail. A weight flying off a blade at full speed hits hard enough to chip paint or crack a lamp shade.
Putting the weight on the bottom or the edge. Bottom-mounted weights show from the floor and fight gravity. Edge-mounted weights interfere with airflow.
Testing on low speed. Imbalance grows sharply with speed. A fan that looks fine on low can be badly off on high, so always test on the highest setting.
Moving the clip while the fan is still coasting. Wait until the blades have stopped. Fan blades carry a lot of momentum, and a hand caught by a blade iron at slow speed still gets hurt.
Piling on weights. If two weights don’t fix it, a third won’t either. Find the real cause.
Mixing blades from different fans. Blades are matched in sets. A single replacement blade from a different set, even from the same model, often won’t balance.
Ignoring blade clearance. If a blade comes within a few inches of a sloped ceiling, a beam or a wall, air turbulence near that obstacle can make the fan rock once per revolution. Guidance from manufacturers and code is at least 7 feet from the floor to the blades and about 18 inches from blade tips to walls. Clearance problems need a longer downrod, a different mount or a smaller fan.
Troubleshooting
| Symptom | Likely cause | Fix |
|---|---|---|
| Wobble at every speed, same amount | Ball joint off its tab, loose downrod, or loose bracket | Reseat the ball in the bracket slot; tighten downrod set screws and pin; tighten bracket screws |
| Wobble only on high | Weight imbalance between blades | Balance with the clip and weights (Steps 5-8) |
| Whole fan sways from the ceiling | Loose or non-fan-rated electrical box | Install a fan-rated brace box; call an electrician if unsure |
| One blade sits visibly higher or lower | Warped blade or bent blade iron | Swap blades to diagnose; replace the blade set or the iron |
| Clip makes every blade worse | Problem isn’t weight, or clip is overcorrecting | Recheck tightness and tracking; test with clip closer to the hub |
| Wobble returns after a few weeks | Weight fell off, or screws backed out | Clean and reapply weight; retighten blade and iron screws |
| Clicking or rattling with the wobble | Loose glass shade, light kit or canopy rubbing the downrod | Seat the shades; tighten the light kit; center the canopy so it doesn’t touch |
| Fan wobbles after being repainted | Paint added uneven weight to blades | Rebalance; paint all blades with the same number of coats in future |
| Outdoor fan wobbles after winter | Moisture-swollen blades or failed adhesive | Check for warping; replace with wet-rated blades if needed; reapply weights with foil tape over them |
| Wobble started after installing a smart or remote kit | Receiver crammed in canopy, canopy not seated | Reposition the receiver so the canopy sits flush and doesn’t touch the downrod |
When the box is the problem
Grab the fan’s motor housing with the power off and push it side to side gently. If the canopy moves against the ceiling and you can feel the box shifting above, the fan is hanging from a loose or undersized box. That’s a safety issue, not a nuisance.
The usual fix is an expandable fan brace, also called a “saf-t-brace” style bar. It slides through the hole in the ceiling, spans between two joists, and twists tight against them. A fan-rated box mounts on the bar. Kits cost about $20-40 at home centers and go in without cutting more drywall in most cases.
Installing one means taking the fan down, disconnecting the wiring, removing the old box, and reconnecting everything. If you’ve wired a fan or a light fixture before and you’re comfortable working in a box with the breaker off, it’s a reasonable afternoon job. If you’ve never made those connections, this is where you hire help. Expect an electrician to charge roughly $150-350 to swap a box and rehang the fan. The total depends on access and your local rates.
If your fan shares a circuit with lighting controlled from several locations, be careful labeling wires when you disconnect them. We cover those setups in our guides to “3 way switch wiring” and “multiple switches one light.” A mislabeled traveler is the most common reason a rehung fan stops working.
Outdoor and humid-room fans
Fans on porches, patios, and in bathrooms deal with moisture that indoor fans never see. That changes the balancing job in three ways.
First, blade material matters more. Particleboard and some MDF blades absorb water, swell and warp, sometimes within a single humid summer. Outdoor fans should carry a damp rating for covered porches and a wet rating for spots exposed to rain. Wet-rated fans usually have ABS plastic or treated blades that hold their shape. If you’re balancing an indoor-rated fan that’s outside, the wobble will keep coming back.
Second, adhesive weights have a tougher time. Temperature swings and humidity work at the bond. After you stick the weight on, cover it with a small square of aluminum foil tape, pressed smooth. It’s nearly invisible from below and roughly doubles the hold.
Third, recheck every spring. Outdoor fans loosen up over a season of temperature cycling. A five-minute screw check before you start using it saves a full rebalance later.
What a balanced fan looks like
On high, the motor housing should spin without tracing any visible circle when you look up from directly underneath. The downrod should hang still. Glass shades shouldn’t rattle or chime. You shouldn’t hear a rhythmic thump or see a pull chain swinging in a widening loop.
A very slight sway at high speed on a long downrod is normal, especially on fans with downrods 24 inches or longer, which magnify small movement. Hugger and flush-mount fans should show almost no motion at all.
A smooth fan is also a quieter fan. Much of the hum and tick people blame on the motor is actually the canopy or light kit vibrating in sympathy with an imbalance. Fix the balance and many of those noises disappear too.
When to call a pro
Call a licensed electrician if the electrical box moves when you push on the fan, if there’s no “Acceptable for Fan Support” marking on the box, or if you find scorched wires, melted wire nuts or loose connections inside the canopy. Call the fan manufacturer’s support line, or a handyman for the swap, if a blade iron or the motor flange is cracked, since those are replacement parts and not something to bend or glue. If the fan is on a ceiling higher than about 12 feet and you don’t own scaffolding or a tall extension ladder, a handyman with the right equipment is cheaper than a fall.
FAQ
Where exactly does the balancing weight go?
On the top surface of the blade, centered between the front and back edges, directly in line with the spot where the clip produced the smoothest run. Top placement hides it from view and keeps the forces pushing the weight into the blade instead of peeling it off.
Are ceiling fan balancing kits universal?
Yes, for practical purposes. The clip fits the edge of nearly any standard blade, and the weights stick to wood, MDF, plastic and metal. Extra-thick carved wood blades or very wide paddle blades may not take the clip. In that case, tape a coin to the blade for testing instead.
Can I use coins instead of a balancing kit?
Yes. Tape a quarter (5.67 grams) or a nickel (5.0 grams) to the top of the blade and test blade by blade exactly as you would with the clip. For permanent placement, secure the coin with aluminum foil tape, not painter’s or masking tape, which lets go over time.
How much wobble is normal?
A small amount of sway on high is normal for downrod-mounted fans, more so on long downrods. A housing that visibly orbits, a downrod that rocks, or shades that rattle are not normal. Those mean the fan needs tightening, tracking or balancing.
Why does my fan still wobble after I balanced it?
Usually because the wobble was never a weight problem. Recheck the ball joint seating in the mounting bracket, the downrod set screws, every blade and iron screw, and the blade track. If the box itself moves, the fan needs a fan-rated brace.
Can a wobbling ceiling fan fall?
A properly mounted fan that’s merely out of balance is very unlikely to fall. The risk comes from wobble caused by a loose bracket or a box that isn’t rated for fans. That vibration can keep loosening the fasteners over time. If you see the canopy or box moving, stop using the fan until it’s fixed.
Do I need to rebalance after replacing the blades?
Usually, yes. A new matched set often runs smooth, but small differences in the irons and motor flange mean a quick clip test is worth doing. Remove the old weights before you swap blades, and never mix blades from different sets.