Converting a garage into a bedroom means framing in the door opening, bringing the slab up to a warm, dry, level floor, insulating, adding heat, egress and bedroom-rated electrical, then passing inspections. A typical one-car garage costs about $6,000 to $25,000 without a bathroom and takes roughly 2 to 6 weeks with a professional crew, or about 3 to 6 months of weekend work if you DIY. We walk through the whole job below, from the permit counter to the final inspection.
Quick steps: garage to bedroom
- Confirm zoning, HOA rules and parking requirements, then pull a building permit.
- Draw the plan: egress window, closet, outlets, heat source and floor height.
- Remove the garage door and frame an insulated wall with a window in the opening.
- Fix water problems, lay a vapor barrier and build a level floor over the slab.
- Rough in electrical (and plumbing if needed) and pass rough inspections.
- Install heating and cooling, usually a ductless mini-split.
- Insulate and air-seal walls, ceiling and floor, then pass the insulation inspection.
- Hang and finish drywall, then install flooring, doors, trim, closet and alarms for final.
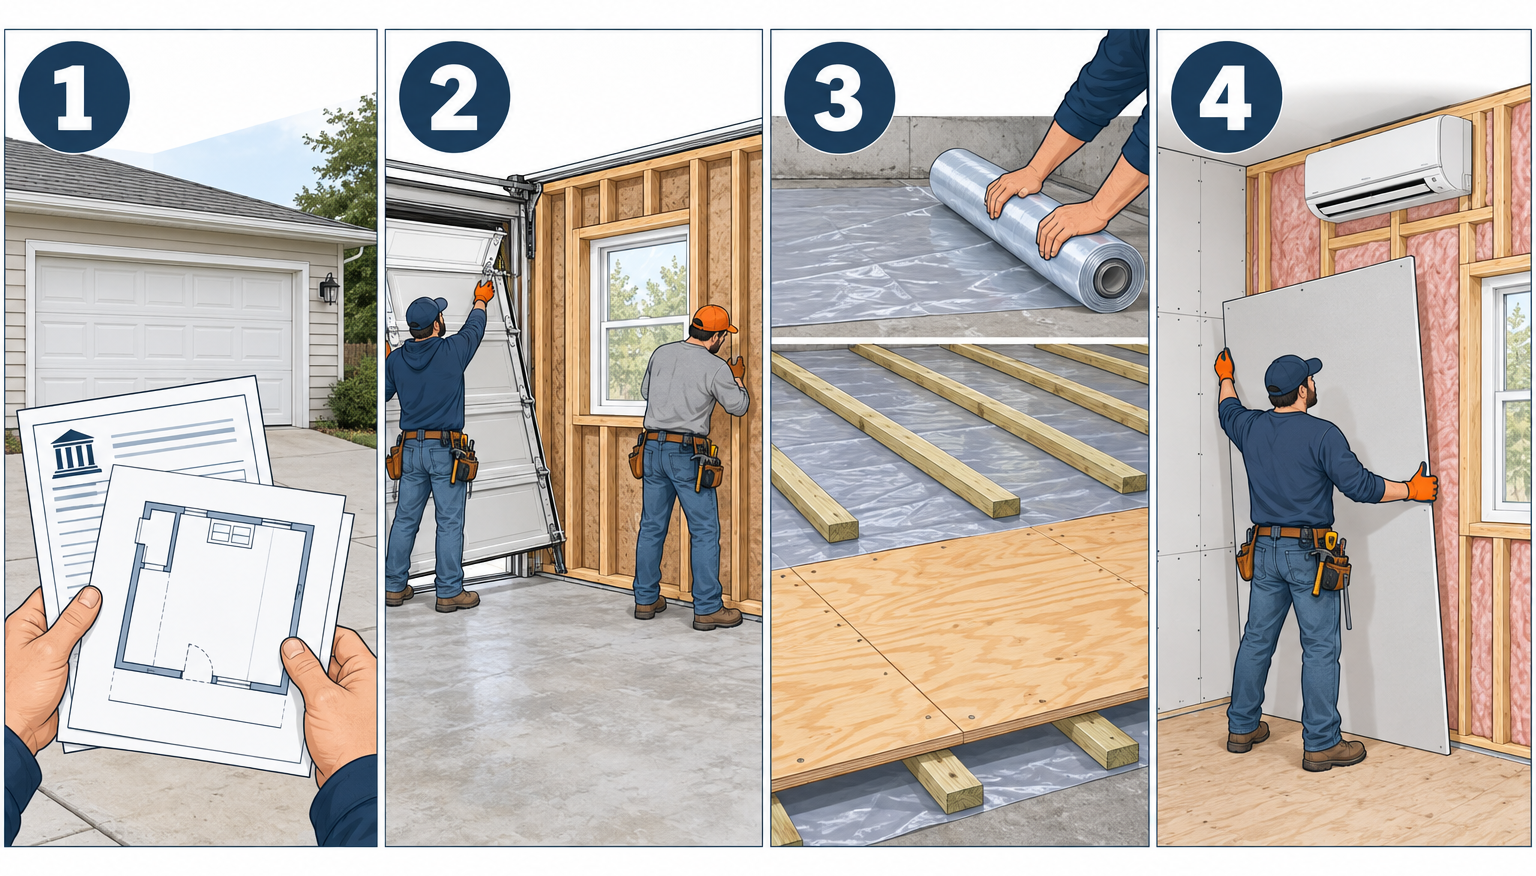
Tools and materials
- Circular saw, miter saw, oscillating multi-tool
- Hammer drill and 3/16″ masonry bit, powder-actuated nailer (for sill plates)
- 4 ft level, 8 ft straightedge or laser level
- Pressure-treated 2×4 or 2×6 lumber (sill plates, sleepers)
- 2×4 or 2×6 kiln-dried studs for the infill wall
- 6-mil polyethylene sheeting and seam tape
- 1″ to 2″ XPS or polyiso rigid foam board
- 3/4″ tongue-and-groove plywood or OSB subfloor
- Fiberglass or mineral wool batts (R-13 to R-21 walls, R-38 to R-60 ceiling)
- 1/2″ drywall (5/8″ Type X where fire separation is required)
- Egress-rated window (minimum 5.7 sq ft net clear opening)
- Combination AFCI breakers, tamper-resistant receptacles
- Interconnected smoke alarms and a CO alarm
- Construction adhesive, Tapcon screws (3/16″ x 2-3/4″), canned spray foam
Calculators for this job
Safety first
Do not unbolt a garage door with torsion or extension springs under tension; a released spring can break bones. Shut off and lock out the breaker before touching any circuit, and test with a non-contact voltage tester before cutting into walls.
What a Legal Garage Bedroom Needs
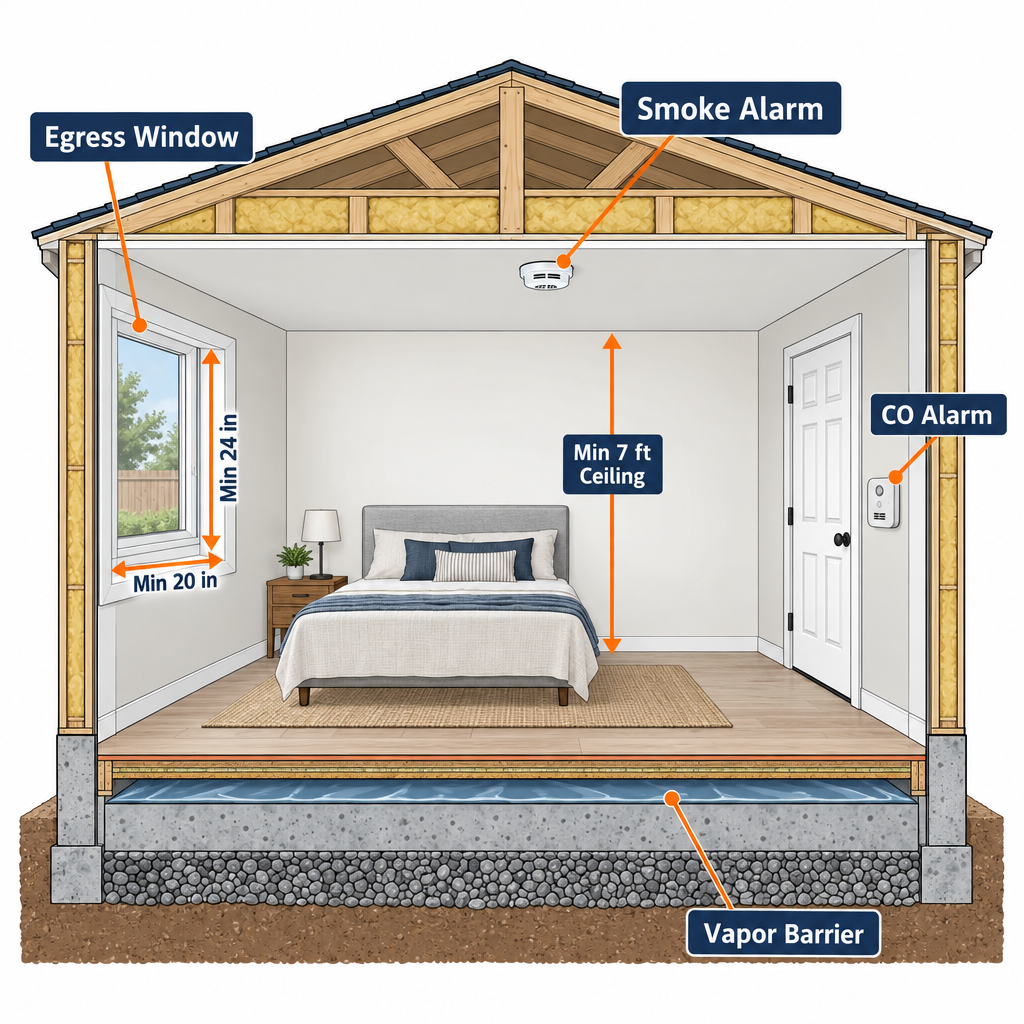
Before we buy a single stud, it helps to know what the inspector will check. Most US towns build on the International Residential Code (IRC), with local amendments. These are the requirements that trip up garage conversions most often.
| Requirement | Typical IRC rule | Where garages usually fail |
|---|---|---|
| Floor area | At least 70 sq ft, no side under 7 ft | Rarely an issue; one-car garages run 200-260 sq ft |
| Ceiling height | 7 ft minimum in habitable rooms | Raised floors can push you under 7 ft |
| Emergency egress | 5.7 sq ft net clear opening (5.0 sq ft at grade floor), 24″ min height, 20″ min width, sill no higher than 44″ | Most garages have no qualifying window |
| Natural light and air | Glazing at least 8% of floor area; openable at least 4% (or mechanical ventilation) | Small garage windows fall short |
| Heat | Able to hold 68°F at 3 ft above the floor | Space heaters don’t count |
| Smoke alarms | One inside the bedroom, one outside it, interconnected | Garage is often not tied into house alarms |
| CO alarm | Outside sleeping areas when there’s an attached garage or fuel appliance | Missing entirely |
| Electrical | AFCI protection; receptacles so no point along a wall is more than 6 ft from one | Garage circuits are usually GFCI-only and sparse |
| Fuel appliances | No gas furnace or water heater opening into a sleeping room unless direct-vent | The garage water heater is the big one |
That last row catches a lot of people. If our gas water heater or furnace lives in the garage, it either gets relocated, swapped for a direct-vent or electric unit, or enclosed in a sealed closet with outdoor combustion air and access from outside the bedroom.
Step 1: Confirm Zoning, HOA Rules and Permits
Call the building department before anything else. Ask three specific questions: Does converting the garage trigger a parking requirement? Do we need a planning or zoning review in addition to a building permit? What code edition and energy code do they enforce?
Parking is the deal breaker in some cities. Many zoning codes require one or two off-street spaces per house, and if the garage was those spaces, we may need to add a paved pad or driveway spot to get approval. HOAs can also ban visible changes to the garage door elevation, so read the CC&Rs.
Expect a building permit to cost roughly $500 to $2,500 depending on the town and project value. Most jurisdictions want a simple floor plan, a wall section showing insulation and the infill framing, and an electrical layout. Some require a licensed electrician to pull the electrical permit; others allow a homeowner permit for a primary residence.
Inspections usually run in this order: framing, rough electrical and plumbing, mechanical, insulation, drywall (in some towns), and final.
Pro tip
Ask the permit tech whether the converted room can count as a bedroom on the property record. A legal, permitted bedroom adds appraisal value; an unpermitted one can kill a sale or force a teardown when a buyer’s inspector spots it.
Step 2: Draw the Plan
Measure the garage to the inch, including the slab slope, the height difference to the house floor, and ceiling height at the lowest point. Garage slabs commonly drop 1/8″ to 1/4″ per foot toward the door, so a 20 ft deep garage can be 2.5″ to 5″ lower at the front than at the back.
Then decide where everything goes:
- Egress window: Put it where the outside grade lets the sill sit at or under 44″ from the finished floor. The old garage door opening is the easiest spot, since we’re framing that wall anyway.
- Closet: Not required by the IRC, but many appraisers and local codes won’t call a room a bedroom without one. A 2 ft deep by 5 to 6 ft wide reach-in is enough.
- Door to the house: The existing house-to-garage door can stay. If we keep part of the garage as a garage, note that the IRC prohibits a door from a garage opening directly into a sleeping room.
- Floor height: Decide now whether we’re raising the floor to match the house (no step) or keeping a step down. This changes the window, door and ceiling math.
- Utilities: Mark outlets, the HVAC head or vents, and any plumbing.
A two-car garage, usually 400 to 480 sq ft, has room for a bedroom plus a bathroom or a walk-in closet. Splitting it this way is how most “master suite” conversions work.
Step 3: Remove the Garage Door and Frame the Opening
Take out the door
Release spring tension before anything else. Torsion springs (the coil on a bar above the door) need winding bars and real experience; a garage door tech will unwind and remove a door and its hardware for roughly $150 to $400. If we’re reusing or selling the opener, disconnect it at the outlet first. Our guide to replacing a “garage door opener” covers how the rail and motor come down safely.
Build the curb or sill
The bottom of the new wall needs to sit above any water that runs across the slab. We have two good options:
- Concrete curb: Form and pour a 4″ to 6″ tall curb across the opening, pinned to the slab with rebar epoxied into 1/2″ holes. Best choice where water ever reaches the door.
- Pressure-treated sill on the slab: Lay sill gasket or a bead of sealant, then a pressure-treated 2x plate fastened with Tapcons or powder-actuated pins every 16″ to 24″. Fine on dry sites where we’re raising the floor anyway.
Frame the infill wall
The header over the old door is already carrying the load, so the new wall is non-bearing infill. Frame it with 2×4 or 2×6 studs at 16″ on center, matching the existing wall depth so the drywall lines up. Frame a rough opening for the egress window using the manufacturer’s rough opening dimensions, with a doubled sill and jack studs.
Sheath with 7/16″ OSB or 1/2″ plywood, wrap with housewrap lapped shingle-style over the existing wrap, and flash the window with self-adhered flashing tape: sill first, then jambs, then head. Finish the exterior to match the house. Matching siding is easy; matching stucco texture takes a plasterer who knows the local mix.
Pro tip
Set the egress window sill at 24″ to 30″ off the finished floor. It clears the 44″ maximum easily, leaves room for a bed or dresser below, and still looks like a normal house window from the street, which helps the conversion read as original.
Call for the framing inspection here if your town wants it before rough-ins.
Step 4: Fix Moisture and Build the Floor
Check for water first
Tape a 2 ft square of clear plastic to the slab for 48 hours. Condensation under the plastic means moisture is wicking up through the concrete; condensation on top means humid air. Either way we need a vapor barrier, but standing water or efflorescence at the old door line means a grading or drainage problem we fix outside first.
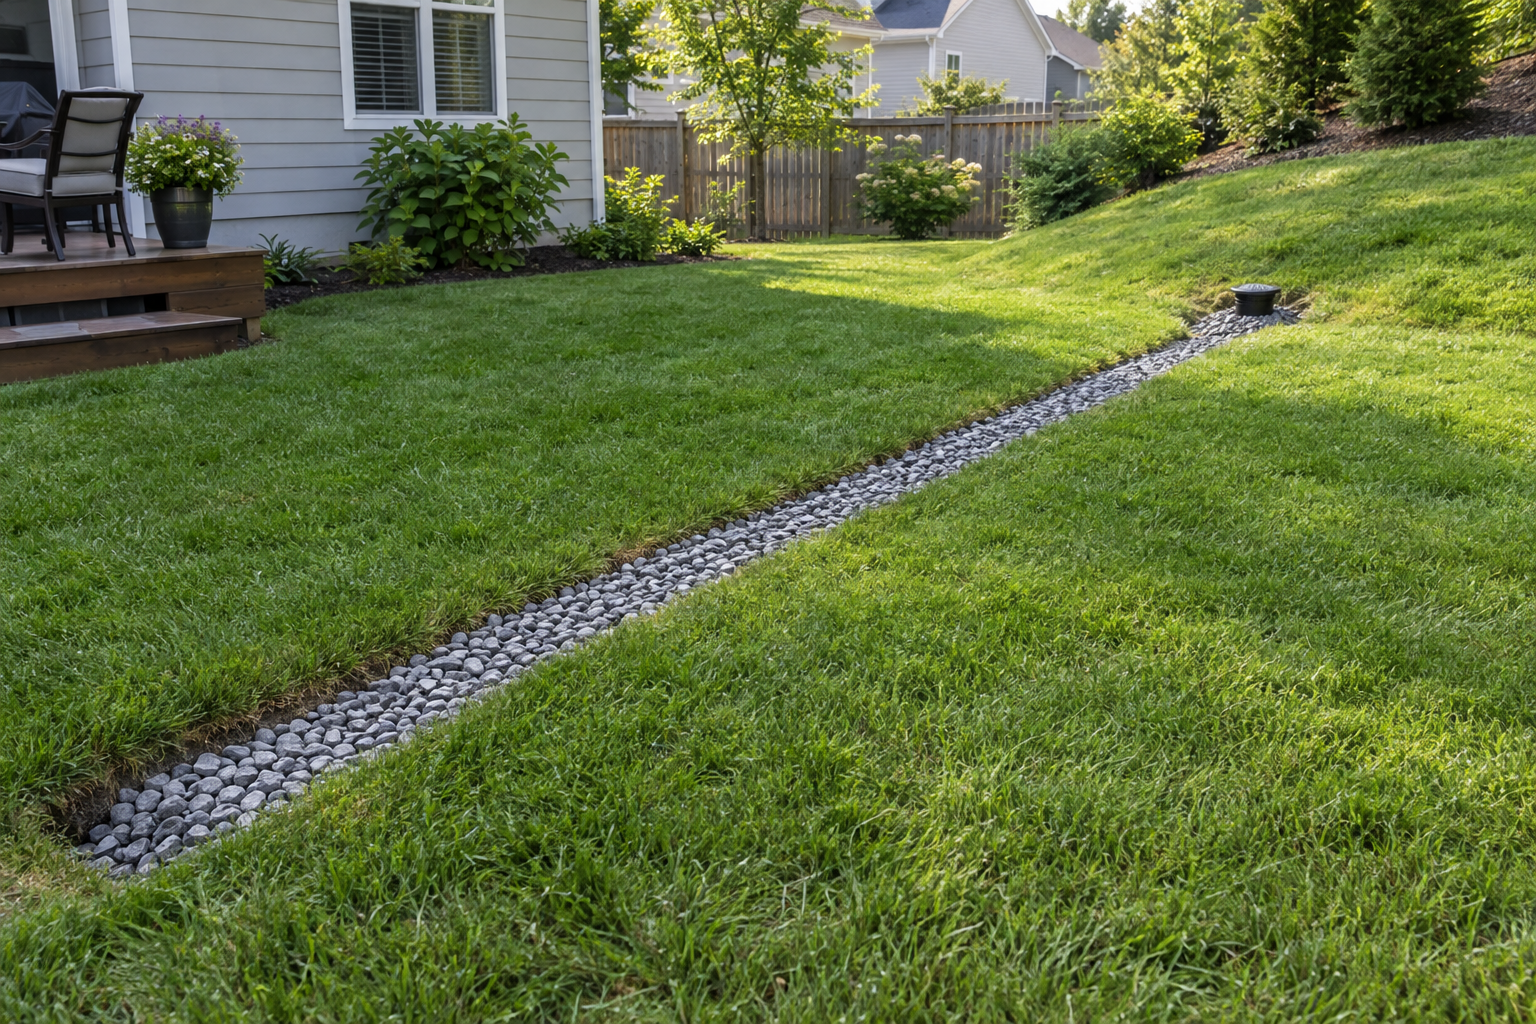
Regrade so the soil falls at least 6″ in the first 10 ft away from the house. If runoff from the driveway still heads for the old opening, a channel drain across the driveway or a “french drain” along the front can carry it away before it reaches the wall.
Pick a floor system
| Floor system | Height added | Typical cost (materials) | Best for |
|---|---|---|---|
| Rigid foam + plywood floated on slab | 1.5″-2.5″ | $3-$5/sq ft | Dry slabs, keeping a step down to the house |
| Sleepers (2×4 on flat) with foam between | 2.5″-3.5″ | $3-$6/sq ft | Sloped slabs; shims fix the slope |
| Raised joist floor (2×6 or 2×8 on ledger) | 6″-10″ | $5-$9/sq ft | Matching the house floor height, running plumbing or ducts underneath |
| Self-leveler + flooring direct on slab | 0.25″-1″ | $2-$4/sq ft | Tight ceilings; coldest option, needs a dry slab |
For most conversions we use sleepers. Here’s how:
- Sweep the slab, then lay 6-mil poly with seams overlapped 12″ and taped, running it 4″ up the walls.
- Lay pressure-treated 2×4 sleepers flat at 16″ on center, perpendicular to the direction the flooring will run.
- Shim each sleeper with composite shims to level, checking with an 8 ft straightedge. The slab slope means the sleepers near the door get the thickest shims.
- Fasten through the poly with 2-3/4″ Tapcons every 24″, sealing each penetration with a dab of sealant.
- Cut 1.5″ rigid foam to fit snugly between sleepers.
- Glue and screw 3/4″ T&G plywood across the sleepers with 2″ screws at 8″ on edges, 12″ in the field. Leave a 1/8″ gap at panel ends and 1/2″ at walls.
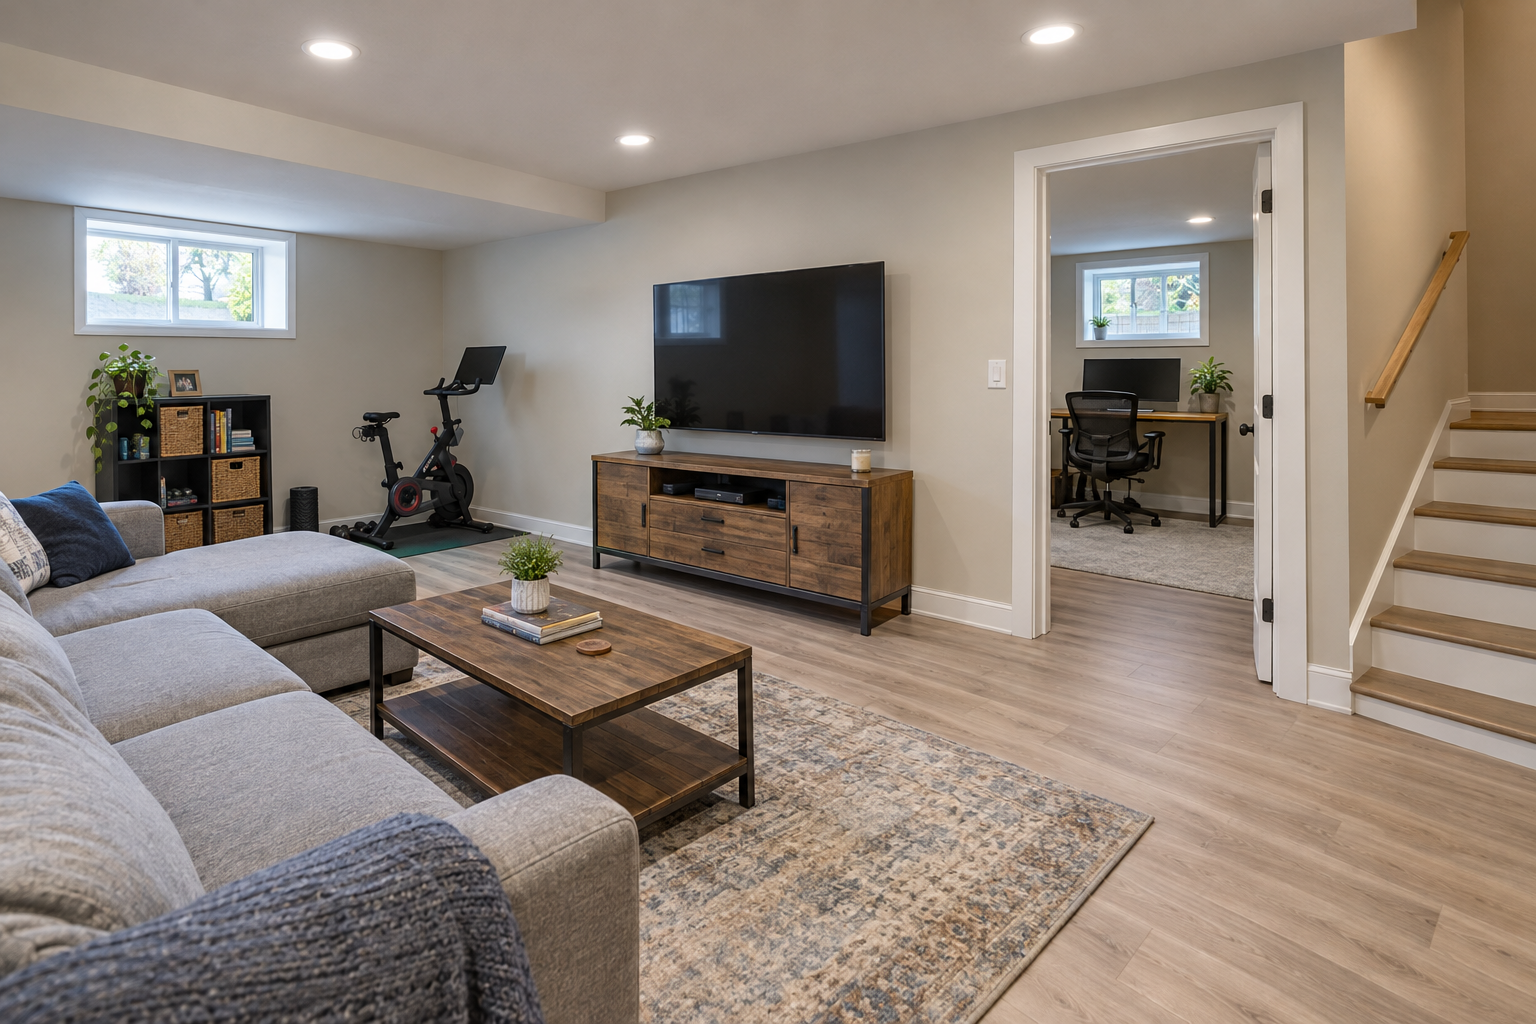
If we want a flush transition to the house, the raised joist floor is the way to go. It’s the same method used to “finish a basement” with a wet-prone slab, just taller. Check that the new floor still leaves at least 7 ft of ceiling height.
Step 5: Rough In Electrical and Plumbing
Electrical
A garage usually has one 15- or 20-amp GFCI circuit and a light. A bedroom needs more:
- Receptacles: Placed so no point along any wall is more than 6 ft from an outlet. In practice, one every 10 to 12 ft, plus any wall section 2 ft or wider. All must be tamper-resistant.
- AFCI protection: Bedroom outlets and lighting need arc-fault protection, typically a combination AFCI breaker.
- Lighting: A switched ceiling light or switched receptacle at the door.
- Dedicated circuit for the mini-split: Usually a 240-volt, 15- or 20-amp circuit for a single-zone unit; check the nameplate.
- Smoke and CO alarms: Hardwired and interconnected with the existing house alarms where the code requires it.
Count open slots in the panel before planning. If the panel is full or the service is 100 amps with an electric range and dryer already on it, a load calculation and possibly a service upgrade come first. That’s licensed electrician territory.
Plumbing (if adding a bathroom)
A bathroom in a garage means cutting the slab. Plan the drain route to the main sewer line or an existing cleanout, saw-cut a 12″ to 18″ trench, then lay 3″ PVC for the toilet and 2″ for the shower at 1/4″ per foot slope. Venting must tie into the existing system or use an air admittance valve where local code allows it. Expect $3,000 to $8,000 just for slab cutting, trenching and drain rough-in by a plumber. If the sewer line sits higher than the slab, an upflush (macerating) toilet system costs around $1,500 to $3,500 installed (the unit alone runs about $750 to $1,500) and avoids trenching.
Call for the rough electrical and plumbing inspections before any insulation goes in.
Step 6: Heat and Cool the Room
Extending house ductwork sounds cheap, but most furnaces are already sized for the existing square footage, and a long duct run to the far side of a garage delivers weak airflow. A single-zone ductless mini-split usually wins.
| Heating/cooling option | Installed cost | Notes |
|---|---|---|
| Ductless mini-split (9,000-12,000 BTU) | $3,000-$6,000 | Heats and cools; efficient; needs a 240V circuit and a 3″ wall penetration |
| Extend existing ductwork | $1,000-$3,000 | Only if the furnace has spare capacity; needs a return path |
| Electric baseboard or wall heater | $300-$1,200 | Cheap to install, costly to run; no cooling |
| Window or through-wall AC + heat | $500-$1,500 | Blocks a window; noisy for a bedroom |
A rough sizing guide: about 20 to 30 BTU per sq ft, toward the high end for hot climates or a room with lots of exterior wall. A well-insulated 250 sq ft one-car conversion may land near 9,000 BTU, but garages are typically poorly insulated, and many sources recommend 30 to 45 BTU per sq ft for them; a 450 sq ft two-car garage conversion often needs 18,000 BTU or more.
Run the line set and condensate drain while the walls are open. Many towns require a separate mechanical permit and a licensed HVAC tech to charge and commission the system.
Step 7: Insulate and Air-Seal
Garage walls are often uninsulated, and the ceiling may have little or nothing above it. This step decides whether the room is comfortable or freezing.
Walls: Fill 2×4 cavities with R-13 or R-15 batts, 2×6 with R-19 or R-21. Many climate zones under the 2021 IECC call for R-20 or R-13 plus R-5 continuous insulation, so confirm what your inspector expects.
Ceiling: Under an unconditioned attic, most of the country now targets R-38 to R-60. Blown cellulose or fiberglass is the cheapest way to hit that. If the garage attic is used for storage, raise the storage platform on stilts so the insulation stays full depth.
Floor and slab edge: The foam in the sleeper floor does this job. In colder zones, add rigid foam inside the foundation wall at the slab edge.
Air sealing: Spray foam every wire and pipe penetration, the top plates, and the gap where the new infill wall meets the old jambs. Caulk the bottom plate to the subfloor.
Install batts so they fill the cavity without being compressed, split around wires rather than stuffed behind them. Then call for the insulation inspection.
Pro tip
Before insulating, shine a bright work light inside the wall at night and walk the outside of the house. Every glowing crack around the old garage door jambs and the new window is an air leak you can foam now for pennies.
Step 8: Hang and Finish Drywall
Use 1/2″ drywall on walls and ceiling for a standard bedroom. If any part stays a garage, the shared wall needs at least 1/2″ gypsum on the garage side, and 5/8″ Type X is required on a garage ceiling with habitable rooms above. Some garage walls already have one layer of drywall with no insulation behind it; we usually strip it to insulate and run wires, rather than fight it.
Hang the ceiling first with sheets perpendicular to the joists, screws every 12″. Walls go horizontally, top sheet first. Tape with paper tape and setting compound on the first coat for strength, then two coats of lightweight topping, sanding with 120-grit between.
Prime with a PVA drywall primer, then two coats of interior paint. For the inevitable shelves and TV mounts later, the right “sheetrock anchors” save a lot of patching when studs aren’t where we want them.
Step 9: Floors, Doors, Closet, Alarms and Final
Now the room starts looking like a bedroom.
- Flooring: Luxury vinyl plank ($3 to $7 per sq ft for materials) is the safe choice over slab-based floors because it shrugs off any residual moisture. Carpet with a good pad is warmest underfoot. Engineered wood works over a dry, well-insulated sleeper floor.
- Closet: Frame with 2x4s, hang a bifold or sliding door, install a shelf at about 66″ and a rod at about 64″.
- Trim and doors: Case the window and install baseboard. Add a weatherstrip and a door sweep to the house door.
- Alarms: Mount the smoke alarm on the ceiling at least 4″ from the wall, and confirm the CO alarm is in the hallway outside the room.
For the final inspection, the inspector will open the egress window and measure the clear opening, test the smoke alarms and their interconnect, check AFCI trips, look at the heat source, and confirm the earlier sign-offs. Once that card is signed, we have a legal bedroom.
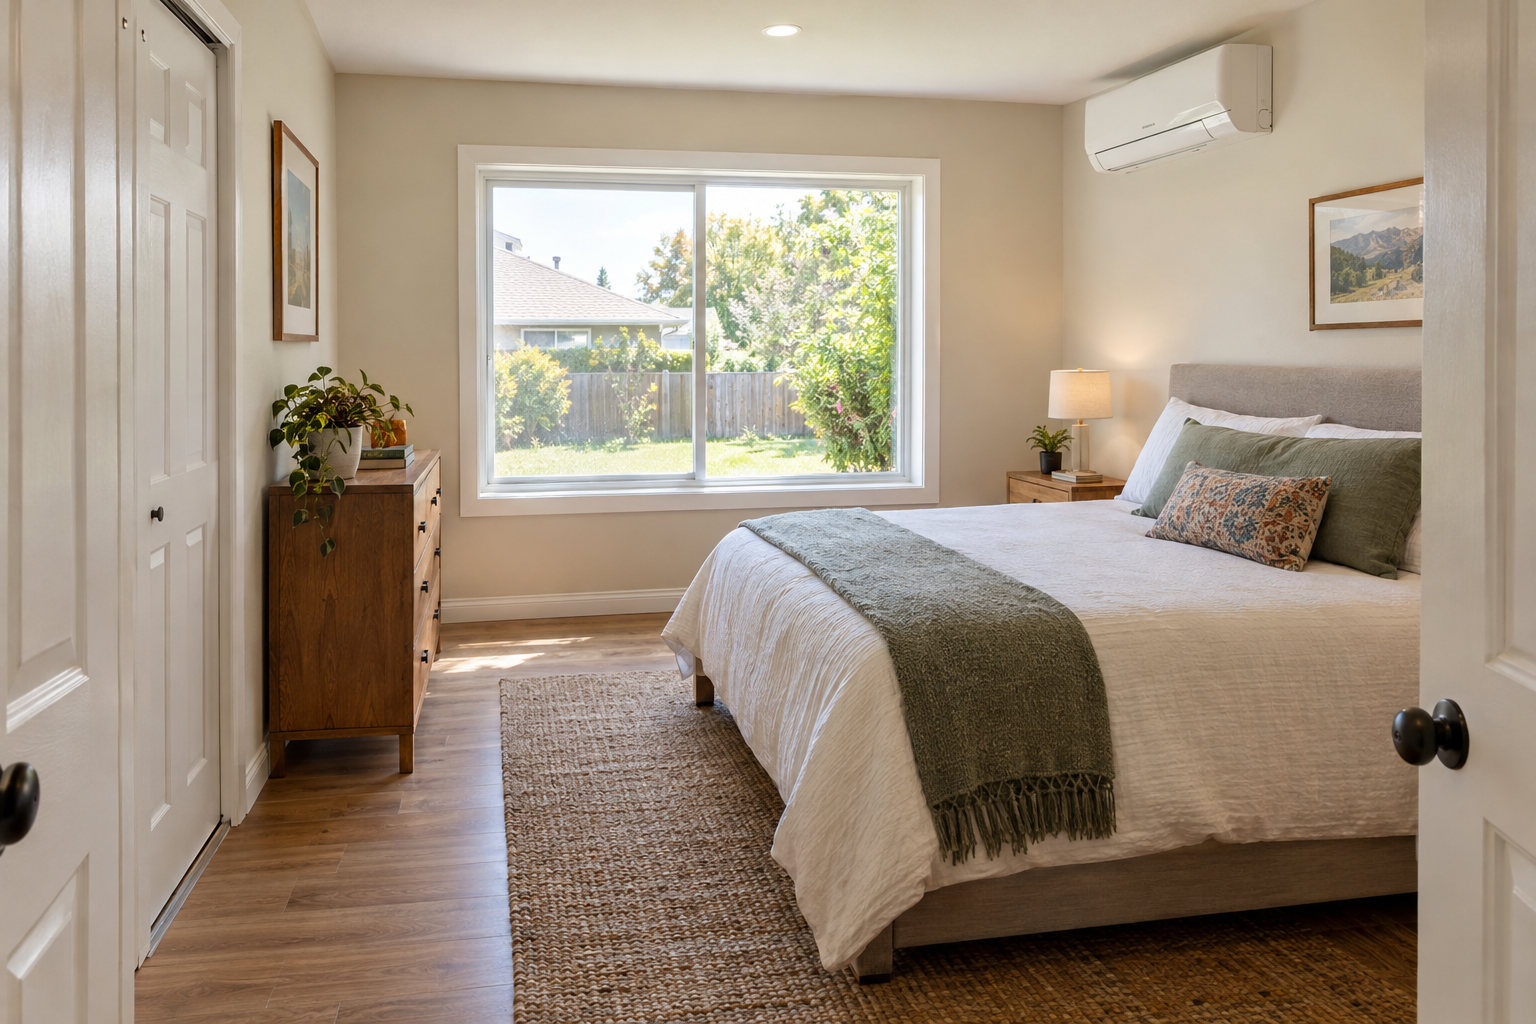
Expected result: a dry, level, quiet room that holds 68°F or better through winter, passes the egress test, and looks from the street like it was always part of the house.
What It Costs: Garage to Bedroom Budget
These ranges reflect typical US pricing for a one-car garage (about 250 sq ft) and assume DIY labor on framing, insulation and drywall, with licensed trades where required. Hiring a general contractor for the whole job usually doubles the labor-heavy lines.
| Item | DIY + trades | Full contractor |
|---|---|---|
| Permits and plans | $500-$2,500 | $1,000-$4,000 |
| Garage door removal | $150-$400 | Included |
| Infill wall, egress window, exterior finish | $1,500-$4,000 | $3,500-$8,000 |
| Floor system | $800-$2,000 | $2,000-$4,500 |
| Electrical | $1,500-$3,500 | $2,500-$5,000 |
| Heating and cooling (mini-split) | $3,000-$6,000 | $3,500-$6,500 |
| Insulation | $600-$1,500 | $1,500-$3,000 |
| Drywall and paint | $600-$1,500 | $2,500-$5,000 |
| Flooring, closet, trim | $1,000-$3,000 | $2,500-$5,000 |
| Total, no bathroom | $9,650-$24,400 | $19,000-$45,000 |
| Add a full bathroom | $10,000-$25,000 | $20,000-$40,000 |
Where to save without regretting it
- Keep the step down to the house and use a sleeper floor instead of a raised joist floor.
- Put the egress window in the old door opening so we only frame one new wall.
- Skip the bathroom if a hall bath is within a few steps.
- Choose a mini-split over extending ducts; it’s often cheaper than upsizing a furnace.
- Do the insulation, drywall and painting ourselves. Those are the most labor-heavy and least code-sensitive tasks.
Do not save on permits, the vapor barrier, or the egress window. Those are the three things that cause failed sales, mold and a room nobody is legally allowed to sleep in.
Benefits and Drawbacks Worth Weighing
A garage conversion usually costs far less per square foot than an addition because the foundation, roof and three walls already exist. It’s one of the cheapest ways to add a bedroom, and for many houses it lifts the listing from a 2-bed to a 3-bed.
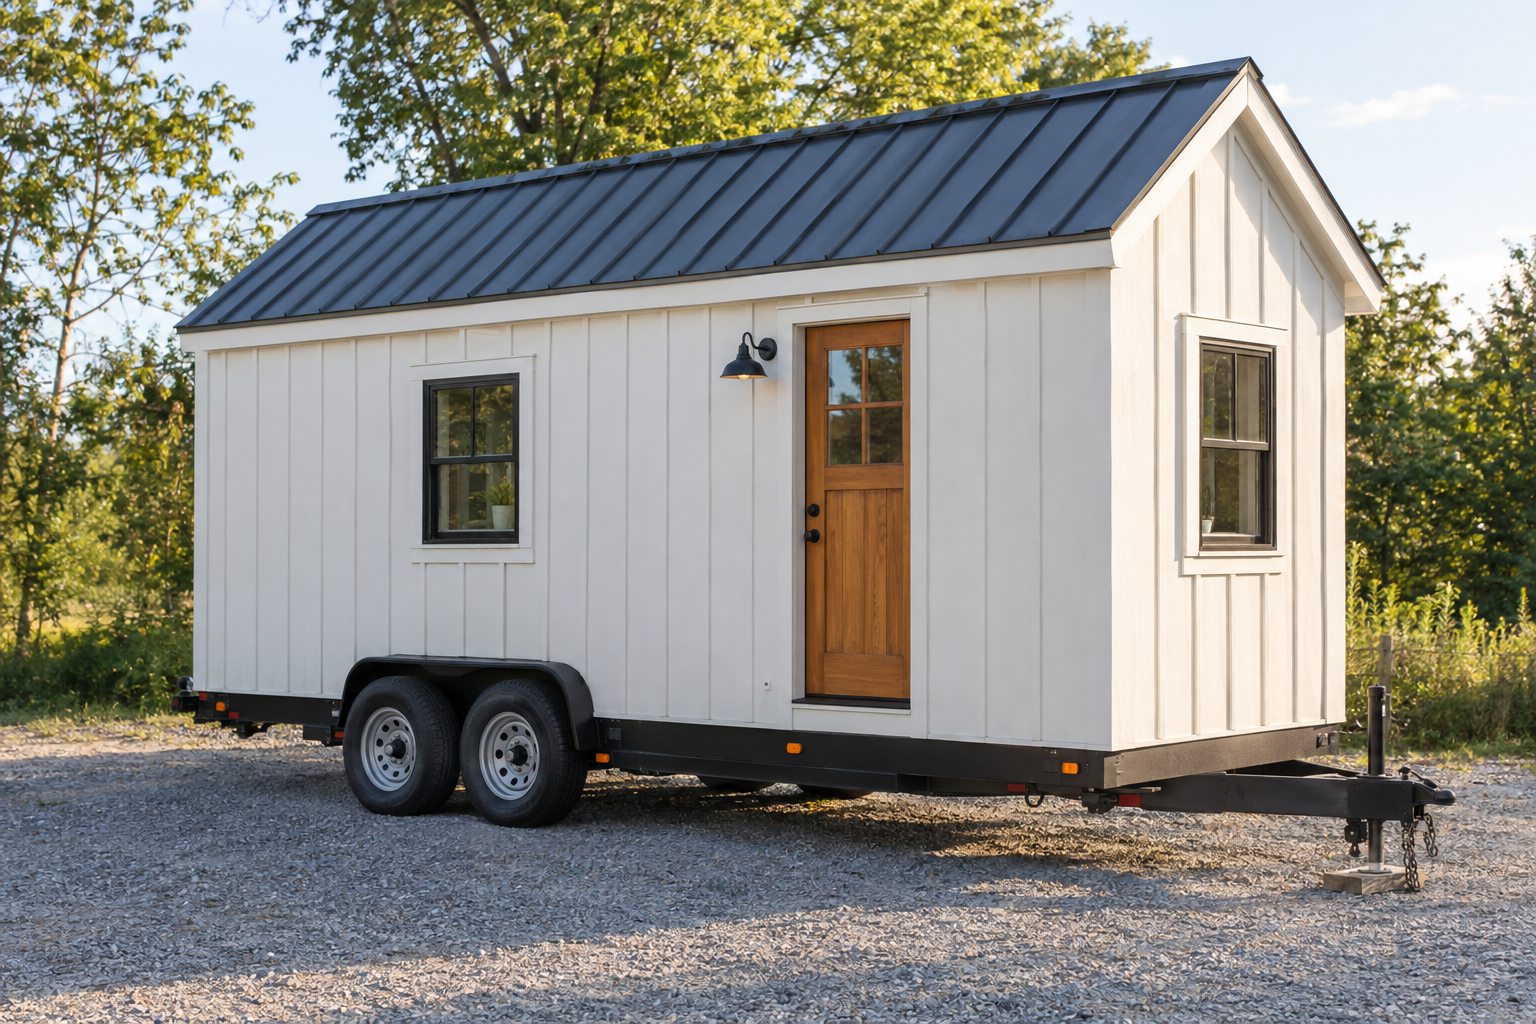
The tradeoffs are real, though. We lose covered parking and bulk storage, so the bikes, mower and holiday bins need a new home, often a backyard shed. In neighborhoods where buyers expect a garage, appraisers may treat the change as neutral or even negative. If the family needs a fully separate unit instead, a detached “tiny home” or a permitted ADU might be the better project.
Troubleshooting
| Symptom | Likely cause | Fix |
|---|---|---|
| Damp smell or musty carpet near the old door | Water running under the infill wall | Regrade, add a curb or exterior drain, replace pad and check the sill plate for rot |
| Floor feels cold even with heat on | No foam under the subfloor or uninsulated slab edge | Add rigid foam at the slab edge; use a rug and pad; on rebuild, add foam between sleepers |
| Floor bounces or squeaks | Sleepers too far apart or not shimmed tight | Add sleepers at 12″ o.c. in bad spots; screw subfloor down every 8″ |
| Room much hotter or colder than the house | Thin ceiling insulation or undersized HVAC | Blow in cellulose to R-49+; confirm mini-split BTU against room size |
| Drywall cracks along the old door header | Header or jambs moving seasonally | Use paper tape and setting compound; add a control joint at the header corners |
| AFCI breaker keeps tripping | Shared neutral, nicked wire or an appliance with a brush motor | Check for shared neutrals and pinched cables at boxes; test the device on another circuit |
| Failed final on egress | Clear opening measured with the sash in place, not the frame | Buy a casement or larger slider rated for egress; measure net clear, not rough opening |
| Exhaust or gas smell | Fuel appliance still opening into the room | Relocate, switch to direct-vent, or seal it in a closet with outside air and access |
When to call a pro
Call a licensed electrician if the panel is full, the service is 100 amps or less, or your town won’t issue a homeowner electrical permit. Call a plumber for any slab cutting or sewer tie-in, an HVAC contractor to charge a mini-split or relocate a gas appliance, and a structural engineer if you’re removing any wall, cutting a new opening in a bearing wall, or building a room in the attic above. A garage door technician should handle spring release.
FAQ
Do I need a permit to convert my garage into a bedroom?
Yes, almost everywhere in the US. You’re changing the use of the space from non-habitable to habitable, which triggers building, electrical and usually mechanical permits. Unpermitted conversions are a common reason buyers back out or lenders refuse to count the room.
Can I leave the garage door in place and insulate behind it?
Most inspectors won’t accept a garage door as an exterior wall of a bedroom. It doesn’t meet energy code, it isn’t weather-tight, and it can’t serve as the egress opening. Frame a real wall with a code-compliant window instead.
Does a garage conversion add value to a house?
It usually does when it adds a legal bedroom in a neighborhood where bedroom count drives price, and the exterior looks original. It can hurt value where buyers expect a garage, especially in cold climates and suburbs with limited street parking. Ask a local agent before committing.
How long does a garage to bedroom conversion take?
With a contractor, plan on 3 to 6 weeks of work plus permit review time, which can range from a few days to several weeks. DIYers working weekends should expect 2 to 3 months, mostly because inspections have to be scheduled between phases.
Can I convert half the garage and keep the other half for parking?
Yes, and it’s a smart way to add a bedroom without losing all storage. The dividing wall needs fire-rated drywall on the garage side, and the bedroom can’t open directly into the garage. The bedroom also still needs its own egress window to the outside.
Can I rent out a converted garage bedroom?
Renting it as a room in your house falls under local rental rules. Renting it as a separate unit with its own kitchen and entrance makes it an ADU, which brings extra zoning, utility and sometimes parking requirements. Check with your planning department before adding a kitchen.