Most drywall repair follows the same routine. Fix whatever caused the damage, fill or patch it, apply three thin coats of joint compound, sand, then prime and paint. Dents and nail pops take one evening of work. Holes bigger than a fist need a patch or a new piece of drywall screwed to backing.
Quick steps: repair damaged drywall
- Find and fix the cause: loose fastener, leak, settling or a door with no stop.
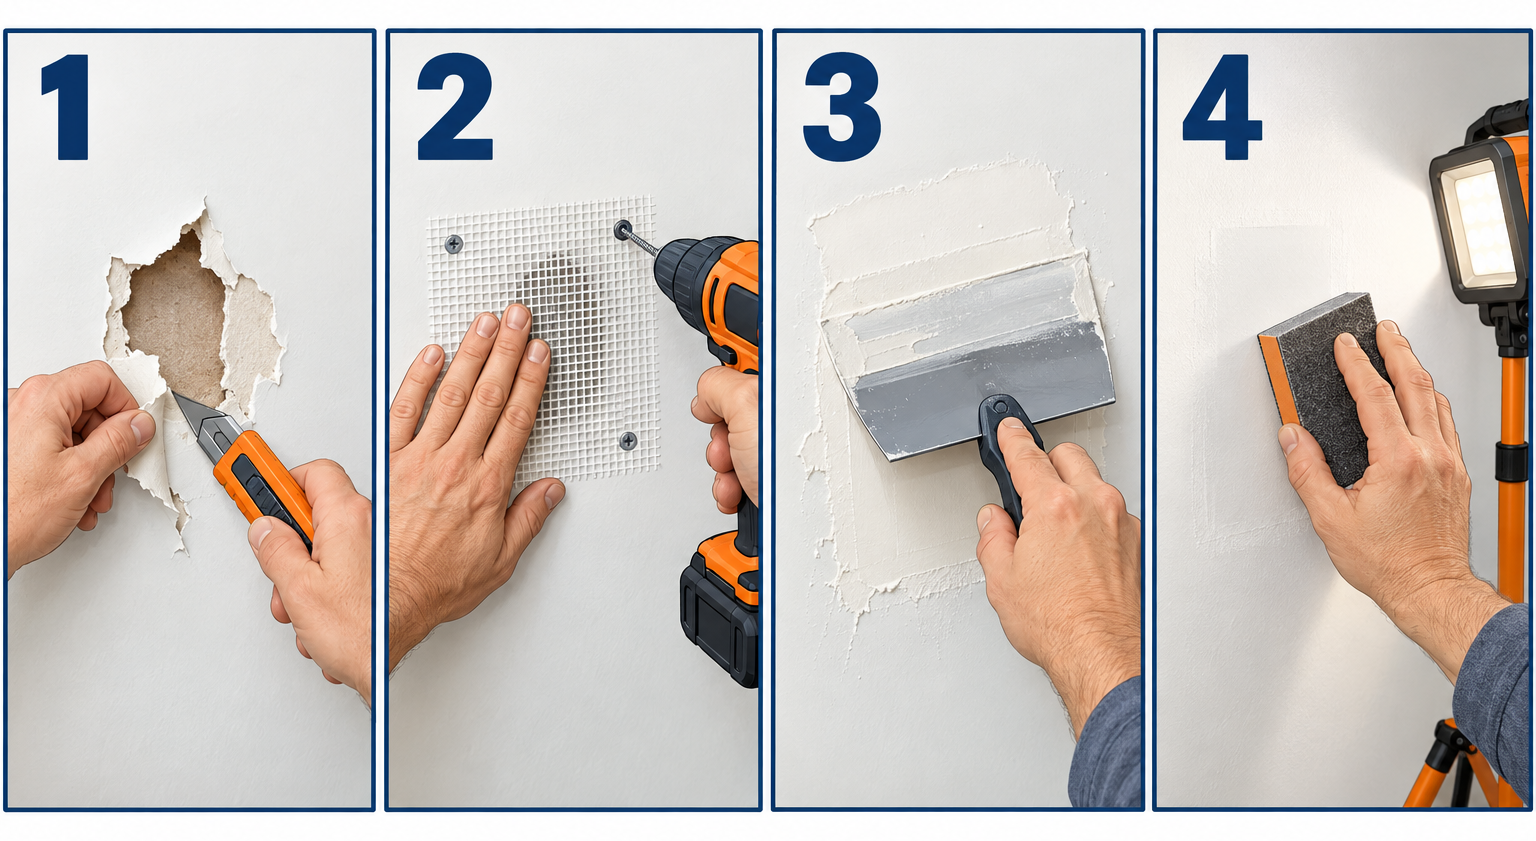
- Cut away torn paper and crumbled gypsum, then seal any exposed brown paper.
- Re-screw, tape or patch the damage based on its size.
- Apply three thin coats of compound, each one wider than the last.
- Sand smooth with a 150-grit sponge and check it under a raking light.
- Match the texture, prime the patch and repaint.
Tools and materials
- Taping knives (6-inch, 10-inch and 12-inch)
- Utility knife with fresh blades
- Mud pan (12- or 14-inch stainless)
- Lightweight spackle for holes under 1/2 inch
- Setting-type joint compound (Sheetrock Easy Sand 20 or 45) for first coats
- Premixed all-purpose or lightweight joint compound for finish coats
- Paper joint tape and fiberglass mesh tape
- Self-adhesive repair patches (4×4, 6×6 or 8×8 inch)
- Drywall scrap matching your wall thickness (usually 1/2 inch on walls, 1/2 or 5/8 inch on ceilings)
- 1-1/4 inch coarse-thread drywall screws and a drill/driver with a dimpler bit
- 1×3 or 1×4 furring strips for backing large holes
- Jab saw or oscillating multi-tool
- Sanding sponge (120/150 grit) and 220-grit sandpaper
- Drywall primer (PVA) and shellac-based primer for torn paper or water stains
- Drop cloth, painter’s tape, LED work light
- Stud finder with AC wire detection
Calculators for this job
Safety first
Before cutting into a wall, scan for wires and pipes, and shut off the breaker for any outlet or switch within a foot of your cut. In homes built before 1980, test the compound and paint for asbestos and lead before sanding. Wear an N95 or P100 mask any time you sand.
Step 1: Find the cause before you patch
A patch over an unsolved problem comes back. We always spend five minutes figuring out why the wall failed before touching a knife.
Here is how the common damage types break down and what each repair involves.
| Damage | What it usually means | Repair method | Hands-on time |
|---|---|---|---|
| Nail or screw pop | Fastener backed out as framing dried or flexed | Add a new screw, fill the old spot | 15 minutes |
| Dent or ding | Doorknob, furniture or impact crushed the gypsum | 2-3 coats of spackle or compound | 15 minutes |
| Hairline crack along a seam | Joint tape loosening, seasonal movement | Open it up, tape, 3 coats | 30-45 minutes |
| Diagonal crack off a door or window corner | Framing settlement | Paper tape with setting compound, then monitor | 45 minutes |
| Hole under 1/2 inch | Removed nails, anchors, picture hooks | Spackle, 2 coats | 10 minutes |
| Hole 1/2 inch to 6 inches | Doorknob strike, old box or anchor pull-out | Self-adhesive patch or California patch | 45-60 minutes |
| Hole over 6 inches | Impact, plumbing or electrical access | Cut back, add backing, new drywall, tape | 1.5-2 hours |
| Stain, bubble or soft spot | Water leak | Fix leak, dry, replace if soft | Varies |
A few causes are worth checking right now:
- Doorknob holes: Install a door stop before you patch. A spring stop costs about $3 and saves you doing this job twice.
- Anchor pull-outs: If a shelf ripped out of the wall, the anchor was wrong for the load. When you rehang it, our guide to sheetrock anchors covers which type holds what. Heavy floating shelves should go into studs or use a hidden steel bracket lagged to framing.
- Nail pops: These are common in the first two years of a new house as the lumber dries. They stop on their own once the framing stabilizes.
- Diagonal cracks: If a crack is wider than 1/4 inch, keeps growing, or the door next to it now sticks, that is a framing or foundation question. Check the basement for matching cracks. Our basement crack repair guide explains how to read them.
Step 2: Prep the damaged area
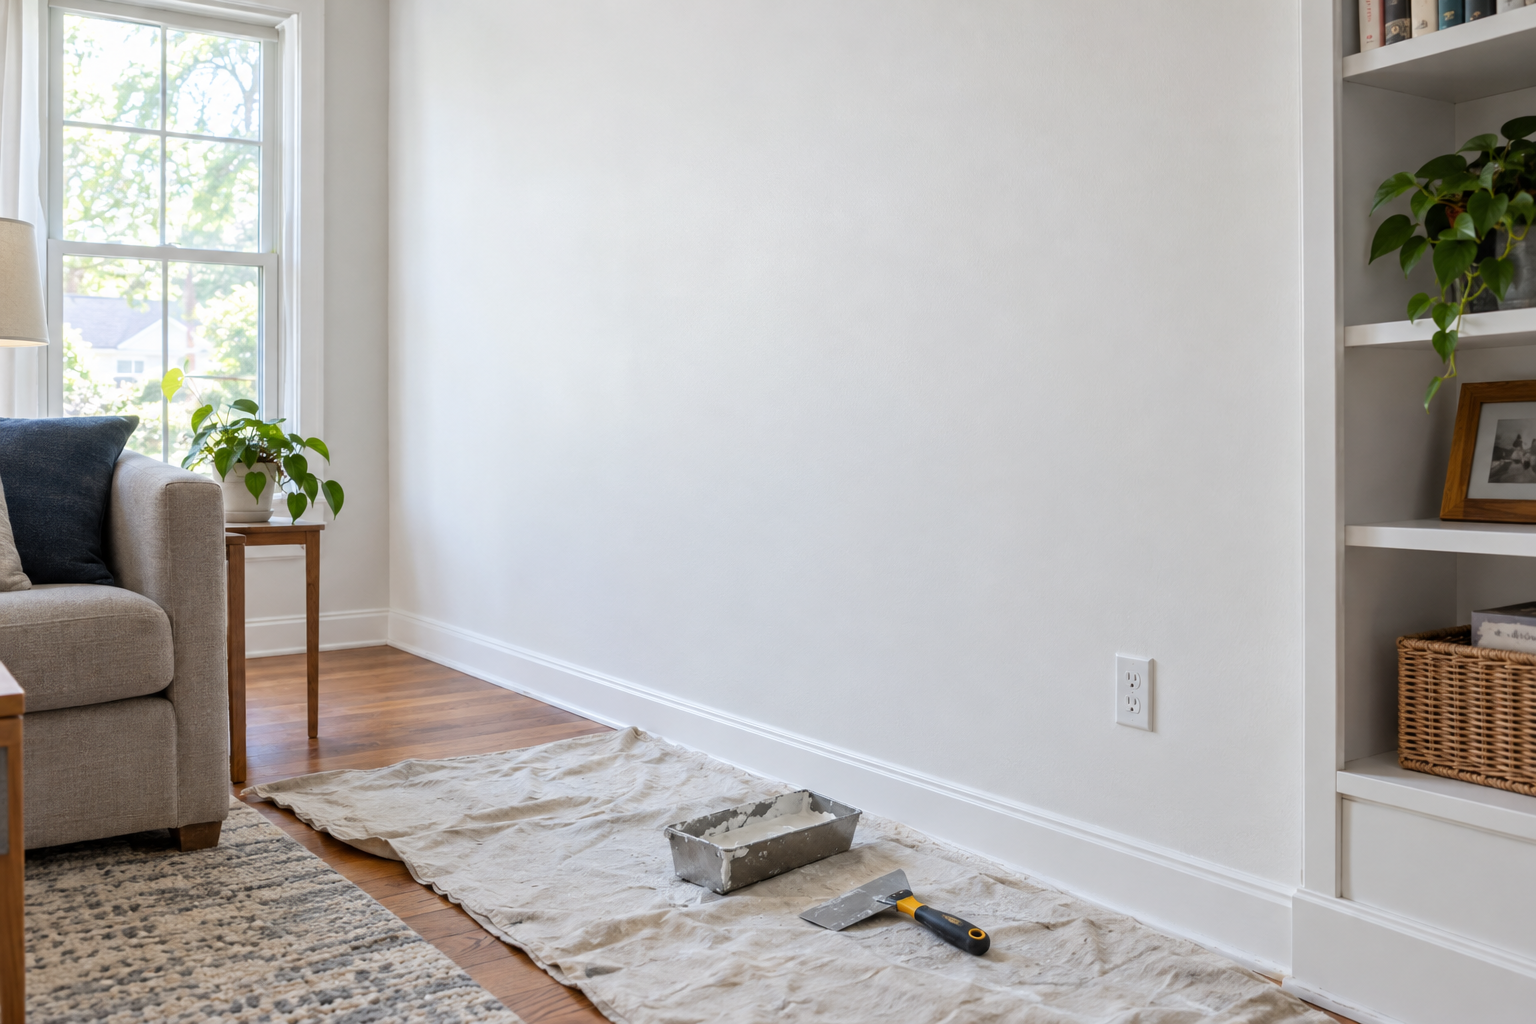
Clear the furniture back at least 4 feet and lay a drop cloth. Sanding dust from joint compound is fine and travels far, so close HVAC registers in the room and tape plastic over the doorway for anything bigger than a dent.
Next, clean up the damage itself:
- Cut away any loose or torn face paper with a sharp utility knife. Pull gently. If the paper peels more than you want, stop and cut it rather than tearing.
- Press on the area around the damage. Gypsum that crunches or flexes needs to come out, so cut it back to solid material.
- Knock down any raised edges with the knife or a quick pass of 120-grit so they sit below the wall surface.
- Wipe off dust with a barely damp sponge. Compound bonds poorly to dust.
The critical prep step is the one most people skip. Exposed brown paper (the layer under the face paper) soaks up the water in joint compound, swells and leaves bubbles that show through the paint.
Pro tip
Brush a coat of shellac-based primer (Zinsser BIN) or a drywall sealer like Gardz over any torn or exposed brown paper and let it dry 45 minutes before your first coat. It turns a bubbly, blistered patch into a flat one.
Step 3: Secure, tape or patch the damage
This is where the repair splits by type. Find your damage below, do that base repair, then everyone moves on to Step 4.
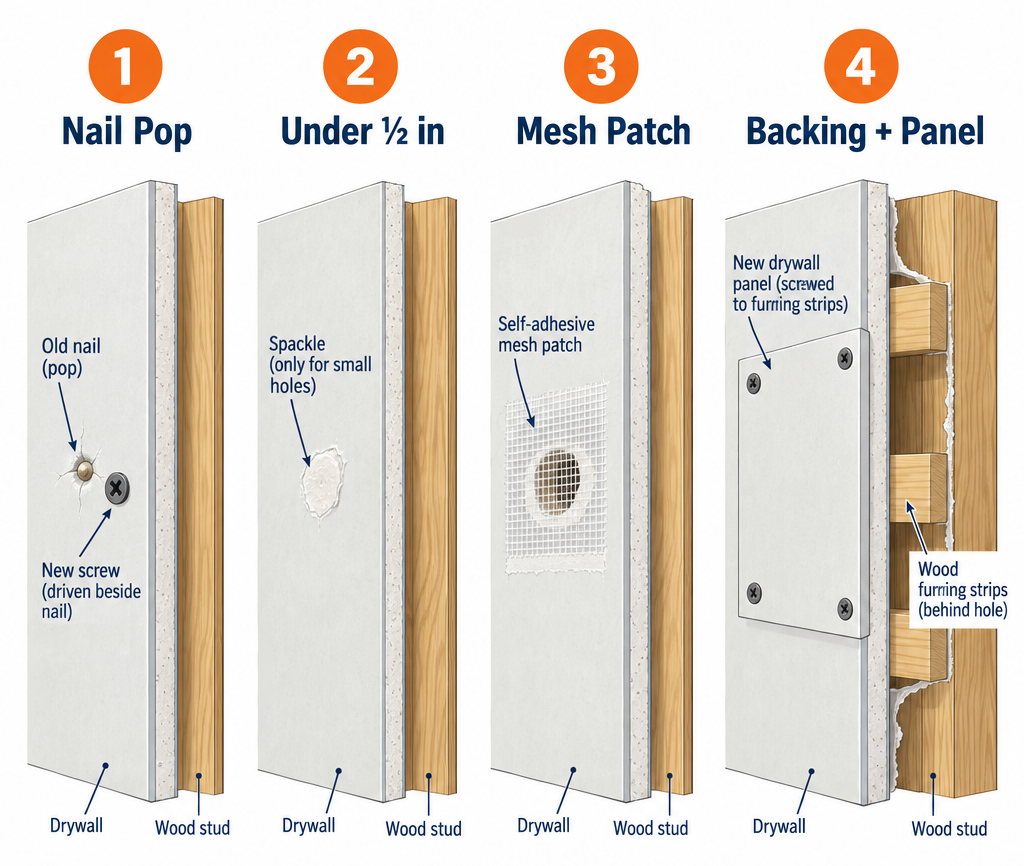
Nail pops and loose screws
Do not just hammer the popped nail back in. It will pop again.
Drive a 1-1/4 inch coarse-thread drywall screw into the stud about 1-1/2 inches above or below the popped nail. This pulls the drywall tight to the framing. Then either drive the old nail slightly below the surface or pull it out with a nail puller.
Set screws so the head sits just below the paper without breaking it. A dimpler bit (around $5) stops at exactly the right depth every time. If you tear the paper, add another screw 2 inches away.
Scrape off any loose compound around the old nail and fill both dimples.
Dents, dings and small holes under 1/2 inch
These need no tape. Use a lightweight spackle such as DAP DryDex (goes on pink, dries white) or 3M Patch Plus Primer.
Press it in with a 6-inch knife, then drag the knife flat across the surface to strip off the excess. Small holes shrink slightly as they dry. Plan on a second thin coat after 1-2 hours, and a third on deep dents.
For anything deeper than about 1/4 inch, setting compound works better than spackle because it does not shrink.
Cracks at seams and corners
Smearing compound into a crack does not last. The crack reopens within a season because nothing bridges it.
Open the crack slightly with a utility knife in a shallow V so compound can grab. If the old tape is loose or bubbled, cut it out completely with a utility knife and scrape the area flat.
Use paper tape on cracks. Paper is stronger than mesh in tension, and it is the only sensible choice for inside corners because it folds along its center crease.
- Spread a 1/8-inch bed of setting compound about 4 inches wide over the crack.
- Press paper tape into it, centered on the crack.
- Pull a 6-inch knife down the tape at a low angle, squeezing out most of the compound. You want a thin layer under the tape, not a dry spot. Dry spots become bubbles.
- Skim a thin layer over the top immediately.
On diagonal settlement cracks from door corners, run the tape the full length of the crack plus 2 inches past each end. Setting compound such as Easy Sand 45 resists future movement better than premixed mud here.
Holes from 1/2 inch to 6 inches
Two methods work well. Self-adhesive patches are faster. A California patch leaves a slightly flatter result.
Self-adhesive patch: Pick a patch that overlaps the hole by at least 1 inch on all sides. Lightly sand the wall around the hole so the adhesive grips, center the patch and press it flat. The metal mesh will show a slight hump, so the compound coats need to feather out wider than you think, at least 12 inches across for a 4-inch patch.
California patch (also called a butterfly patch): This uses a scrap of drywall with built-in paper “tape.”
- Square up the hole with a jab saw so it has straight edges.
- Cut a piece of scrap drywall 2 inches larger than the hole on every side.
- On the back of the scrap, score and snap a rectangle the exact size of your hole, 2 inches in from each edge.
- Peel the gypsum off the outer 2-inch border, leaving only the front face paper attached. You now have a plug with a paper flange.
- Butter the back of the flange and the edges of the hole with compound, press the plug in, and wipe the flange flat with a 6-inch knife like you would tape.
Old electrical box openings and outlets that were moved are classic California patch jobs. If you are patching around a ceiling box after removing a fixture, our guide to ceiling fan problems explains what to do with the wiring before the hole gets covered.
Holes larger than 6 inches
Big holes need a new piece of drywall with something behind it to screw into.
- Draw a square or rectangle around the damage. Check for wires, pipes and ductwork by looking inside the hole with a flashlight.
- Cut along the lines with a jab saw or an oscillating tool, keeping the blade depth under 1-1/4 inches when you cannot see behind the wall.
- If the opening is near a stud, extend the cut to the center of the stud so you have a nailing surface. Otherwise, add backing.
- For backing, cut two 1×3 furring strips about 4 inches longer than the opening. Slide them inside, one at each edge, half behind the old drywall and half exposed. Hold them tight and drive two 1-1/4 inch drywall screws through the wall into each strip.
- Cut the new drywall to fit with about 1/8 inch of gap all around. It must match the wall thickness. Most interior walls are 1/2 inch; garage walls next to living space are often 5/8 inch Type X fire-rated board, and you must match that.
- Screw the patch to the backing every 4-6 inches, about 1/2 inch in from the edges.
- Fill the gaps with setting compound and tape all four seams. Mesh tape is fine here as long as you use setting compound over it, because premixed mud over mesh tends to crack.
For really big jobs, like a whole section of wall after a plumbing repair, extend the cuts to studs on both sides and treat it like new drywall installation.
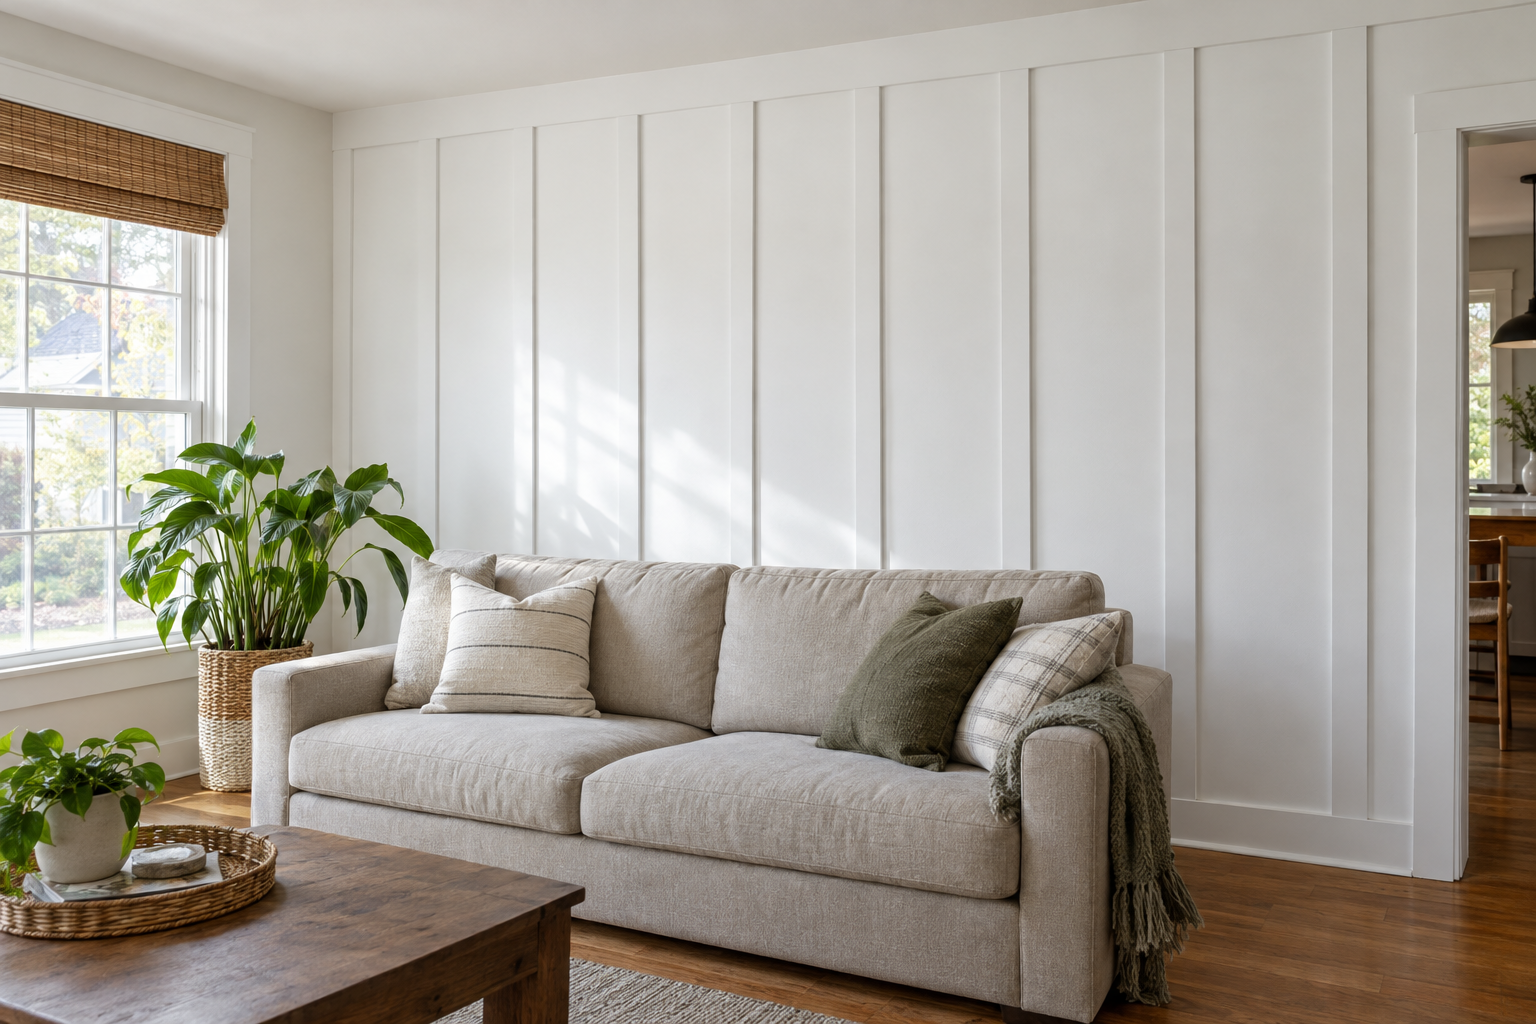
When a wall has dozens of anchor holes, dents and gouges in the lower half, consider covering it instead. A board and batten treatment hides a beat-up wall and adds trim at the same time.
Step 4: Apply three coats of joint compound
Every repair above gets the same finish: three thin coats, each wider than the last. Wider coats hide the repair. A 4-inch patch with a 4-inch finish shows as a bump. The same patch feathered to 14 inches disappears.
Here is how we set up the coats:
| Coat | Compound | Knife | Width | Dry time |
|---|---|---|---|---|
| First (fill/tape) | Setting compound (Easy Sand 20 or 45) | 6-inch | Just past the repair | 20-90 minutes, by number on the bag |
| Second | Premixed all-purpose or lightweight | 10-inch | 3-4 inches past the first | 12-24 hours |
| Third (finish) | Lightweight or topping compound, slightly thinned | 12-inch | 2-3 inches past the second | 12-24 hours |
Why setting compound first: It hardens by chemical reaction rather than drying, so it sets fast and barely shrinks in deep fills. The number on the bag is roughly the working time in minutes. Easy Sand 20 gives you about 20 minutes before it starts to stiffen, which is plenty for a patch or two. Mix only what you can use, and never add old mud to a fresh batch because it speeds the set.
Why premixed after: It sands far easier, which matters on the visible top coats. Stir the bucket and add a tablespoon or two of water per scoop until it looks like thick yogurt. Stiff mud leaves ridges and pulls the tape.
Technique for each coat:
- Load the knife about one-third of its width from the pan.
- Spread the compound across the repair with the knife at a 30-degree angle.
- Go back over it with the knife nearly flat, pressing harder on the outer edge so the compound thins to almost nothing at the borders. That pressure difference is “feathering.”
- Make one final pass and leave it. Overworking drags the surface and creates grooves.
Between coats, knock off ridges and lumps with the edge of your knife rather than sanding. It takes ten seconds and saves dust.
Pro tip
Thin each coat just a bit more than the last. Finish coat compound should be loose enough to almost drip off the knife. Thin coats dry faster, crack less and need far less sanding.
Don’t rush drying. Premixed mud that feels dry on the surface can still be soft underneath, and sanding it smears instead of cutting. In a cold basement or a humid summer, give each coat a full 24 hours. A fan pointed at the wall, not directly on the patch, speeds things up.
Step 5: Sand and check with a raking light
Sand only after the final coat is completely dry and uniformly white with no darker gray spots.
Use a 150-grit sanding sponge for most patches, and fold over 220-grit paper for the final touch on smooth walls. Sand in light circles, mostly at the feathered edges. The goal is to blend, not to dig.
Stop if you see paper tape fuzz or the edge of a mesh patch. You have sanded through. Skim another thin coat over that spot and sand again tomorrow.
Then do the check most people skip. Hold an LED work light flat against the wall so the beam skims across the surface. Every ridge, crater and edge line shows up as a shadow. Mark problem spots with a pencil, skim them with a thin coat, and sand again.
A wet sanding sponge works well in occupied rooms. It removes less material but produces almost no airborne dust. Wring it out until it is barely damp and rinse it often.
Step 6: Match the texture, prime and paint
Match the wall texture
Smooth walls are done after sanding. Textured walls need the texture rebuilt, or the patch shows as a flat spot no matter how good the mud work was.
- Orange peel: Aerosol texture cans (Homax is the common brand, about $15-20) spray a matching finish. Practice on cardboard first. Most cans have an adjustable nozzle for fine, medium and heavy.
- Knockdown: Spray the knockdown aerosol, wait 1-2 minutes until the spatter loses its wet shine, then lightly drag a clean 12-inch knife across it to flatten the peaks.
- Hand textures (skip trowel, swirl): Thin compound to pancake batter and replicate the pattern with a sponge, brush or trowel. Look closely at the existing wall to copy the stroke size and direction.
Always texture a little lighter than you think. You can add a second pass, but heavy texture is hard to remove.
Prime the patch
Joint compound absorbs paint differently than painted drywall. Paint straight over it and the patch “flashes,” showing up as a dull or shiny spot. A coat of PVA drywall primer or a good acrylic primer fixes this.
If the repair covers a water stain or smoke marks, use a stain-blocking primer like shellac-based BIN or oil-based KILZ Original instead, or the stain will bleed through new paint within days.
Paint
Touch-up paint rarely blends perfectly, even from the original can. Paint ages on the wall, and sheen differences show under side lighting.
For small repairs, feather the touch-up paint out with a roller, not a brush, using the same nap as the original. For anything larger than a hand, paint the whole wall from corner to corner. That gives you a seamless result every time. Our interior painting guide covers cutting in and rolling without lap marks.
Repairing water-damaged drywall
Water damage is its own job because the drywall itself may be ruined. Fix the leak first, without exception. Patching a wet wall traps moisture and feeds mold.
Decide whether to repair or replace. Press firmly on the stained area with your thumb.
- Stained but hard: Let it dry, seal with a stain-blocking primer, then paint. No mud needed unless the surface bubbled.
- Bubbled paper but solid underneath: Cut away the bubbles, seal the exposed paper with shellac primer, then skim with compound.
- Soft, crumbly, sagging or swollen: Cut it out and replace. Wet gypsum loses its strength permanently and will not firm back up.
Check that it is dry. A pin-type moisture meter (about $25-40) takes the guesswork out. Compare the damaged area to a section of the same wall well away from the leak. When the readings match, you can repair. That can take a few days to a couple of weeks depending on how much water got in and how well the room is ventilated.
When cutting out wet drywall, cut at least 12 inches past the visible stain, look at the back of the board and the insulation, and keep cutting until everything is dry and clean. Replace soaked insulation; fiberglass batts lose most of their value once they compress from water.
Mold changes the job. Small spots of surface mold can be cleaned with detergent and water, with the area dried completely. EPA guidance says moldy areas larger than about 10 square feet call for a professional, and so does any mold that came from sewage or contaminated water.
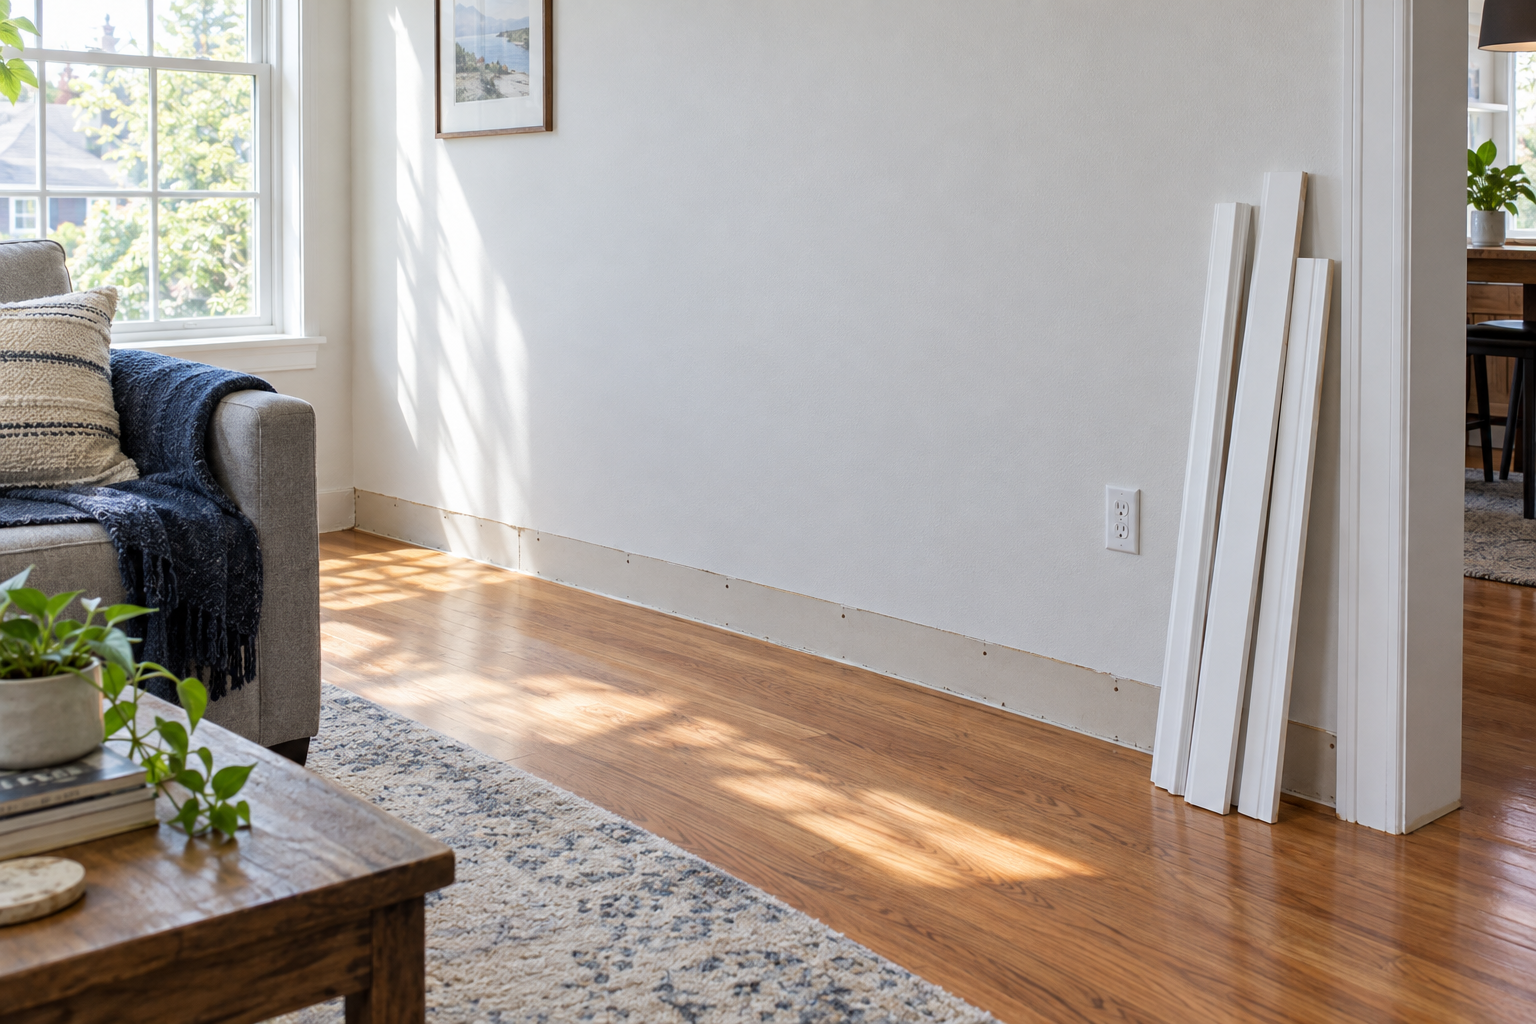
Water stains on a wall often trace back to window flashing, a plumbing line or a toilet supply. On lower walls, check the baseboard first. If you need to pull it to see behind, our guide to removing molding without damage shows how to do it without tearing more paper.
Ceiling repairs: what changes overhead
Ceiling drywall repair uses the same methods, with a few differences that matter.
- Gravity works against you. Use setting compound for the first coat so it stiffens before it can sag, and keep each coat thin.
- Backing is mandatory on any cut-out patch. Ceiling patches over about 4 inches need furring strips or a fastening to the joists. Never rely on a self-adhesive patch overhead for anything bigger than a few inches.
- Thickness matters more. Many ceilings use 1/2 inch “ceiling board” designed to resist sag, or 5/8 inch drywall. Match what is there. Push a small screwdriver through an existing hole to measure.
- Lighting is harsher. Ceilings get raking light from windows all day. Feather wider and check every coat with a work light.
- Popcorn texture warning: Acoustic popcorn ceilings from before the mid-1980s commonly contain asbestos. Do not scrape or sand them until a sample is tested by an accredited lab, which usually runs $30-60.
A ceiling that sags between joists, has a water stain that keeps growing, or shows nail pops in a line is telling you something about the framing or a leak above. Fix that before patching.
What drywall repair costs
DIY repair is cheap. Most of what you buy lasts for years of future patches.
| Repair | DIY cost | Typical pro price |
|---|---|---|
| Nail pops, dents, small holes | $10-25 | $100-200 (most handymen have a minimum charge) |
| Cracks at seams or corners | $15-30 | $150-350 |
| Hole 1/2 inch to 6 inches | $15-35 | $150-300 |
| Hole over 6 inches | $30-60 | $250-500 |
| Water-damaged section, one wall | $50-150 | $400-1,000+ plus leak repair |
| Texture matching and painting | $15-40 | Often adds $100-300 |
Pro pricing varies a lot by region and by how many trips the job takes. Each coat needs to dry, so a three-coat repair can mean three visits. Bundling several repairs into one job is the easiest way to lower the per-patch cost.
Troubleshooting
| Symptom | Likely cause | Fix |
|---|---|---|
| Bubbles or blisters in the first coat | Exposed brown paper soaked up water | Cut out the bubbles, seal with shellac primer, recoat |
| Bubbles under paper tape | Not enough compound bedded under the tape | Cut out the loose tape, rebed with more mud, press firm |
| Fine cracks in the dried compound | Coat applied too thick or dried too fast | Scrape the cracked area, refill with setting compound in thin layers |
| Patch shows as a hump | Coats not feathered wide enough | Add a wider coat with a 12-inch knife, feather 6+ inches past the hump |
| Edges of the patch visible after painting | Unprimed compound flashing through paint | Prime the patch, repaint the full wall |
| Nail pop came back | Old nail not secured, framing still moving | Add a screw 1-1/2 inches away, pull the old nail |
| Crack reappeared in the same spot | No tape, or ongoing settlement | Retape with paper tape and setting compound; check for structural movement if it repeats |
| Setting compound hardened in the pan | Mixed too much, or old mud contaminated the batch | Toss it, clean the pan completely, mix smaller batches |
| Fuzzy spots after sanding | Sanded into the tape or face paper | Seal with primer, skim a thin coat, sand lightly |
| Stain bleeds through new paint | Regular primer used over water or smoke stain | Spot prime with shellac-based or oil-based stain blocker, repaint |
| Patch feels soft days later | Premixed mud applied too thick in a deep fill | Dig out the soft mud, refill with setting compound |
When to call a pro
Call a drywall contractor or handyman for whole-wall damage, extensive ceiling repairs or texture you cannot match after two tries. Call a structural engineer when cracks exceed 1/4 inch, keep growing, or come with sticking doors and sloping floors. Call a licensed plumber or roofer for active leaks, a mold remediation company for mold over about 10 square feet, and a licensed asbestos abatement contractor if pre-1980 compound or popcorn ceiling tests positive.
FAQ
Is sheetrock repair different from drywall repair?
No. Sheetrock is a USG brand name that became shorthand for drywall, the same way people say Kleenex for tissues. Gypsum board, wallboard, drywall and sheetrock all describe the same material, and the repair methods are identical.
Can we use spackle instead of joint compound?
For nail holes, dents and holes under about 1/2 inch, yes, and spackle is easier because it dries fast and shrinks little. For cracks, seams, taping and anything larger, use joint compound. Spackle is not designed to bed tape or cover wide areas, and it is harder to feather smooth over a big patch.
Do cracks need tape, or can we just fill them?
Cracks need tape. Compound alone has almost no tensile strength, so the crack opens again the next time the house moves with the seasons. Paper tape bedded in setting compound is the repair that lasts.
How long before we can paint a drywall patch?
Wait until the final coat is fully dry, sanded and primed. With setting compound for the first coat and premixed for the last two, that usually means painting on day two or three. Primer needs about 1 hour before topcoat in normal conditions; check the can.
What is the fastest way to fix a hole in drywall?
For a hole under 4 inches, a self-adhesive mesh patch plus quick-setting compound (Easy Sand 20) for all three coats can get you to primer the same day. The mud sets in roughly half an hour per coat. Sanding is slightly harder, but the repair is finished in an afternoon.
Should we fix holes before or after removing old wall anchors?
Pull or push anchors in first. Plastic expansion anchors usually pull out with pliers; if they spin, tap them slightly below the surface with a nail set. Then fill the hole. Toggle bolts can be unscrewed and the wings left to drop inside the wall.
Can we repair water-damaged drywall without replacing it?
Only if it is still hard. Stained but solid drywall can be dried, sealed with stain-blocking primer and painted. Soft, sagging or crumbling drywall has lost its strength and must be cut out and replaced after the leak is fixed and the cavity is dry.