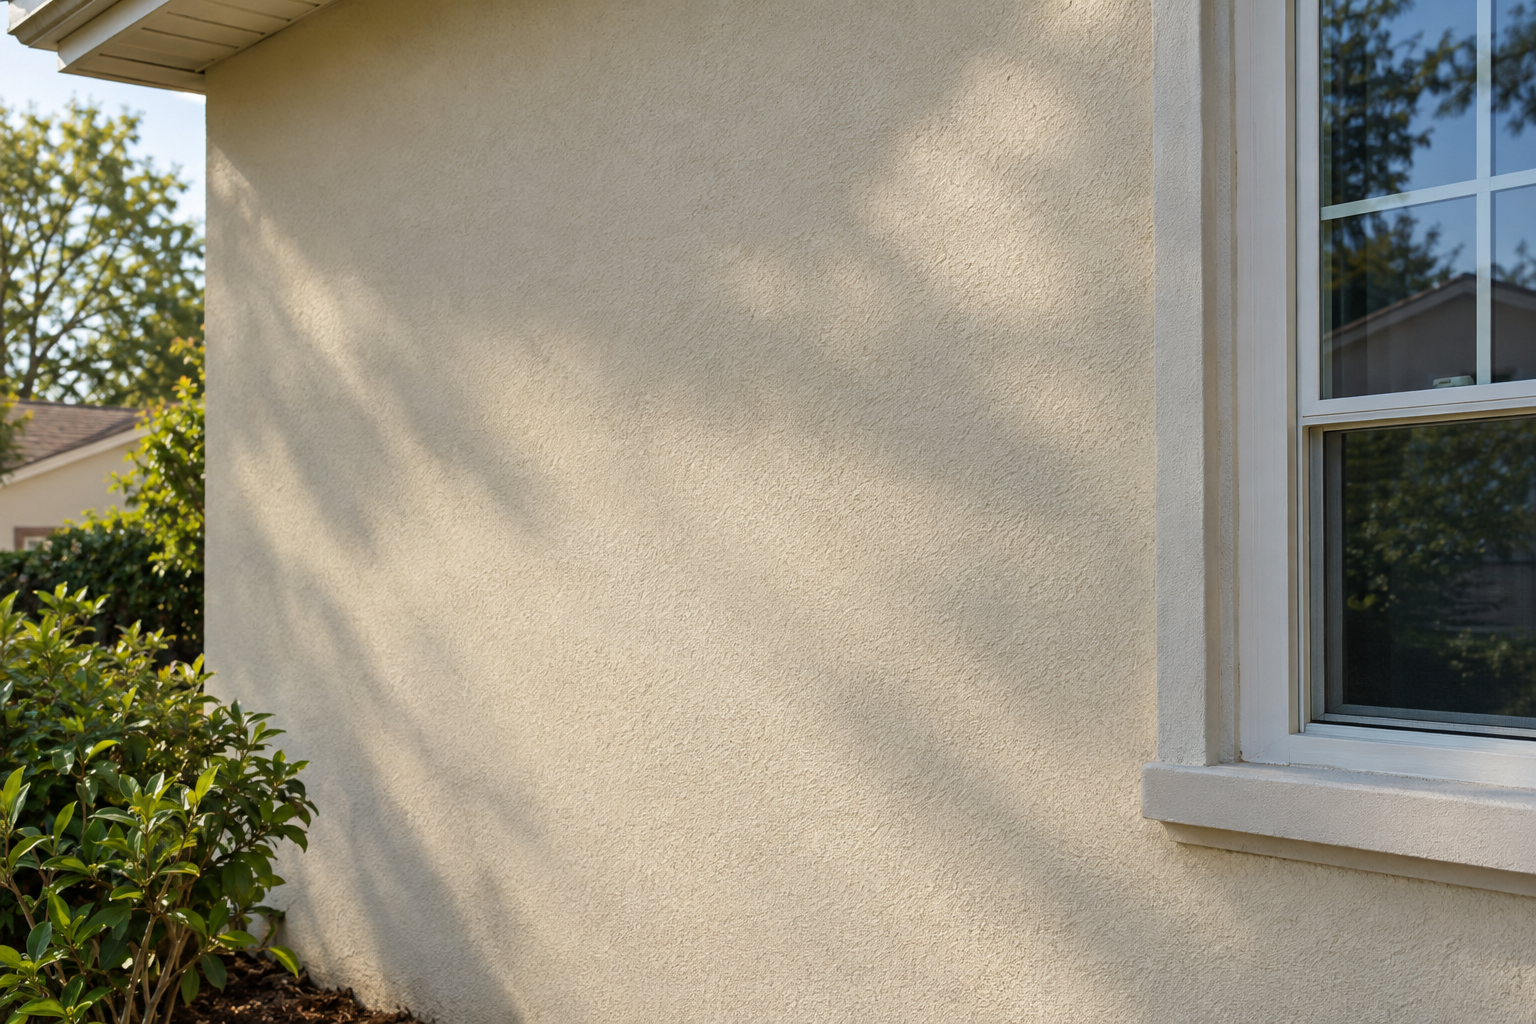
You can repair most stucco damage yourself. Hairline and medium cracks take an hour with an elastomeric patch, and holes up to a couple of feet across get rebuilt in three thin coats over new lath. The hard parts are curing each coat properly and matching the texture so the repair blends into the wall.
Quick steps: fixing stucco
- Confirm it’s traditional cement stucco, not EIFS foam.
- Cut out loose material and open cracks into a V-groove.
- Fill cracks under 1/4″ with elastomeric stucco patch and texture it.
- For holes, replace the building paper and metal lath.
- Apply a 3/8″ scratch coat, then a 3/8″ brown coat, misting each to cure.
- Apply a 1/8″ finish coat and match the texture.
- Let it cure, then paint or color-coat the whole wall section.
Tools and materials
- Pre-mixed stucco patch (QUIKRETE Pre-Mixed Stucco Patch or similar acrylic patch) for cracks and small holes
- Textured stucco repair caulk in a 10 oz tube for hairline cracks
- Base coat stucco mix (80 lb bag) and finish coat stucco for holes larger than a fist
- Acrylic bonding agent
- Grade D building paper or self-adhered flashing tape
- Galvanized expanded metal lath (2.5 lb diamond mesh) and galvanized roofing nails or 1″ crown staples
- Cold chisel, 3 lb hand sledge, angle grinder with diamond masonry blade
- Margin trowel, 4″ x 10″ finishing trowel, sponge float, scratcher (or a notched trowel)
- Wire brush, pump sprayer or garden hose with mist nozzle, 5-gallon bucket and mixing paddle
- Caulk gun, tin snips, utility knife
- N95 or P100 respirator, safety glasses, alkali-resistant gloves
Calculators for this job
Safety first
Grinding stucco throws crystalline silica dust, so wear a P100 or N95 respirator and safety glasses. Wet cement is caustic and burns skin, so wear gloves and long sleeves. Above 6 feet, set your ladder on firm, level ground at a 4:1 angle.
Step 1: Identify the stucco and the cause of the damage
Before you buy anything, press on the wall near the damage and knock on it with your knuckles. Traditional three-coat cement stucco feels rock-hard and sounds solid. If it sounds hollow, flexes slightly, or you can see white or gray foam inside the hole, you have EIFS (synthetic stucco). Cement patching products don’t bond or move with EIFS, so stop here and use an EIFS-specific repair kit or a contractor who works with that system.
Next, read the crack. The shape tells you whether a patch will last.
| Crack type | What it usually means | DIY repair? |
|---|---|---|
| Hairline spiderweb (under 1/16″) | Normal shrinkage as the stucco cured | Yes, cosmetic |
| Diagonal from window or door corners | Stress concentration at openings | Yes, use flexible patch |
| Straight crack 1/16″ to 1/4″ | Framing movement or missing control joint | Yes, V-groove and fill |
| Wider than 1/4″, or growing | Settlement or structural movement | Investigate first |
| Stained, crumbling, or soft around edges | Water getting behind the wall | Find the leak first |
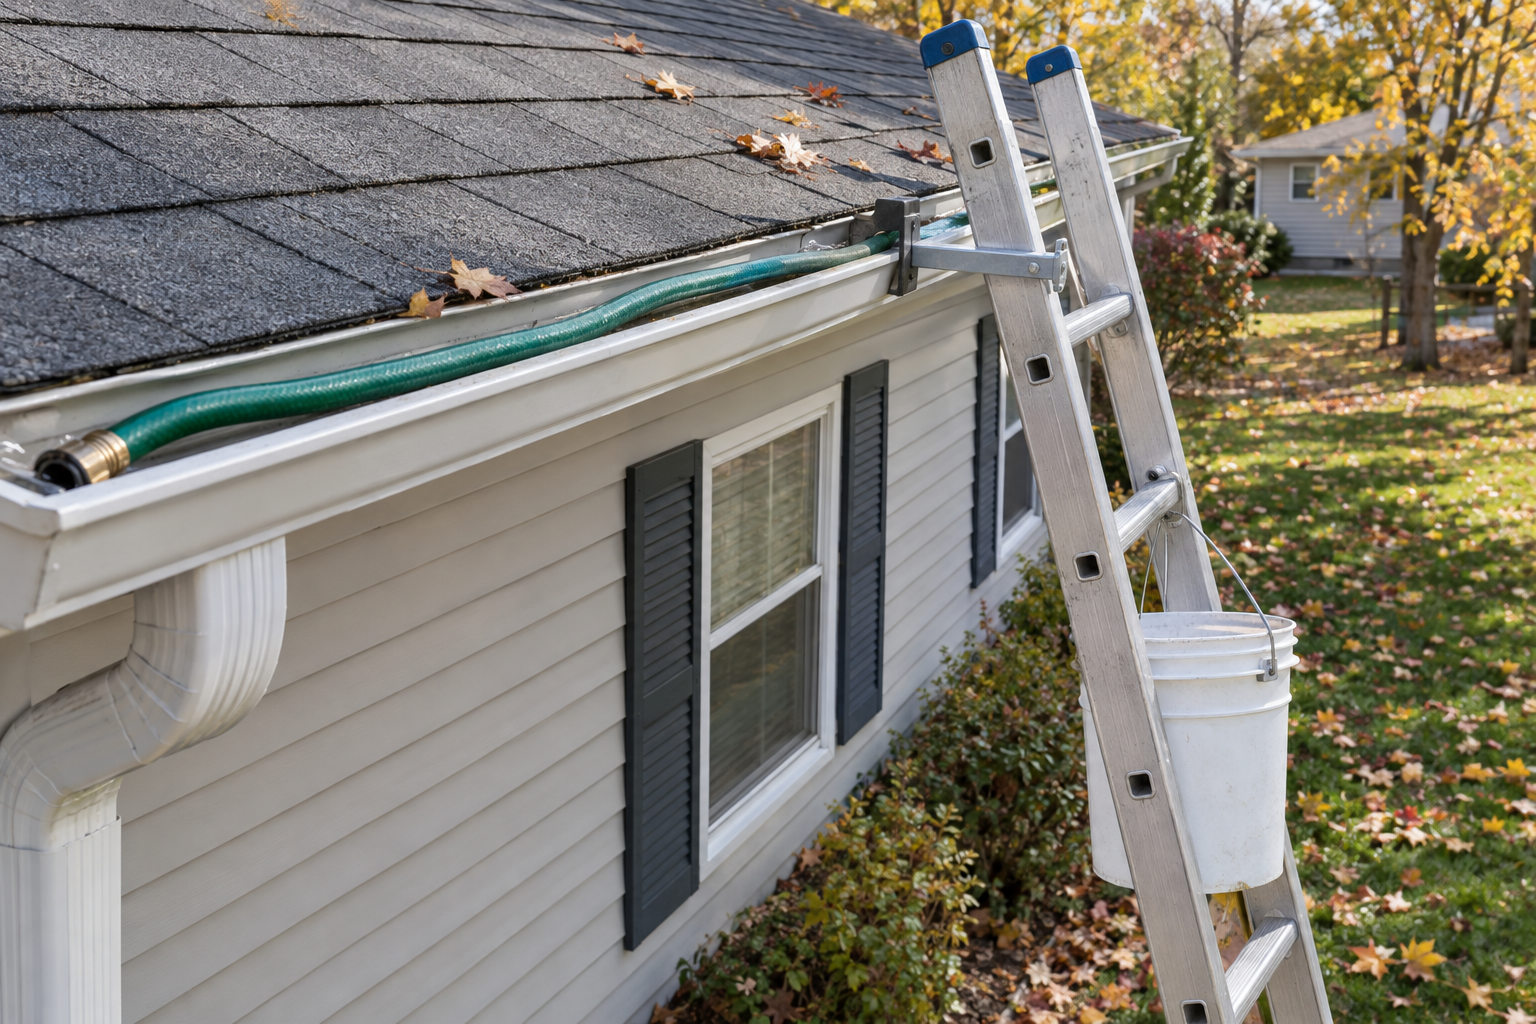
Water damage is the one you can’t patch over. Brown streaks below a window, efflorescence (white powder), or soft, crumbly stucco usually mean water is getting in from above. Typical sources include failed window flashing, overflowing gutters dumping onto the wall, and roof leaks at the roof-to-wall flashing. If your gutters spill over the stucco during storms, cleaning them or rehanging the house gutter properly will save you from repeating this repair next year.
Step 2: Open up and clean the damaged area
Patching material won’t stay on loose or dirty edges, so take out everything that isn’t solid.
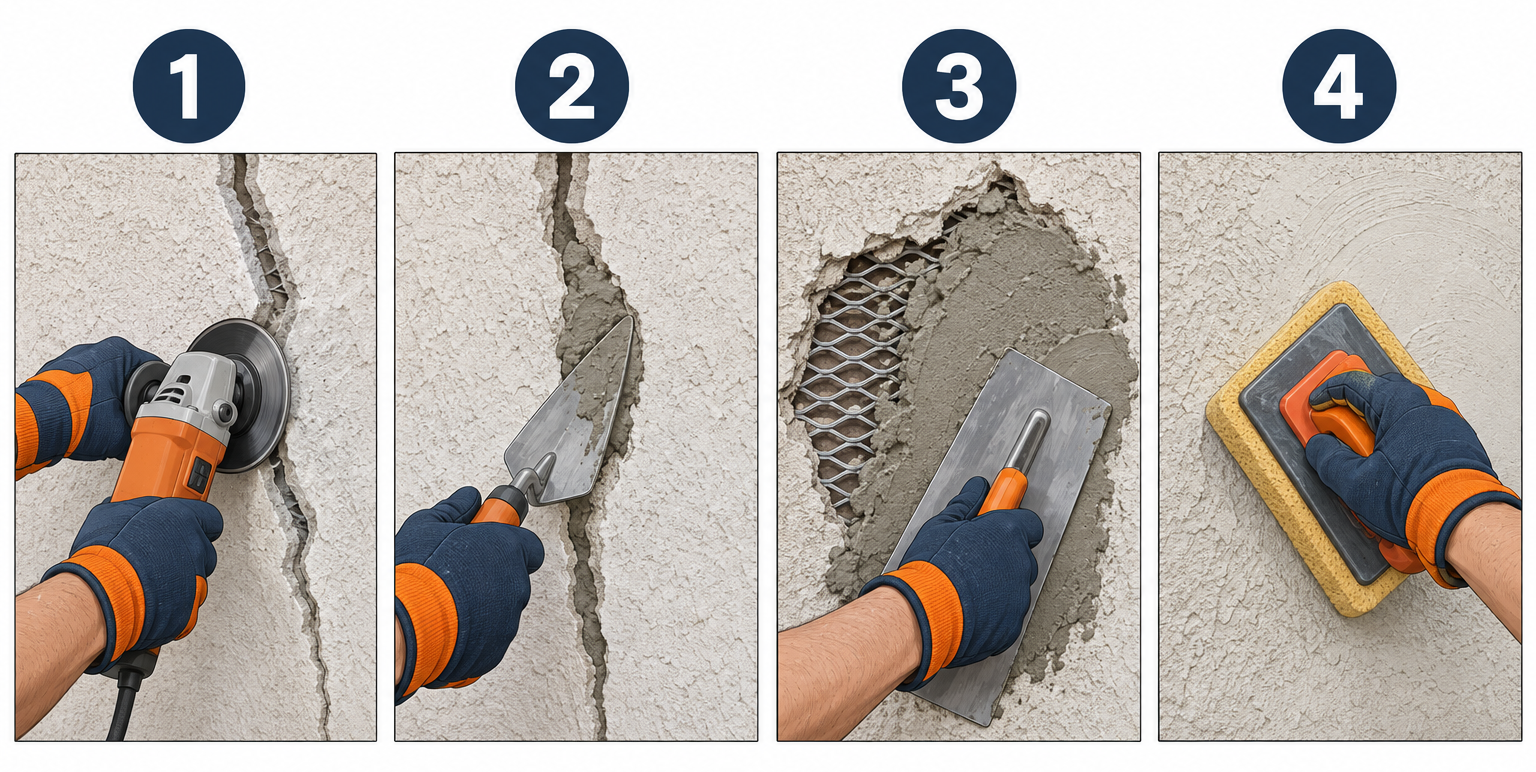
For cracks, widen them into a V-groove about 1/4″ wide and 1/4″ deep using an angle grinder with a diamond blade, or by dragging a cold chisel along the crack. The groove gives the patch enough thickness to grip instead of sitting as a thin skin that peels off.
For holes, tap around the damage with the hand sledge and chisel away any stucco that sounds hollow or breaks off easily. Keep going until you hit solid material on every side. Try to square up the edges a bit, because a straight edge is easier to blend than a ragged one.
Brush out all the dust with a wire brush. Then wet the area so the old stucco is damp but has no standing water. Dry stucco wicks the moisture out of fresh patch and makes it crack and fail to bond.
Pro tip
Undercut the edges of a hole slightly, so the opening is a little wider at the back than at the face. The undercut edge helps lock the new stucco in place so it won’t pop out as one plug later.
Step 3: Fill hairline and medium cracks
For cracks under 1/16″, a textured stucco repair caulk is the fastest fix. Cut the nozzle small, push a bead into the crack, and dab it with a damp sponge or stiff brush while it’s wet so it picks up texture. Rigid patches crack again on hairlines because the wall keeps moving with temperature. The flexible acrylic in these caulks moves with it.
For V-grooved cracks between 1/16″ and 1/4″, use a pre-mixed acrylic stucco patch. Press it into the groove with a margin trowel, packing it in firmly so there are no air pockets. Overfill very slightly, then strike it flush with the surrounding wall.
Within 5 to 10 minutes, before it skins over, texture the patch to match (see Step 7). Paint-ready times for pre-mixed patches vary widely by product, from about 2 hours for some to as long as 72 hours for others, depending on thickness and humidity. Check the label on yours. Your crack repair is done at this point. If you’re filling a hole, keep going.
Step 4: Repair the paper and lath behind holes
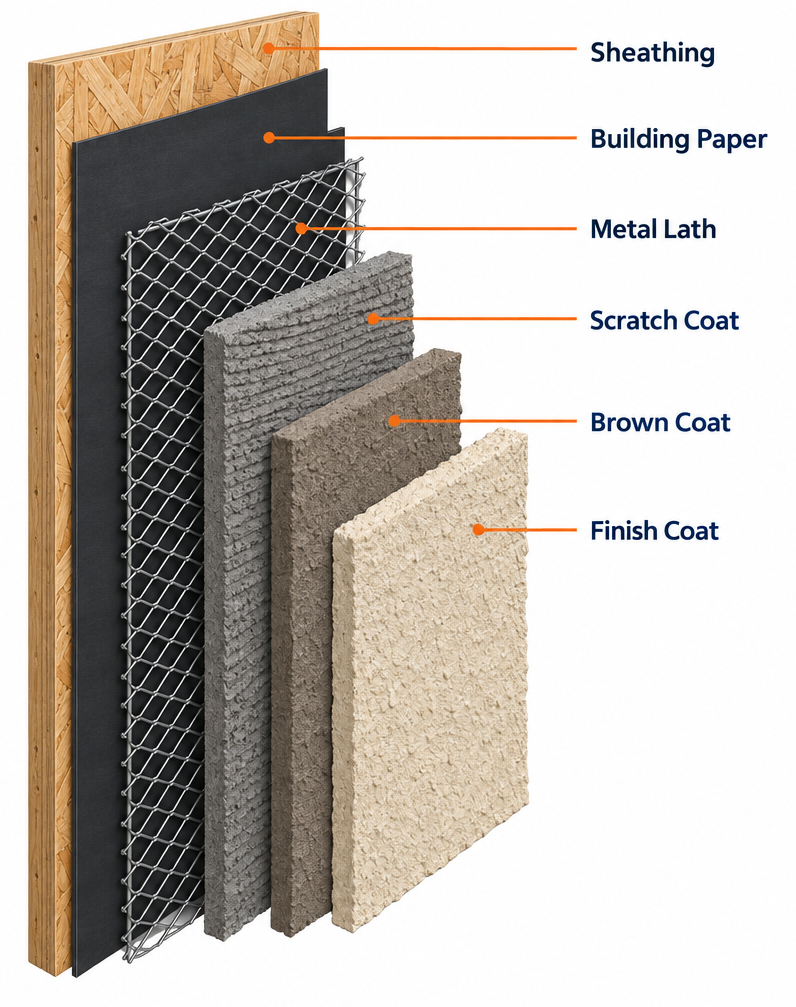
Holes larger than about 2 inches across usually tear the building paper and metal lath behind them. If you see exposed sheathing, missing paper, or rusted mesh, fix that layer first.
Cut out torn paper with a utility knife. Slip new Grade D building paper behind the existing paper above the hole and over the paper below, so the laps shed water downward like shingles. Self-adhered flashing tape works well for small patches and seals around nails. If the sheathing underneath is soft, black, or crumbles when you probe it with a screwdriver, the damage has gone past a stucco repair.
Cut galvanized metal lath with tin snips so it overlaps any existing lath by at least 2 inches. Fasten it every 6 inches with galvanized roofing nails or staples driven into studs or solid sheathing. The rough side of the diamond mesh should face out so it catches the stucco, and the lath should sit tight, not bulging.
Around air conditioner line sets, dryer vents and hose bibs, wrap flashing tape around the penetration before you lath. Those holes are a common entry point for water.
Step 5: Apply the scratch coat
Mix base coat stucco with clean water in a bucket until it reaches the consistency of thick peanut butter. It should hold on a trowel turned sideways without sliding off. Mix only what you can use within the working time on the bag, which can be as short as 20 to 30 minutes for some products and up to about an hour for others.
Brush or roll acrylic bonding agent onto the edges of the old stucco. Then press the first coat into the lath with a firm push of the trowel, forcing it through the mesh so it wraps behind. Build it to about 3/8″ thick, covering the lath completely.
Once it firms up slightly (thumbprint hard, typically 30 to 60 minutes), drag a scratcher or notched trowel horizontally across the surface. Make grooves about 1/8″ deep. These give the next coat something to grip.
Mist the scratch coat with water two or three times a day for at least 48 hours. Hot sun and wind dry stucco too fast, so work on the shady side of the house when you can and stick to days between 40°F and 90°F.
Step 6: Apply the brown coat
After the scratch coat has cured for 48 hours, dampen it and apply the second coat of base stucco, about 3/8″ thick. The goal is to bring the patch to within 1/8″ of the surrounding finished surface.
Run a straightedge or your long trowel across the patch, resting on the old stucco on both sides, to flatten it. Fill low spots and screed again. Then float the surface with a sponge float to leave it flat and slightly rough. Don’t scratch this coat.
Keep misting for the first 48 hours. Then let the brown coat cure at least 7 days before the finish coat. It shrinks while it cures, and that shrinkage cracking needs to happen now rather than show up through your finish.
Pro tip
Hold a long straightedge across the wall on a sunny afternoon and look along it at a low angle. Shadows show every high and low spot, which is exactly what will show through your finish coat.
Step 7: Apply the finish coat and match the texture
Dampen the brown coat. Apply finish coat stucco (or the pre-mixed patch for smaller holes) about 1/8″ thick, feathering the edges onto the old stucco just enough to hide the joint.
Texture matching is what makes a patch disappear or stand out. Practice on a scrap of plywood first. These are the common textures and how to copy them:
- Sand or float finish: Work the surface in small circles with a damp sponge float once the stucco starts to firm up.
- Dash (or spatter): Flick stucco from a stiff brush or whisk broom onto the surface, then leave it rough or knock it down lightly.
- Lace or skip trowel: Dab small blobs of stucco on, then skim over them with a clean trowel held almost flat so they flatten into irregular islands.
- Smooth or Santa Barbara: Trowel firmly in overlapping arcs as the stucco stiffens, leaving soft, subtle trowel marks.
Look at the wall from 10 feet away while you work, because that’s how everyone else will see it.
Step 8: Cure, then paint or color-coat
Let the finish coat cure fully before painting. Fresh cement stucco is highly alkaline, and painting too soon causes blistering and color blotches. Most manufacturers want 28 days for cement finish before standard masonry paint. Some elastomeric and acrylic primers allow a shorter wait, so check the can.
A patch rarely matches old paint even with the exact color, because the surrounding wall has faded. Paint the whole wall section to the nearest corner, window, or control joint. For walls that develop hairline cracks often, an elastomeric wall coating bridges small cracks and flexes with movement. Use a breathable product made for stucco rather than a film-forming concrete sealer, which can trap moisture inside the wall.
Once it’s done, the repair should be flush with the wall, solid when tapped, and invisible from the street.
Troubleshooting stucco repairs
| Symptom | Likely cause | Fix |
|---|---|---|
| Patch cracked within days | Dried too fast or applied too thick in one pass | Grind out, rebuild in thinner coats, mist to cure |
| Hairline crack reappeared | Rigid patch on a moving crack | Refill with flexible elastomeric patch |
| Patch sounds hollow or popped out | Dry or dusty substrate, no bonding agent | Remove, clean, dampen, use bonding agent |
| Ring outline around patch | Feathered edge too thick or texture mismatch | Lightly sand edges, re-texture, paint whole section |
| White powder on patch | Efflorescence from moisture moving through | Brush off dry; find and stop the water source |
| Dark blotches through paint | Painted before stucco cured | Let cure, apply alkali-resistant primer, repaint |
| Patch noticeably darker or lighter | Paint fade on old wall | Paint corner to corner |
When to call a pro
Call a licensed plastering or stucco contractor for any EIFS, for damage larger than about 4 x 4 feet, or if probing finds soft, rotted sheathing or mold behind the wall. Cracks wider than 1/4″, stair-step cracks, or cracks that keep growing need a structural engineer or foundation contractor before any patching. Large re-stucco jobs may also need a permit and a lath inspection, so check with your local building department.
FAQ
Is fixing stucco with caulk good enough?
For hairline cracks, yes, as long as you use a textured, paintable stucco caulk rather than smooth silicone. Silicone won’t hold paint or texture and looks shiny against the wall. Anything wider than about 1/16″ should be grooved and filled with stucco patch.
How long does a stucco patch take to dry?
Pre-mixed acrylic patch can be paintable in anywhere from about 2 hours to 72 hours, depending on the product. A traditional three-coat repair takes 48 hours between the scratch and brown coats, at least 7 days before the finish coat, and up to 28 days before standard paint.
Are small cracks in stucco normal?
Fine spiderweb cracking is normal shrinkage and mostly cosmetic. Cracks that run in straight lines, widen over time, or show water staining are worth investigating before you patch.
Can I stucco over the old stucco without removing anything?
You can apply a new finish coat over sound, clean stucco with a bonding agent. You can’t safely cover loose, hollow, or water-damaged areas, because the new layer will fail along with the old.
Will my patch ever match perfectly?
Texture can match closely with practice. Color almost never does on its own, so plan to paint or color-coat the full wall section, edge to edge.